Ninja Foodi Chicken Thighs
This post may contain affiliate links, read my disclaimer.
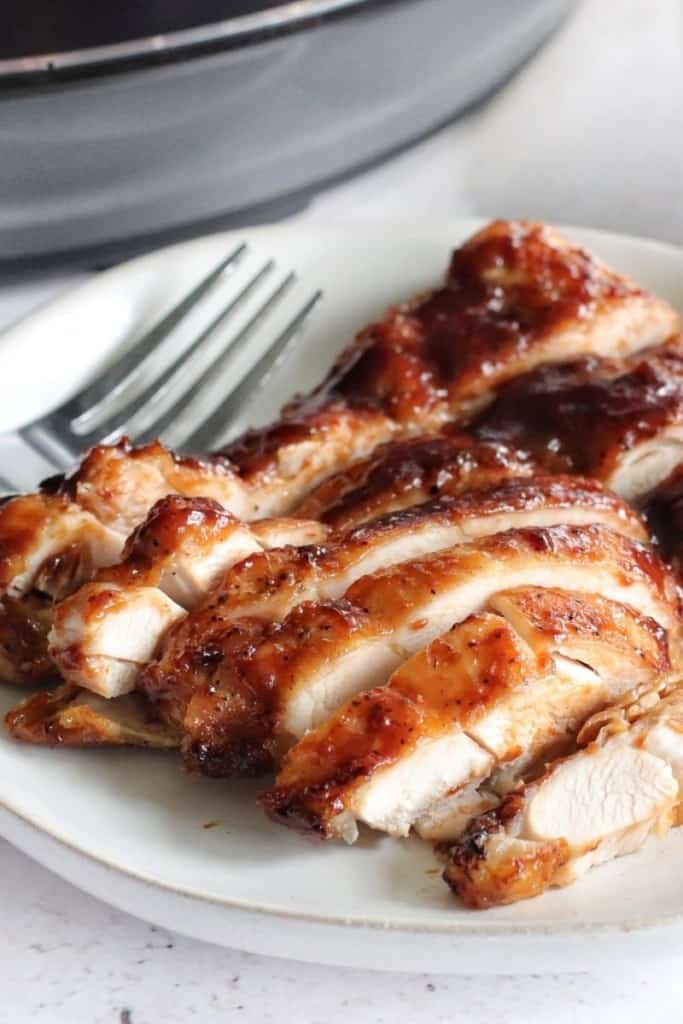
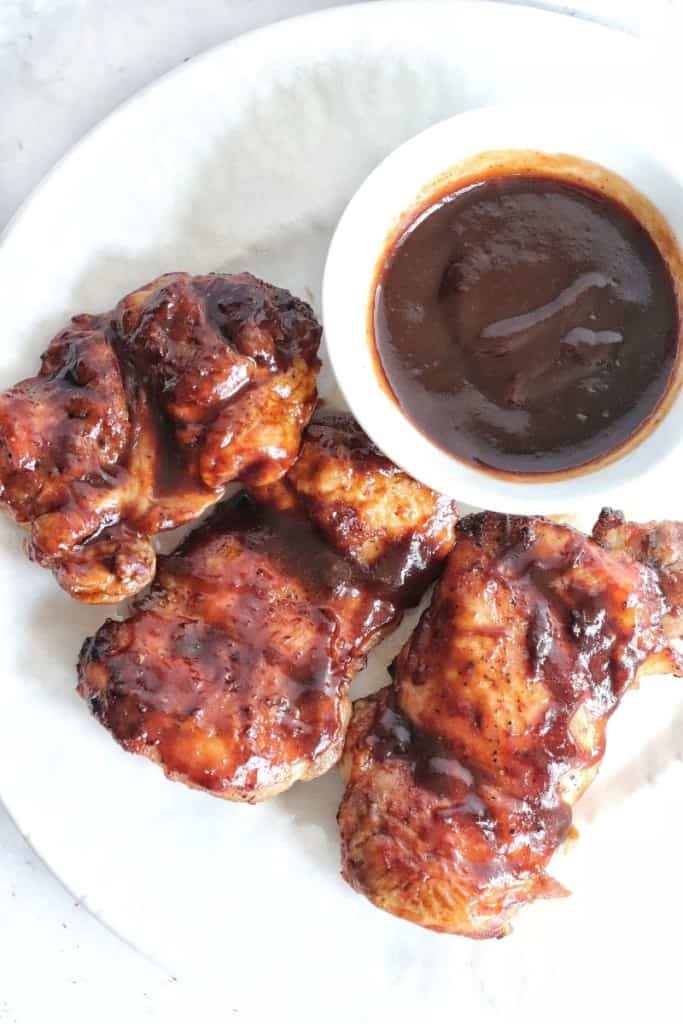
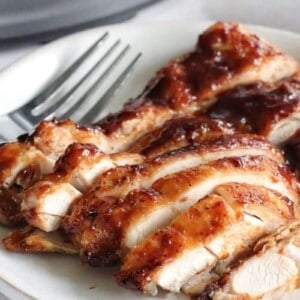
These Ninja Foodi chicken thighs are tender, juicy, and bursting with flavor! And since they only take minutes to prep, they’re perfect for busy weeknights.
I’m constantly on the lookout for new recipes that fit into the “busy weeknight dinners” category. That means a tasty dish the whole family will enjoy that can also be on the table in less than half an hour.
So you can imagine how excited I was when these Ninja Foodi chicken thighs not only fit the criteria but also took only 20 minutes total!
A simple dry rub, a little barbecue sauce, and the magic of the Ninja Foodi air fryer are all you need for moist, juicy, and flavorful chicken. They truly couldn’t be easier!
Here’s what I’m going to teach you in this post:
- How to cook boneless, skinless BBQ chicken thighs in the Ninja Foodi Grill
- How to know when your chicken thighs are done cooking
- Other flavors you can add to your chicken thighs
- How to make frozen chicken thighs in the Ninja Foodi
- How to make this recipe keto-friendly
Chicken thighs are perfect in recipes like this because they’re affordable, tender, moist, and easy to cook with. And even though we use skinless thighs, the outside still gets nice and crispy.
It’s everything you love about roast chicken thighs but in a fraction of the time!
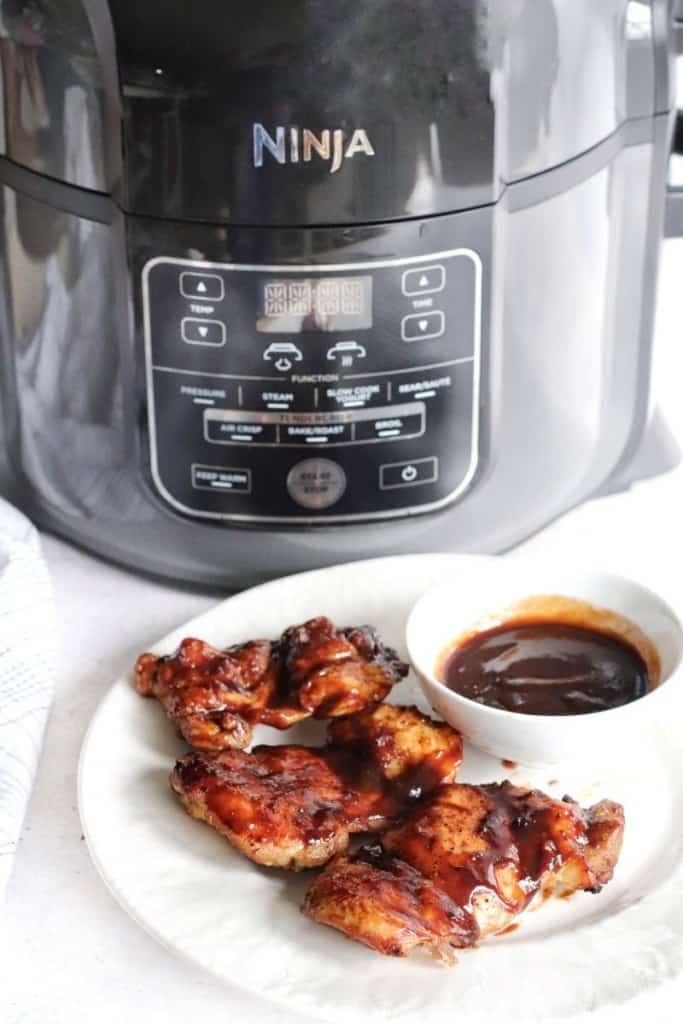
I used the Ninja Foodi 11-in-1 6.5 QT Pressure Cooker and Air Fryer for this recipe. I find this to be a great size for my family of four!
How To Make Ninja Foodi Chicken Thighs
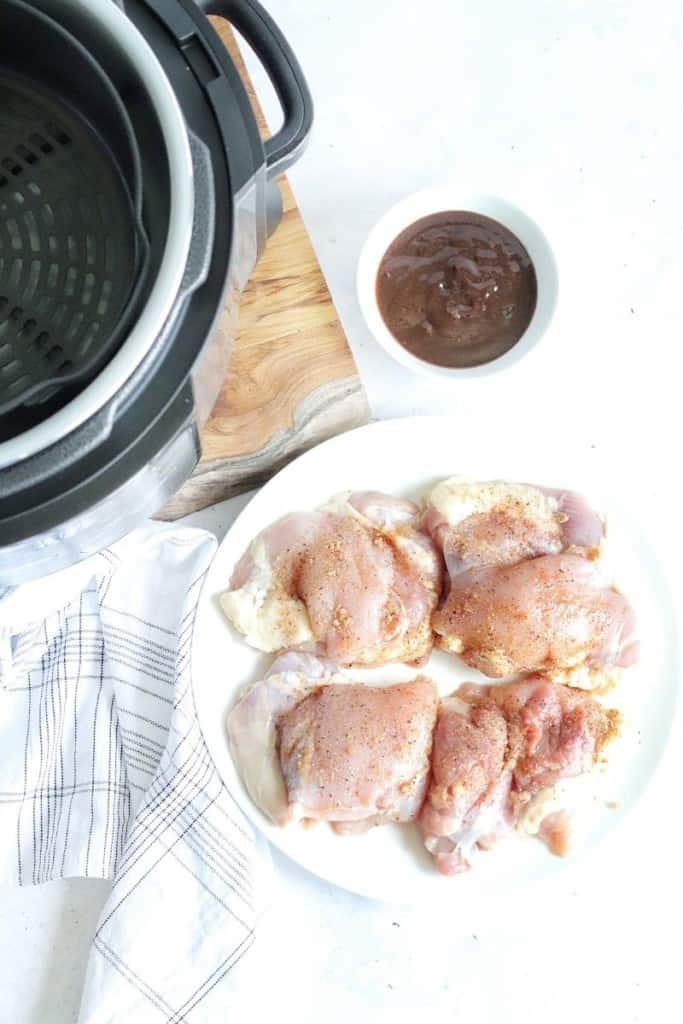
STEP ONE: Mix the brown sugar, smoked paprika, salt, and black pepper in a small bowl, then rub all over the chicken thighs to season.
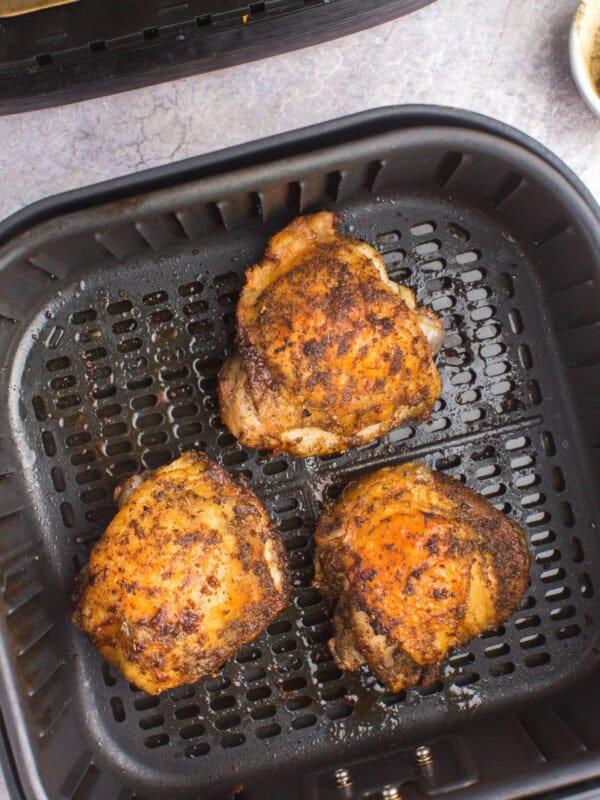
STEP TWO: Place the seasoned chicken in the air fryer basket of the Ninja Foodi Grill. Make sure the chicken is in a single layer with no overlap (you can cook in 2 batches if necessary).
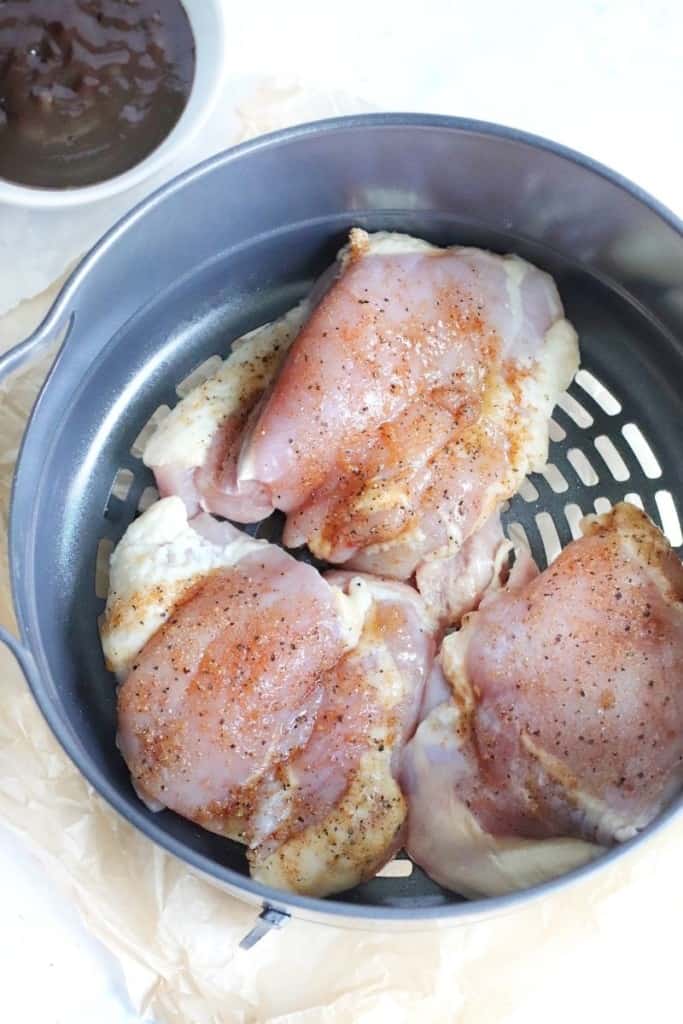
STEP THREE: Place the basket in the Ninja Foodi and close the lid. Cook on air crisp at 375 degrees for about 6 minutes.
STEP FOUR: Flip chicken over, then cook for an additional 4 minutes.
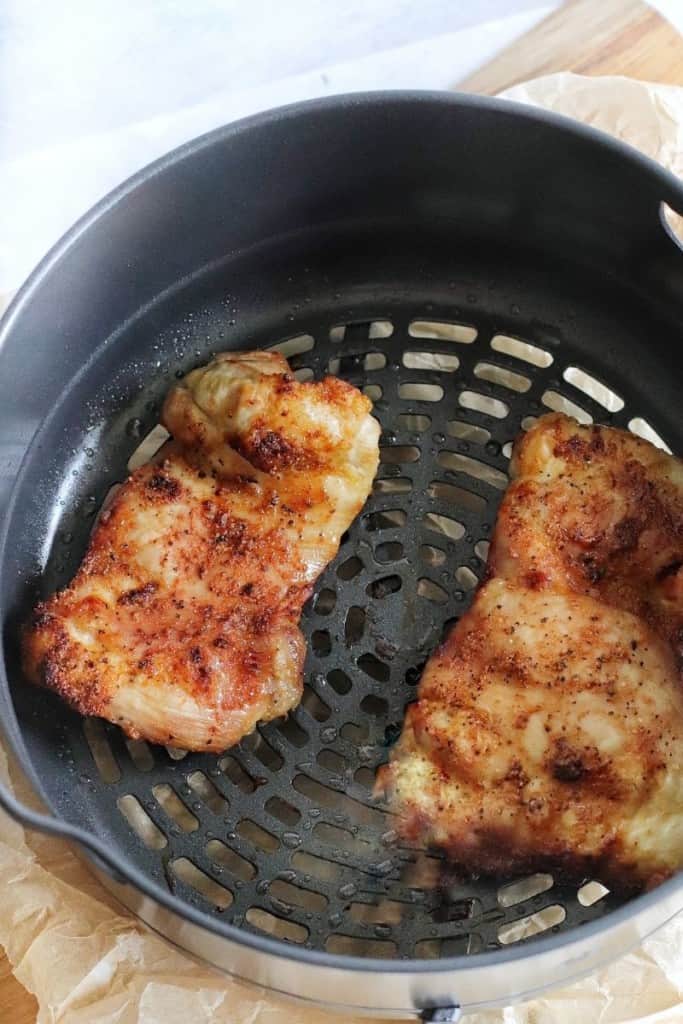
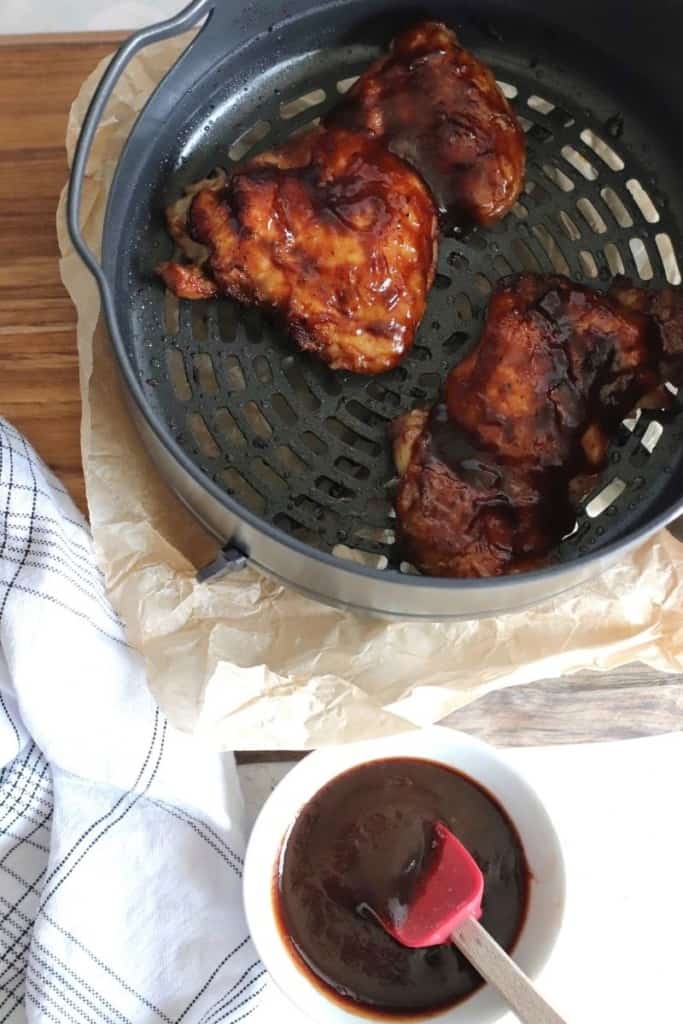
STEP FIVE: Remove the basket from the base. Baste the chicken with BBQ sauce, covering as much of it as you can.
You can use a store-bought BBQ sauce or a homemade BBQ sauce, like our flavorful one here.
STEP SIX: Replace the air fryer basket with the basted chicken in the Ninja Foodi. Cook on air crisp for an additional 2-4 minutes. Remove them from the Ninja Foodi and add additional BBQ sauce if desired.
How to Know When the BBQ Chicken Thighs are Done Cooking
The exact cooking time will depend on the thickness and size of the chicken. That being said, boneless thighs don’t take very long to cook, especially when you use an air fryer.
You just want to make sure your chicken reaches an internal temperature of 165 degrees. That’s when it’s fully cooked and ready to serve!
Can I Put the BBQ Sauce on the Chicken at the Beginning of Cooking?
I know it seems like it would be easy to add the seasoning and sauce at once, then throw everything in the Ninja Foodi. Unfortunately, this will cause the outside of the chicken to burn.
By adding the BBQ sauce at the end and only letting it cook for a few minutes, the sauce will caramelize on the outside of the chicken thighs and taste absolutely amazing. Much better than burning!
Can I Use Different Spices on my chicken?
Absolutely! Feel free to experiment with spices and swap in the spices you love. The same time and temperature applies to any dry rub you use!
Here are just a few of my favorites:
- Weber Kick’n Chicken Seasoning
- Stubbs BBQ Rub
- McCormick’s Lemon Pepper seasoning
- Lawry’s All-Purpose Chicken Seasoning
- Trader Joe’s Chili Lime Seasoning
You can also add in some garlic powder, onion powder, or even cayenne pepper for a little kick!
How to Cook Ninja Foodi Frozen Chicken Thighs
- Preheat the Ninja Foodi Grill to 380 degrees.
- Rub the frozen chicken thighs with the spice rub.
- Cook the thighs in a single layer for 15-20 minutes, flipping once.
- Remove the basket from the base. Baste the chicken with Bbq sauce, covering as much of it as you can.
- Replace the basket with the basted chicken in the Ninja Foodi and cook for 2-4 more minutes.
You can also try this recipe for frozen chicken thighs in the air fryer with Lemon Pepper seasoning!
How to Store Leftovers
If you have extra BBQ chicken thighs, you can store them in an airtight container in the refrigerator.
When stored properly, they will stay fresh for up to four days.

How to Reheat Chicken Thighs in the Ninja Foodi
- Preheat the Ninja Foodi air fryer to 350 degrees.
- Once hot, place the leftover chicken thighs in the air basket.
- Cook for about 3 minutes, or until warmed thoroughly.
Can I Use These Directions in a Normal Air Fryer?
Yes! You can use the exact same time, temperature, and process for them as well. 12 to 15 minutes—including flipping at 6 minutes, basting at 10 minutes, then cooking 2-4 more minutes—will be perfect.
You can also check out how to make air fryer marinated chicken thighs here!
And if you want to make chicken thighs in the oven, our buffalo chicken thighs recipe is delicious!
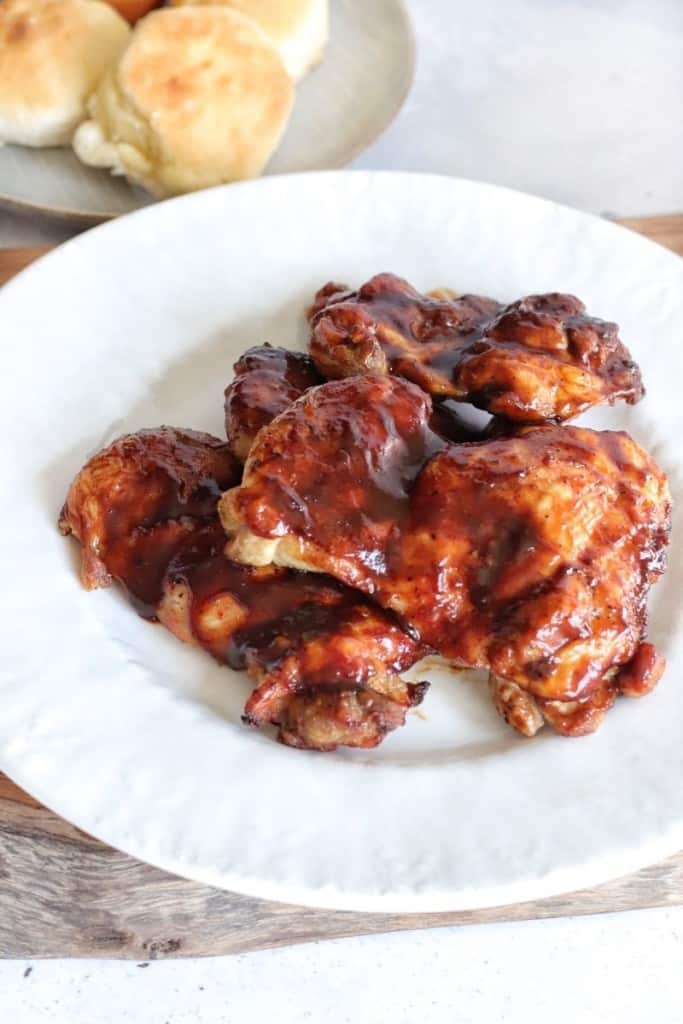
What To Serve with Ninja Foodi Chicken Thighs
- Ninja Foodi Rice
- The Best Corn on the Cob in the Air Fryer
- Air Fryer Nachos
- Ninja Foodi Brussels Sprouts
- The Best Air Fryer Green Tomatoes Recipe
- Air Fryer Frozen Mozzarella Sticks
- Air Fryer Frozen Onion Rings
Is This Recipe Keto-Friendly?
It’s very easy to make this dish keto-friendly. Chicken thighs have zero carbohydrates, so we just need to make sure that what we’re cooking them in doesn’t add too many grams of carbs or sugar.
First, you’ll want to use a low-carb brown sugar replacement like Swerve in the dry rub.
Then, just grab your favorite low-carb or sugar-free brand of barbecue sauce for basting. With those easy ingredient swaps, this dish will be totally keto-friendly!
More Ninja Foodi Recipes You’ll Love:
- Ninja Foodi Baked Potatoes
- Ninja Foodi Frozen Chicken Breasts
- Ninja Foodi Whole Chicken
- Ninja Foodi Chicken Breasts
- Ninja Foodi Mac and Cheese
- Ninja Foodi Chili
- Ninja Foodi Chicken Wings
- Air Fryer Fried Chicken
- Air Fryer Bone-In Chicken Breasts
- Air Fryer Bone in Chicken Thighs
- Air Fryer Boneless Chicken Thighs
- Ninja Foodi Pork Chops
Ninja Foodi Chicken Thighs
Ingredients
- 4 boneless skinless chicken thighs, you can use skin-on as well
- 1 teaspoon salt
- 1 1/2 teaspoon brown sugar
- 1/2 teaspoon smoked paprika
- 1/2 teaspoon black pepper
- 1/2 cup BBQ sauce
Instructions
- Preheat the Ninja Foodi to 375 degrees on Air Crisp.
- Season the chicken by rubbing the salt, brown sugar, smoked paprika, and black pepper all over the chicken thighs.
- Place the chicken thighs in the air fryer basket in a single layer and cook on Air Crisp for 10 minutes, flipping the chicken thighs halfway through cooking.
- Remove the basket from the base and baste chicken with BBQ sauce on both sides. Place chicken thighs back in the air fryer and cook on Air Crisp for an additional 2 to 4 minutes.
- Remove them from the air fryer and enjoy! Chicken thighs are done cooking once they reach an internal temperature of 165 degrees.
Notes
How to Reheat Chicken Thighs in the Ninja Foodi:
1. Preheat your Ninja Foodi on Air Crisp to 350 degrees. 2. Cook leftover chicken thighs for about 3 minutes until warmed thoroughly.How to Cook Frozen Chicken Thighs in the Ninja Foodi:
1. Preheat your Ninja Foodi air fryer to 380 degrees on Air Crisp. 2. Rub the frozen chicken with the spice mixture in above recipe using a little oil if needed. 3. Cook the chicken thighs for 15 to 20 minutes, flipping the chicken halfway through. 4. Baste chicken with BBQ sauce on both sides, then cook for an additional 2 to 4 minutes.Nutrition
This nutrition information is based on the exact products I used in this recipe. Brands and sizes of products could alter exact nutrition and should always be calculated independently.
Like this? Leave a comment below!


One of our favorites! Quick BBQ Chicken Thighs in less than a hour. Try it, I guarantee you will love it.
I recommend pressure cooking the thighs first for 12 min. Then season, air fry for 10 min , turning 1/2 way through
Then apply BBQ sauce ( I recommend Sweet Baby Rays)
and air fry for another 4 min ( 2 on either side) cool and enjoy!😃👍🏻
Hi Tony, Thanks for your feedback! I’m thrilled you enjoyed this chicken thighs recipe!