Ninja Foodi Whole Chicken
This post may contain affiliate links, read my disclaimer.
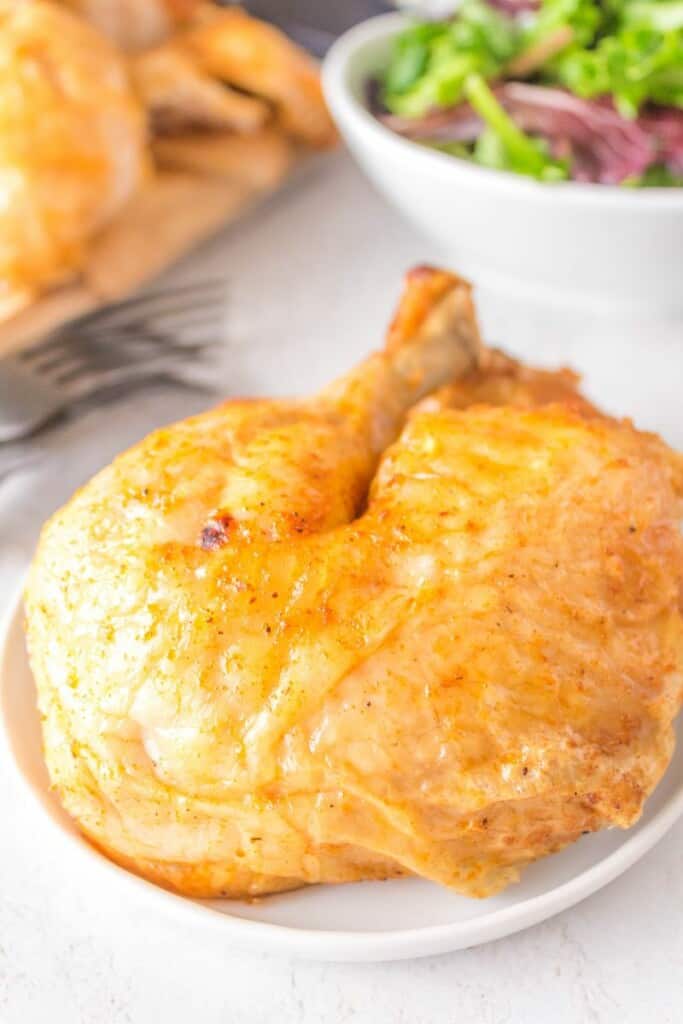
You can make a delicious roast chicken right in your air fryer! A Ninja Foodi whole chicken brings pounds of protein and boatloads of flavor to the table in just 30 minutes.
Roasting a whole bird is the most cost effective and most tasty way to prepare poultry at home. It might seem intimidating at first, but it’s actually pretty easy!
All you need are the right tools and seasonings for the job.
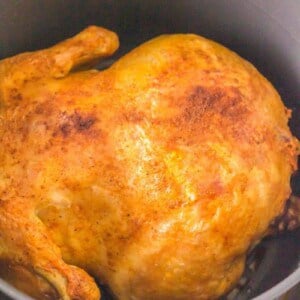
We lay it all out for you right here! Crispy on the outside yet moist on the inside, a Ninja Foodi whole chicken has more benefits than just its terrific taste!
Because it utilizes dry heat, making a whole chicken in your Ninja Foodi air fryer helps to preserve the maximum amount of nutrients.
This recipe is great for a wholesome dinner or to portion out for meal prep. Make it work for you!
Here’s what I’m going to teach you in this post:
- How to make a whole chicken in Ninja Foodi air fryer in just 30 minutes!
- Some tips on how to prepare and serve an air fried chicken.
- Best practices for storing and saving leftovers — and some yummy ways to enjoy them!
Ninja Foodi whole chicken is rich and robust from that first crunch to the very last juicy drops. Lemony and peppery, it’s a 5 star main course to suit any side dish!
I used a Ninja Foodi air fryer/pressure cooker combo appliance for this recipe.

How to Make Ninja Foodi Whole Chicken
A full printable version of this recipe with ingredient measurements is available at the bottom of this post.
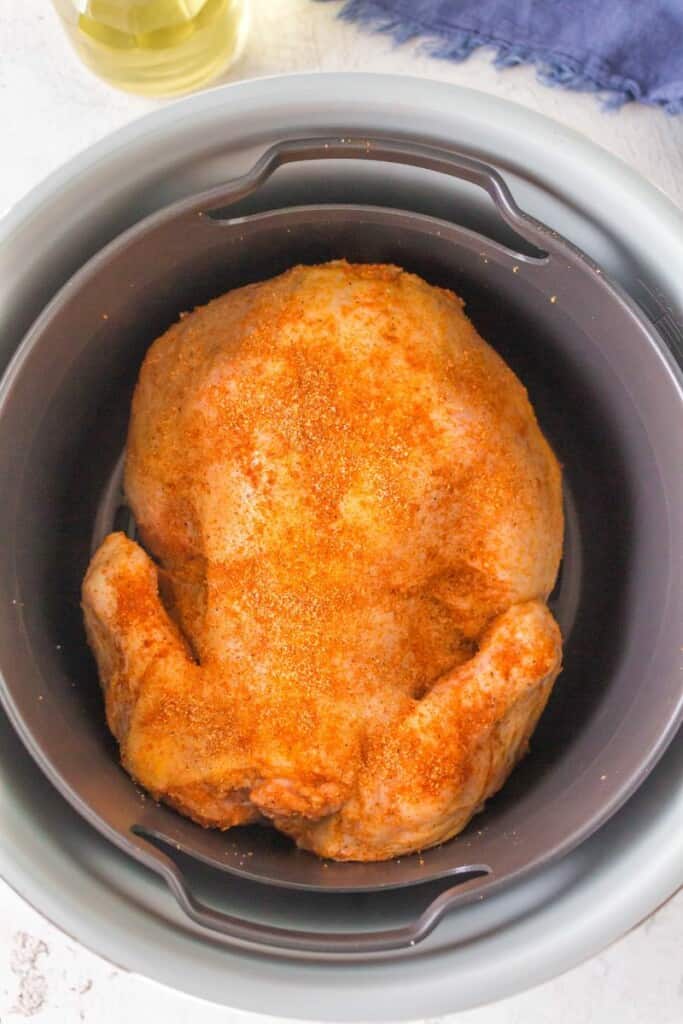
STEP ONE: Clean your chicken and empty the cavity. Pat dry with paper towels and place on a plate. Place the onion pieces either in the cavity of the chicken or underneath the chicken in the Foodi.STEP TWO: Add the seasonings to a small bowl: lemon pepper, onion salt, and paprika. Whisk together. Sprinkle the seasoning mix all over the prepared chicken, pressing lightly into the flesh with your hands. Set aside.
STEP THREE: Pour the water or chicken broth into the gray Foodi liner bowl. Transfer the seasoned bird into the black crisp basket. Place the basket in the liner. Pressure cook on HIGH for 12 minutes. Perform a quick release once finished.
STEP FOUR: Remove the lid and brush the oil all over the surface of the chicken. Close the Foodi. Now cook on the Air Fryer setting at 390°F for 15-18 minutes, depending on how crispy you’d like the skin.
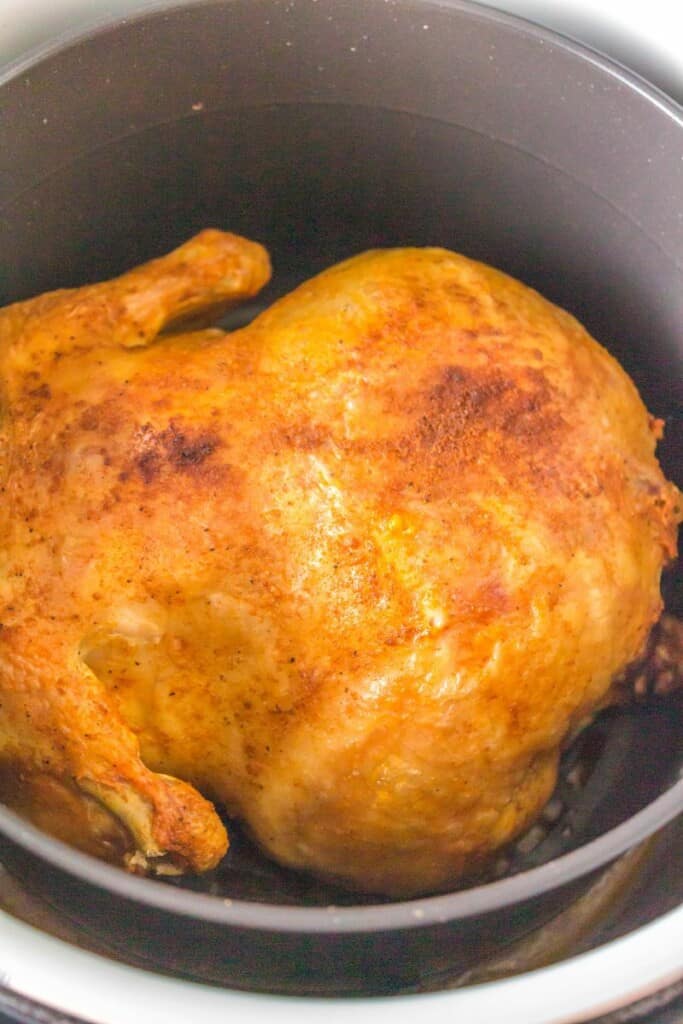
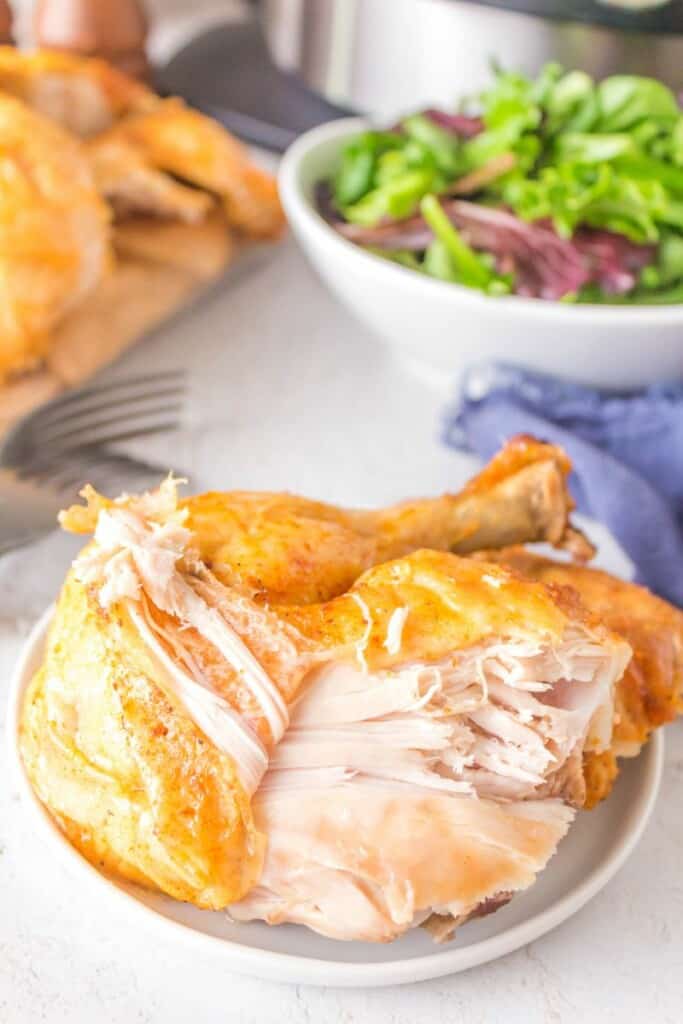
STEP FIVE: Remove the bird from the fryer and let sit for at least 15 minutes before carving.
How Long Does A Whole Chicken Take In The Air Fryer?
It took me just over 30 minutes to prepare and roast a whole chicken in my Ninja Foodi air fryer.
But it depends on the exact make and model of your specific fryer! The safe internal temperature for chicken is 165°F, so make sure you hit that mark before slicing and serving.
It also depends on the size of the bird. I go with a 4 lb chicken because I personally found a 6 lb one to be too big.
It took up the entire basket and prevented the whole bird from being cooked evenly.
How Long Does Roasted Chicken Last In The Fridge?
Stored properly, cooked chicken remains fresh in the fridge for up to 4 days.
Be sure to allow the Ninja Foodi whole chicken to completely cool before either slicing or storing whole in an airtight container.
You can also easily freeze roasted poultry to enjoy later on. The best way, however, is to go ahead and carve it.
This will help it thaw and avoid freezer burn if you intend to keep it in the freezer as long as possible — 3 to 4 months at most.

Serving A Whole Roasted Chicken
I’ve found that a simple side of vegetables and roasted potatoes is the perfect way to complete this traditional homestyle meal.
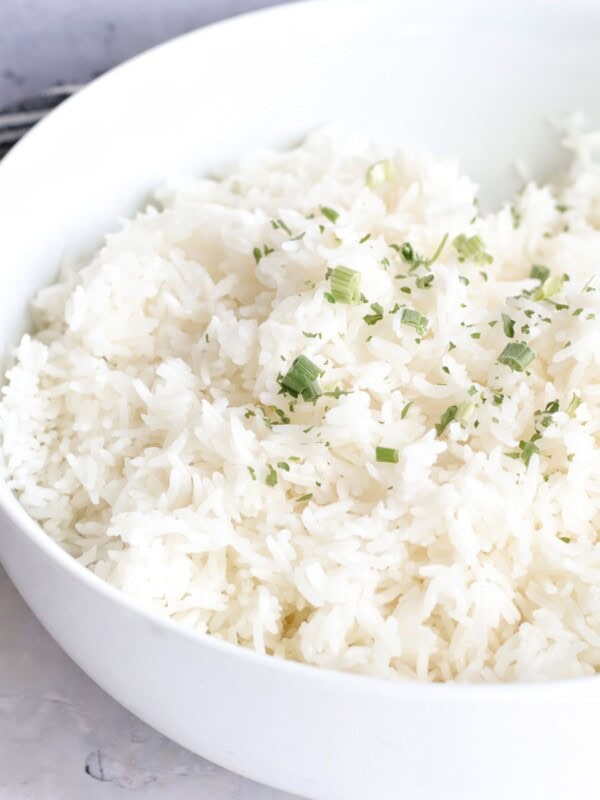
However, you have almost endless possibilities: mashed potatoes, fluffy rolls, a veggie stir fry, or even a light pasta.
I sometimes enjoy serving the leftovers even more than the day of! We like to make sandwiches, pinwheels, or mix some cuts into pasta with a smooth cheese sauce.
If you want to try a different seasoning, try out our air fryer whole chicken recipe!
Substitutions & Variations
While we clean and empty the cavity in this basic recipe, you can stuff and prepare a whole chicken in a Ninja Foodi the same way you would any roast poultry.
Stuff with vegetables, like carrots and celery, or a handful of herbs. Thyme and rosemary, for example, are a classic combination that complements chicken beautifully.
Some roast recipes use lemon juice rather than lemon pepper. That is a possible variation, but, in all of the recipes that I’ve tried, lemon-pepper yields the most tender result.
If you do not have any, simply mix ½ teaspoon of ground pepper with the zest of one whole lemon.
Other Ninja Foodi Recipes You’ll Love:
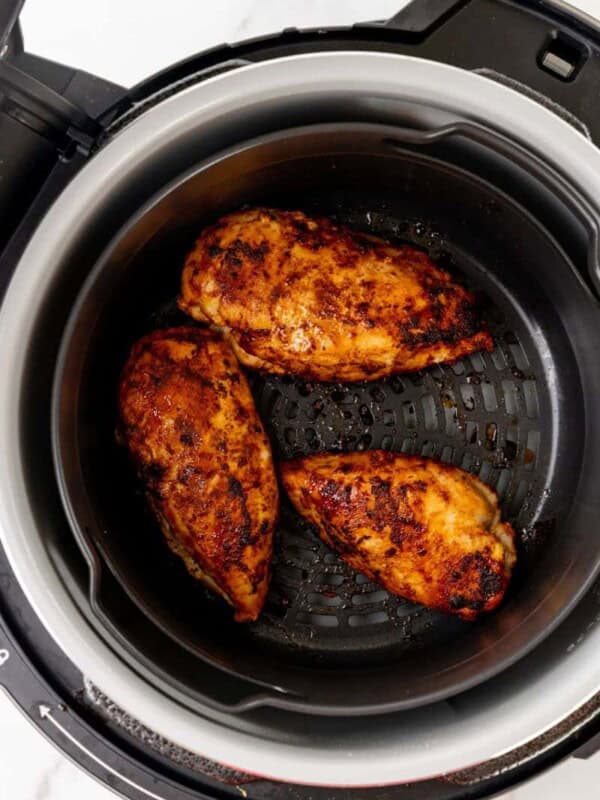
- Ninja Foodi Chicken Breasts
- Ninja Foodi Brussels Sprouts
- Ninja Foodi Mashed Potatoes
- Ninja Foodi Baked Potato
- Ninja Foodi Pork Chops
- Ninja Foodi Frozen Chicken Breast
- Ninja Foodi Chili
- Ninja Foodi Chicken Wings
- Ninja Foodi Beef Stew
- Ninja Foodi Mac and Cheese
- Ninja Foodi Pulled Pork
- Ninja Foodi Chicken Thighs
Ninja Foodi Whole Chicken
Ingredients
- 4- pound whole chicken
- 1 medium onion cut into big pieces, I used yellow onion but you can use white, sweet, and or white
- 1 teaspoon lemon pepper seasoning
- 2 teaspoons onion salt, you can substitute with onion powder (1 ½ teaspoon and 1 teaspoon salt
- ½ teaspoon paprika
- 1 cup water, or chicken broth
- 2 tablespoons olive oil, or any vegetable oil
Instructions
- Clean the chicken and empty the cavity then pat dry with paper towels. Add the onions to either the cavity or under the basket of the chicken.
- In a small bowl, mix the lemon-pepper, onion salt, and paprika. Sprinkle evenly on the chicken. Gently press down. Set aside.
- In the Foodi liner, (gray bowl) pour 1 cup of water (or chicken broth).
- Place the seasoned chicken into the crisp basket (air fryer black basket) into the liner.
- Pressure cook the chicken on HIGH for 12 minutes then quick release.
- Open the Foodi and gently brush oil over the chicken.
- Set the Foodi on Air Fryer setting at 390 degrees F for 15-18 minutes or until the desired crispiness.
- Take the chicken out of the Ninja Foodi and enjoy!
Nutrition
This nutrition information is based on the exact products I used in this recipe. Brands and sizes of products could alter exact nutrition and should always be calculated independently.
Like this? Leave a comment below!


I’ve done a chicken twice this way and it’s wonderful, thanks for your efforts.
Why can’t I see where the chopped white onion comes in??? Am I blind? thanks
Hi Clara,
Put the chopped onion on top of the raw chicken before cooking it.
Thanks 🙂
Directions say to cook on high for 12 minutes first. I don’t have a Pressure Cook button so I used Bake. Was I supposed to use Slow Cook?
Hi Carol, this recipe is made for the Ninja Foodi with the air fryer and pressure cooking functions. Pressure cooking is very different than baking (which would be like cooking it in the oven). I am not sure what model you have if you have a bake and slow cook function, but no pressure cook option.
This worked exactly as written, thanks!
Hi Deb, I’m so glad to hear this recipe turned out perfectly for you! Enjoy.
Thank you for your time in posting your recipes. Really appreciate them.
You’re so welcome, Christine! I hope you love this chicken recipe.