No Bake Cheesecake With Cool Whip
This post may contain affiliate links, read my disclaimer.
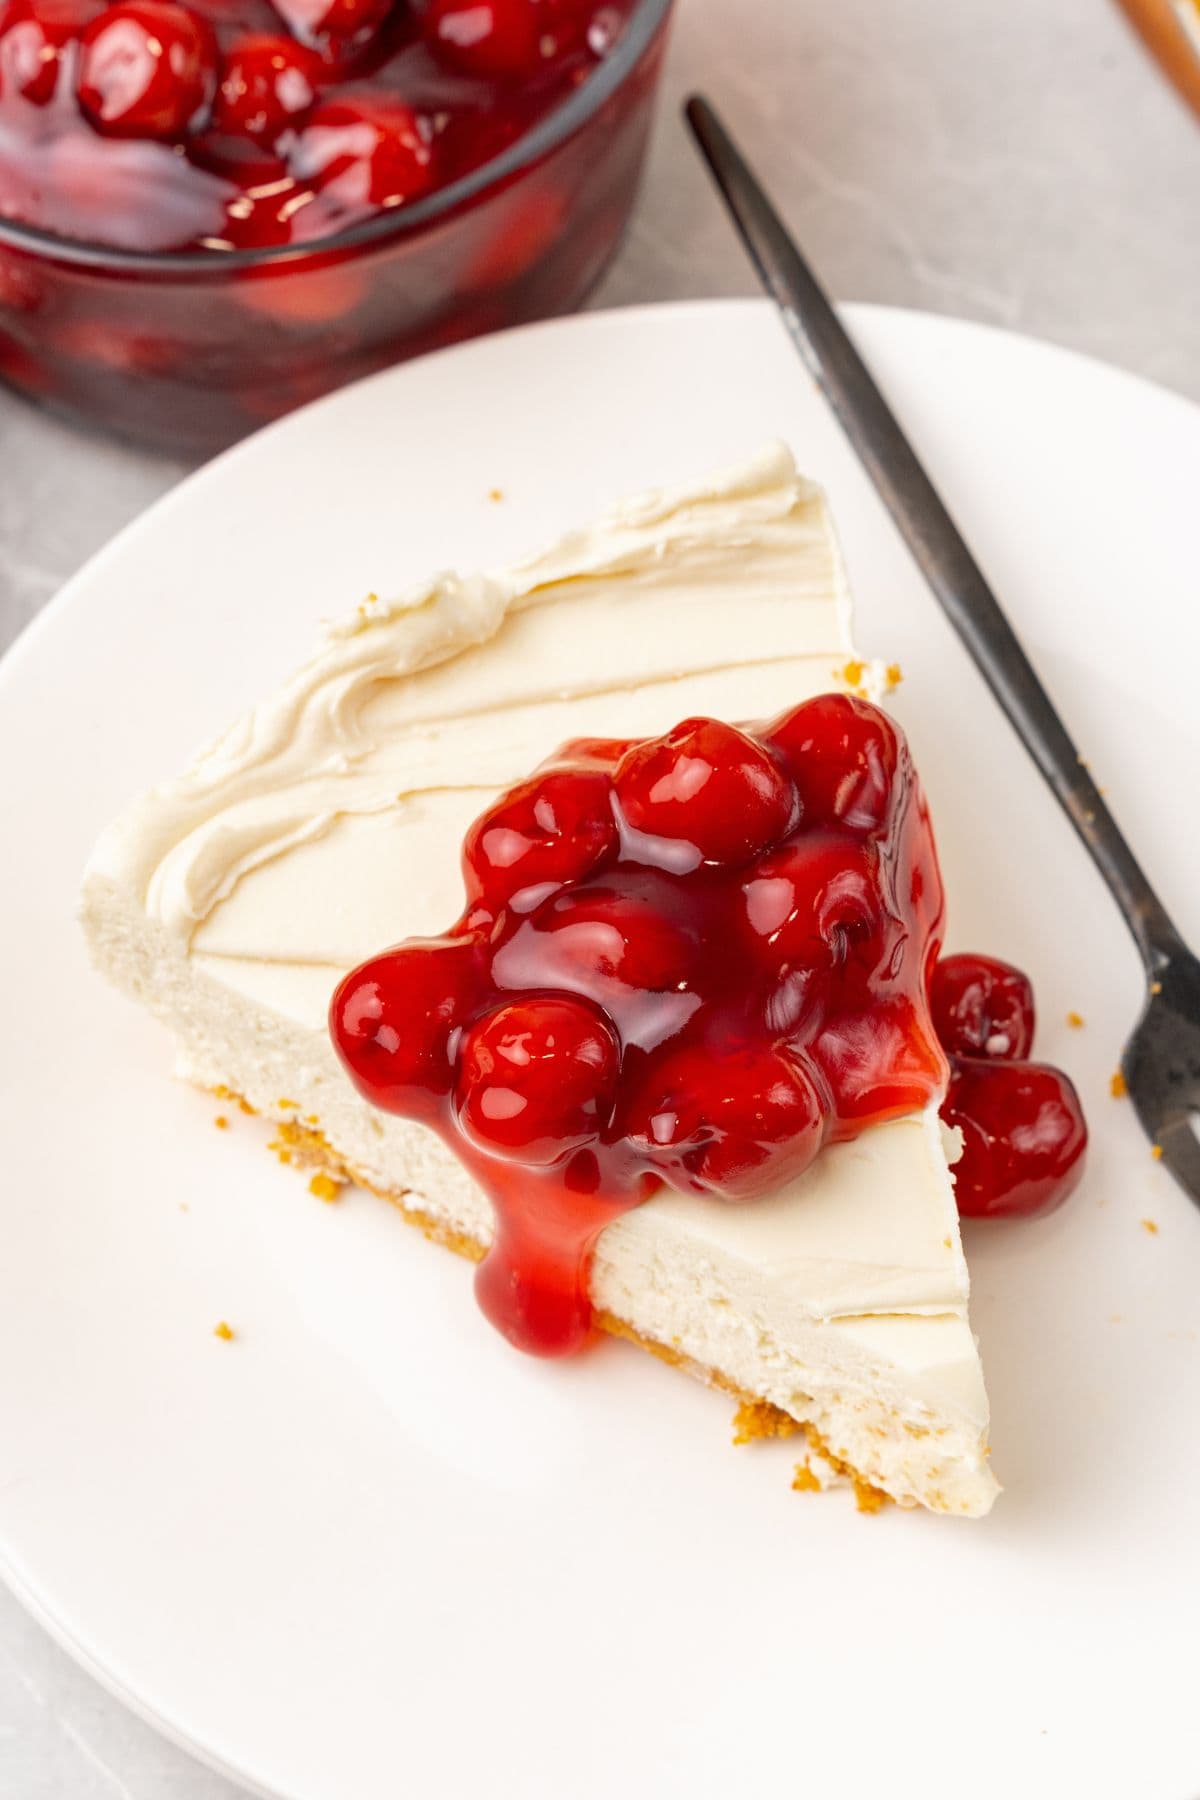
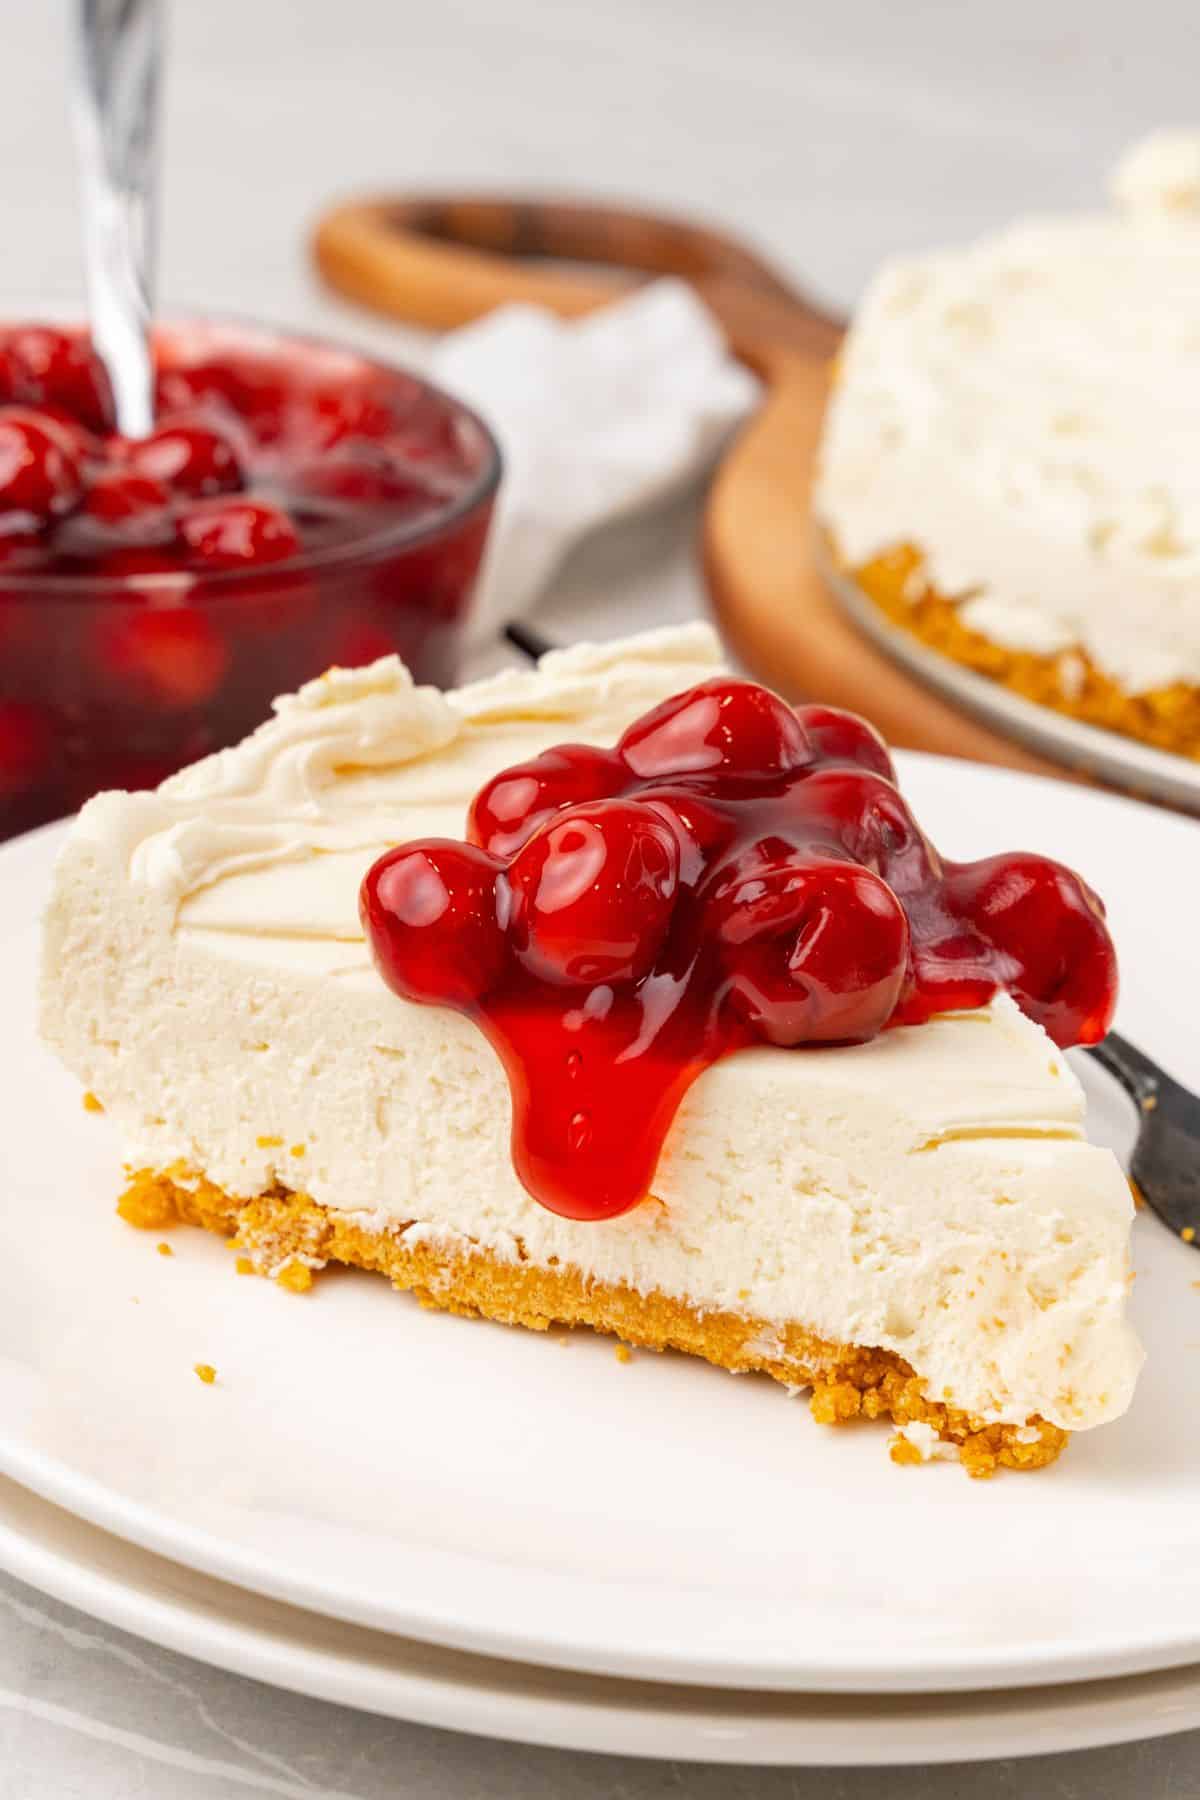
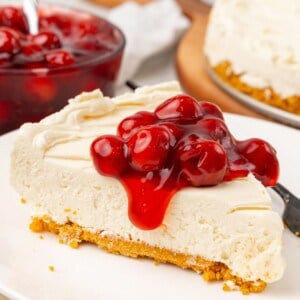
My no bake cheesecake with Cool Whip is easy to put together, creamy, and perfect with cherry pie filling on top. It’s made with just 8 ingredients for the best texture, while being completely homemade!
My Favorite No Bake Cheesecake Recipe
Cheesecake is one of those recipes I expect at every holiday, so I created my no bake cheesecake with Cool Whip recipe as an excuse to make it more often.
I knew in order to make it all the time, I needed it to be quick to put together without lacking in the texture or flavor. So, I used graham crackers crumbs for the crust and cream cheese and Cool Whip for the filling.
I can literally put the entire no bake cheesecake recipe together in less than 10 minutes, stick it in the fridge, and it’s ready to be served with cherry pie filling when I want.
My daughter Leah, who has a huge sweet tooth, has now been helping me in the kitchen put the cheesecake together. And, I love it!
For more cheesecake recipes, be sure to check out my strawberry crunch cheesecake, apple crumble cheesecake, 3 ingredient no bake cheesecake, and red velvet Oreo cheesecake!
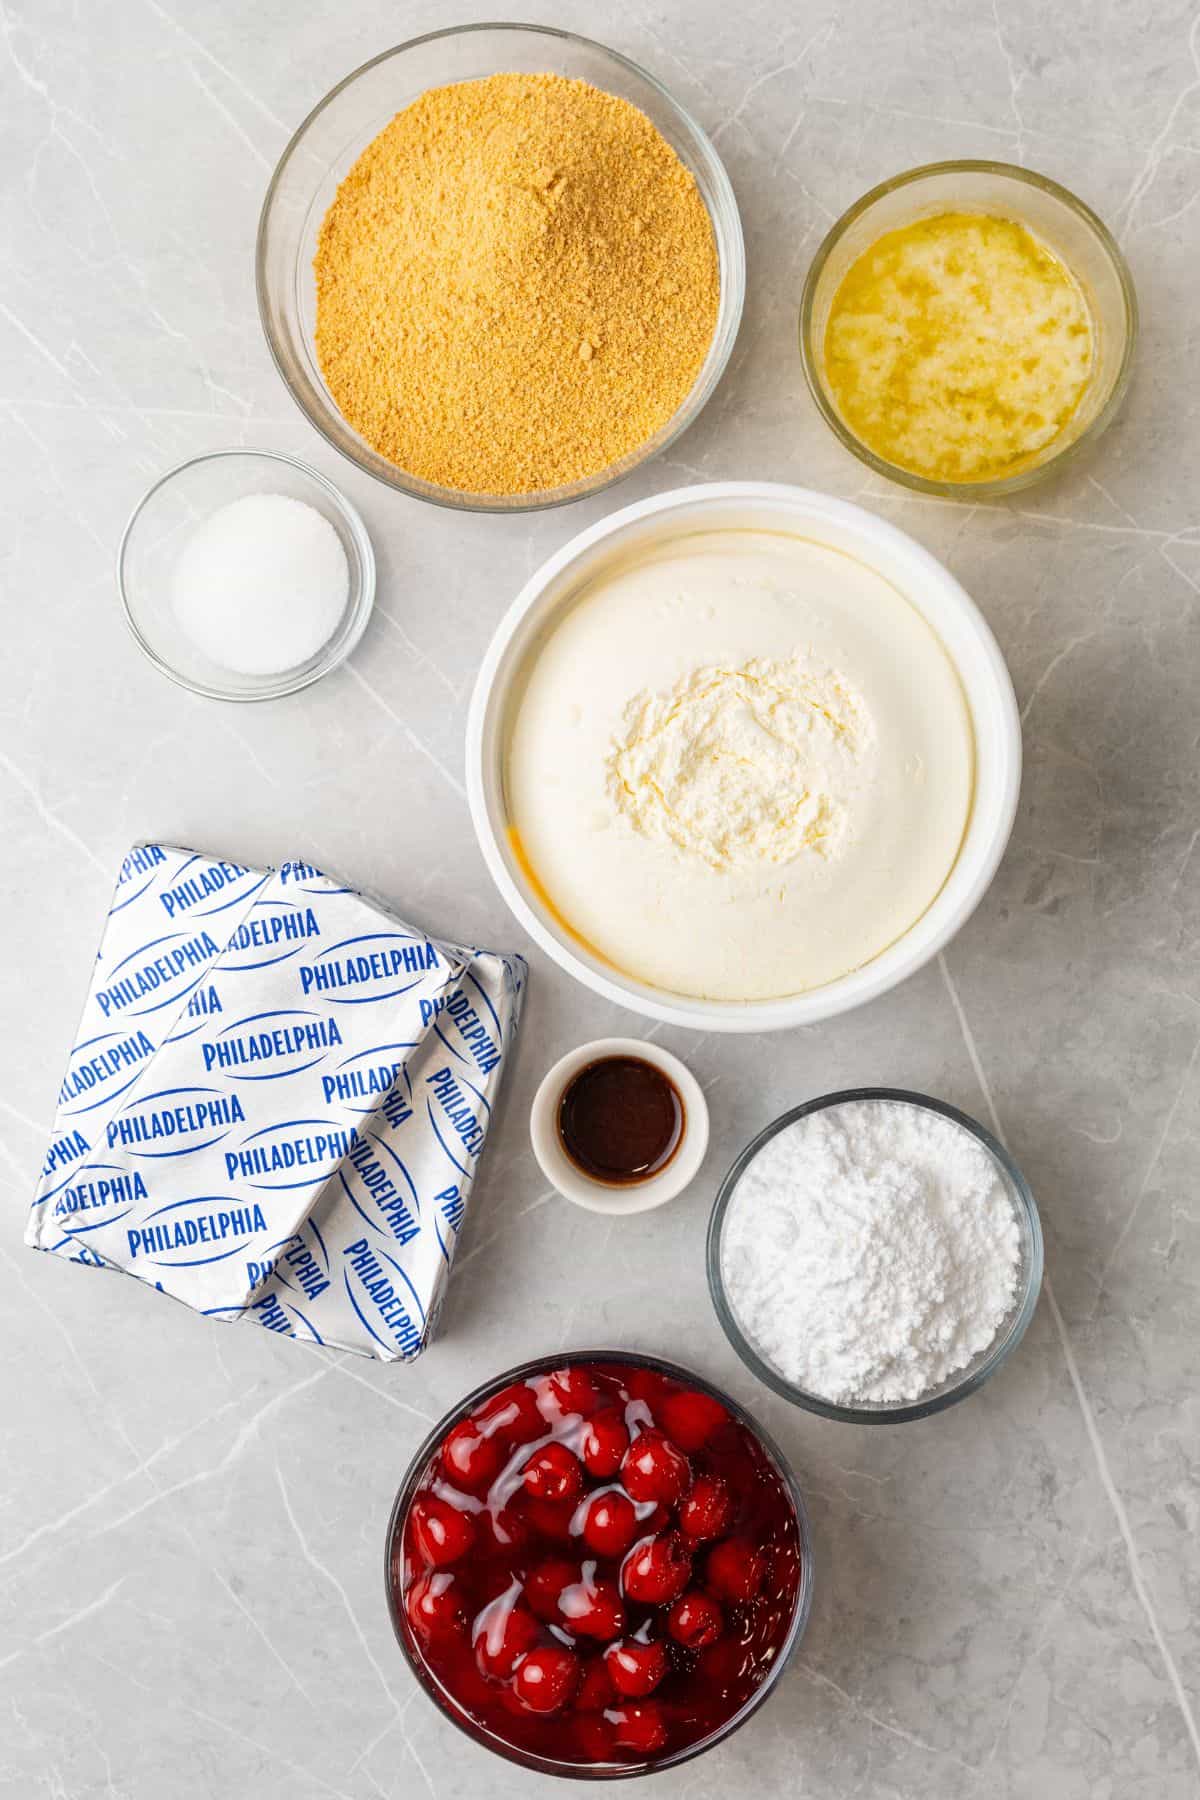
Cool Whip Cheesecake Ingredients
- Graham cracker crumbs – I use these for a classic graham cracker crust that balances the creamy filling without overpowering it.
- Butter – I melt butter to bind the crumbs together so the crust holds its shape once chilled.
- Granulated sugar and powdered sugar – I use granulated sugar in the crust and powdered sugar in the filling to get all the right textures.
- Cream cheese bricks – Softening fully to room temperature is key for a lump-free, creamy filling.
- Vanilla extract – A small amount adds depth and keeps the cheesecake from tasting flat.
- Cool Whip – This gives the cheesecake its light, airy structure without sacrificing richness.
- Cherry pie filling – I love this classic cheesecake topping, but it’s easy to swap for other flavors.
How to Make a No Bake Cheesecake with Cool Whip
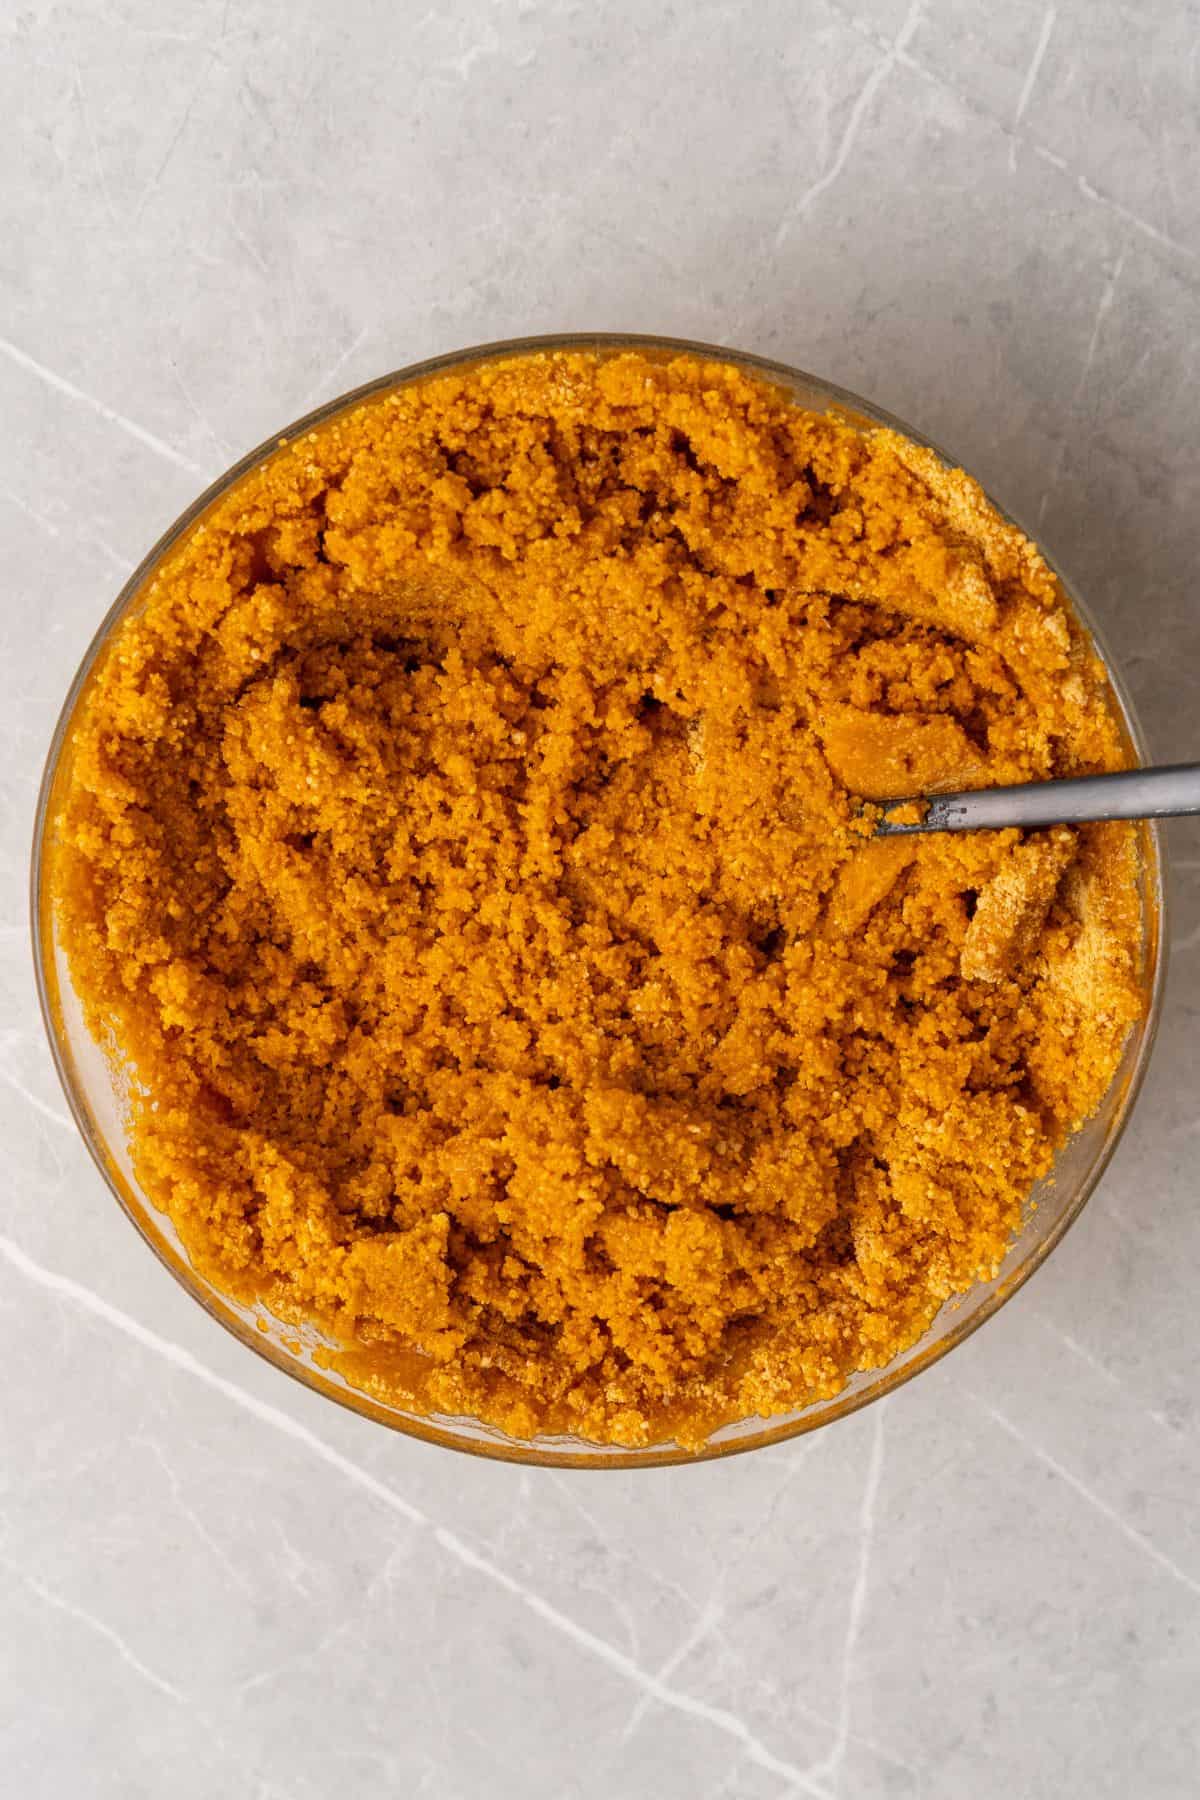
STEP ONE: Mix the graham cracker crumbs, melted butter, and granulated sugar in a medium bowl until it resembles the texture of wet sand.
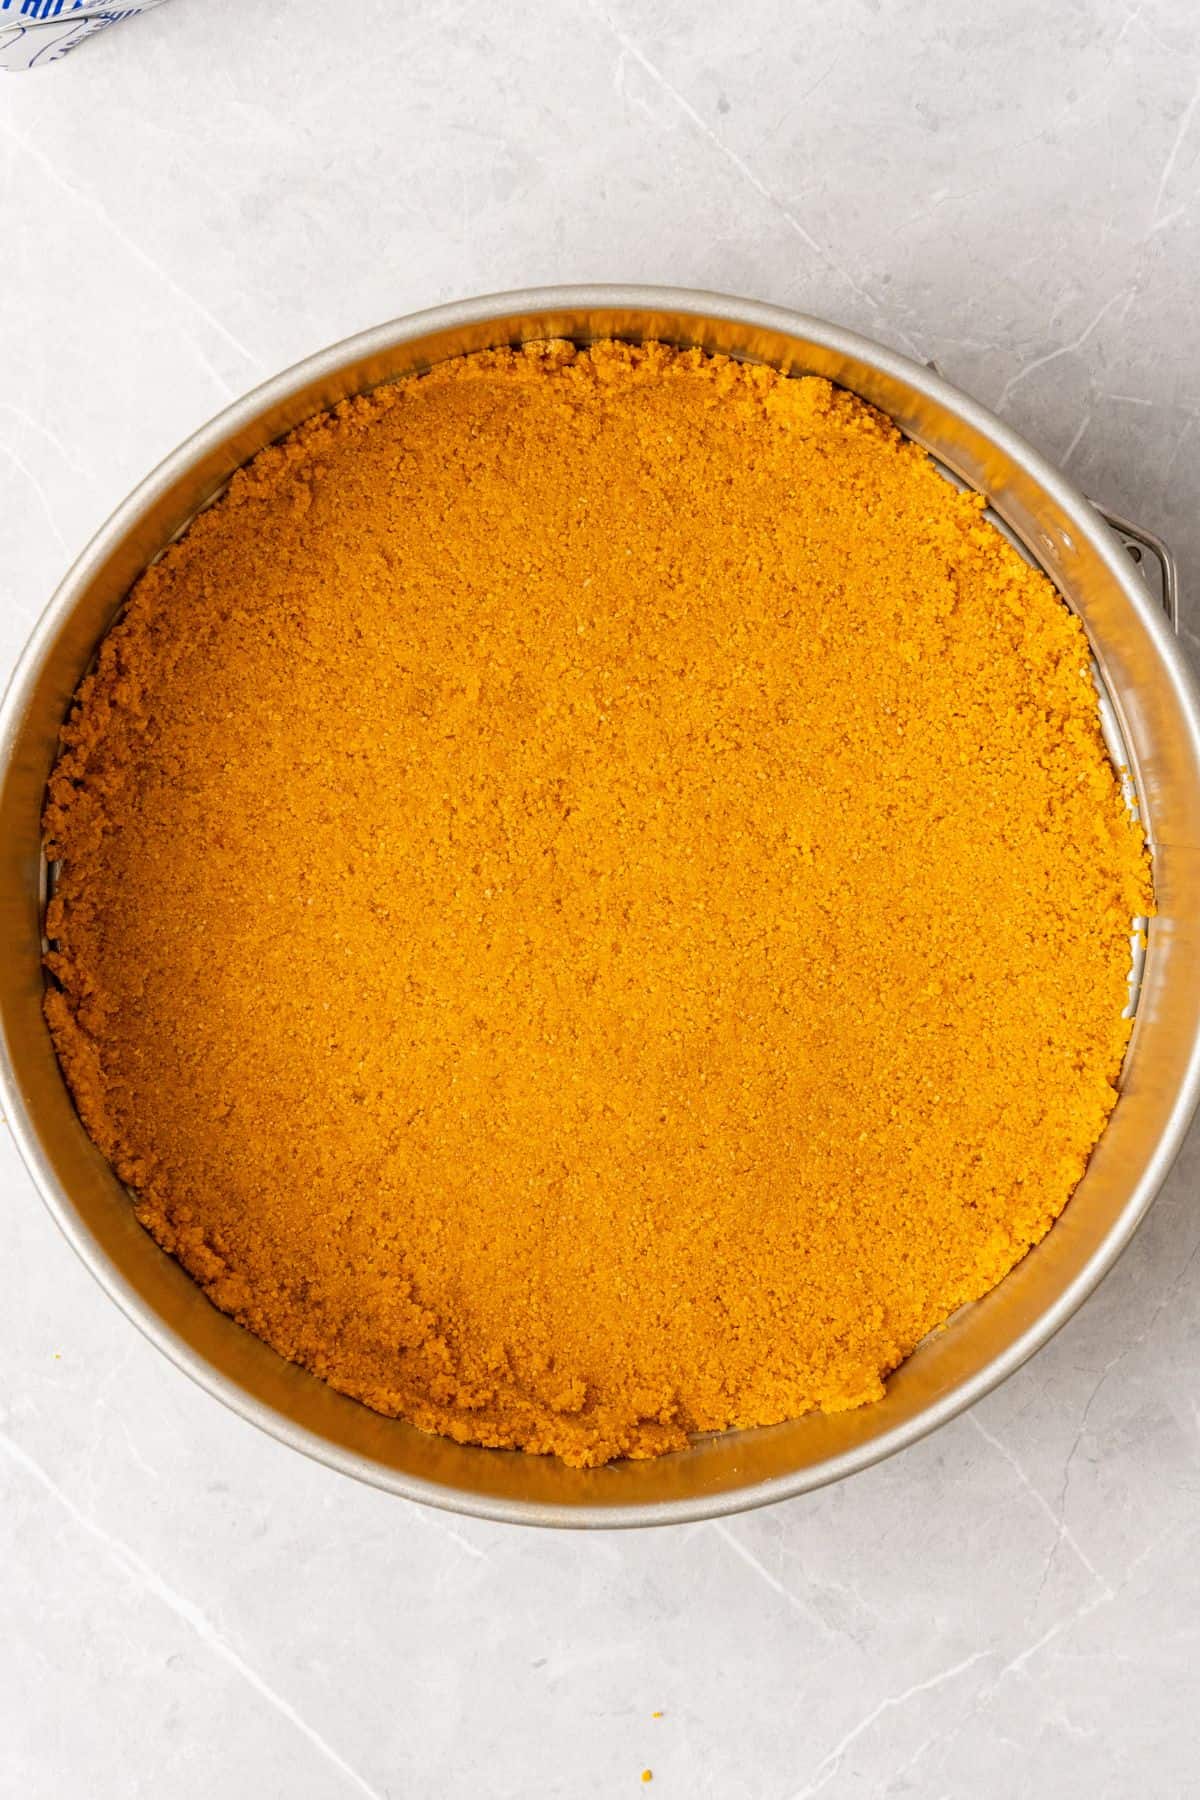
STEP TWO: Firmly press this mixture into the bottom of a 9” springform pan, then place it in the fridge while putting together the filling.
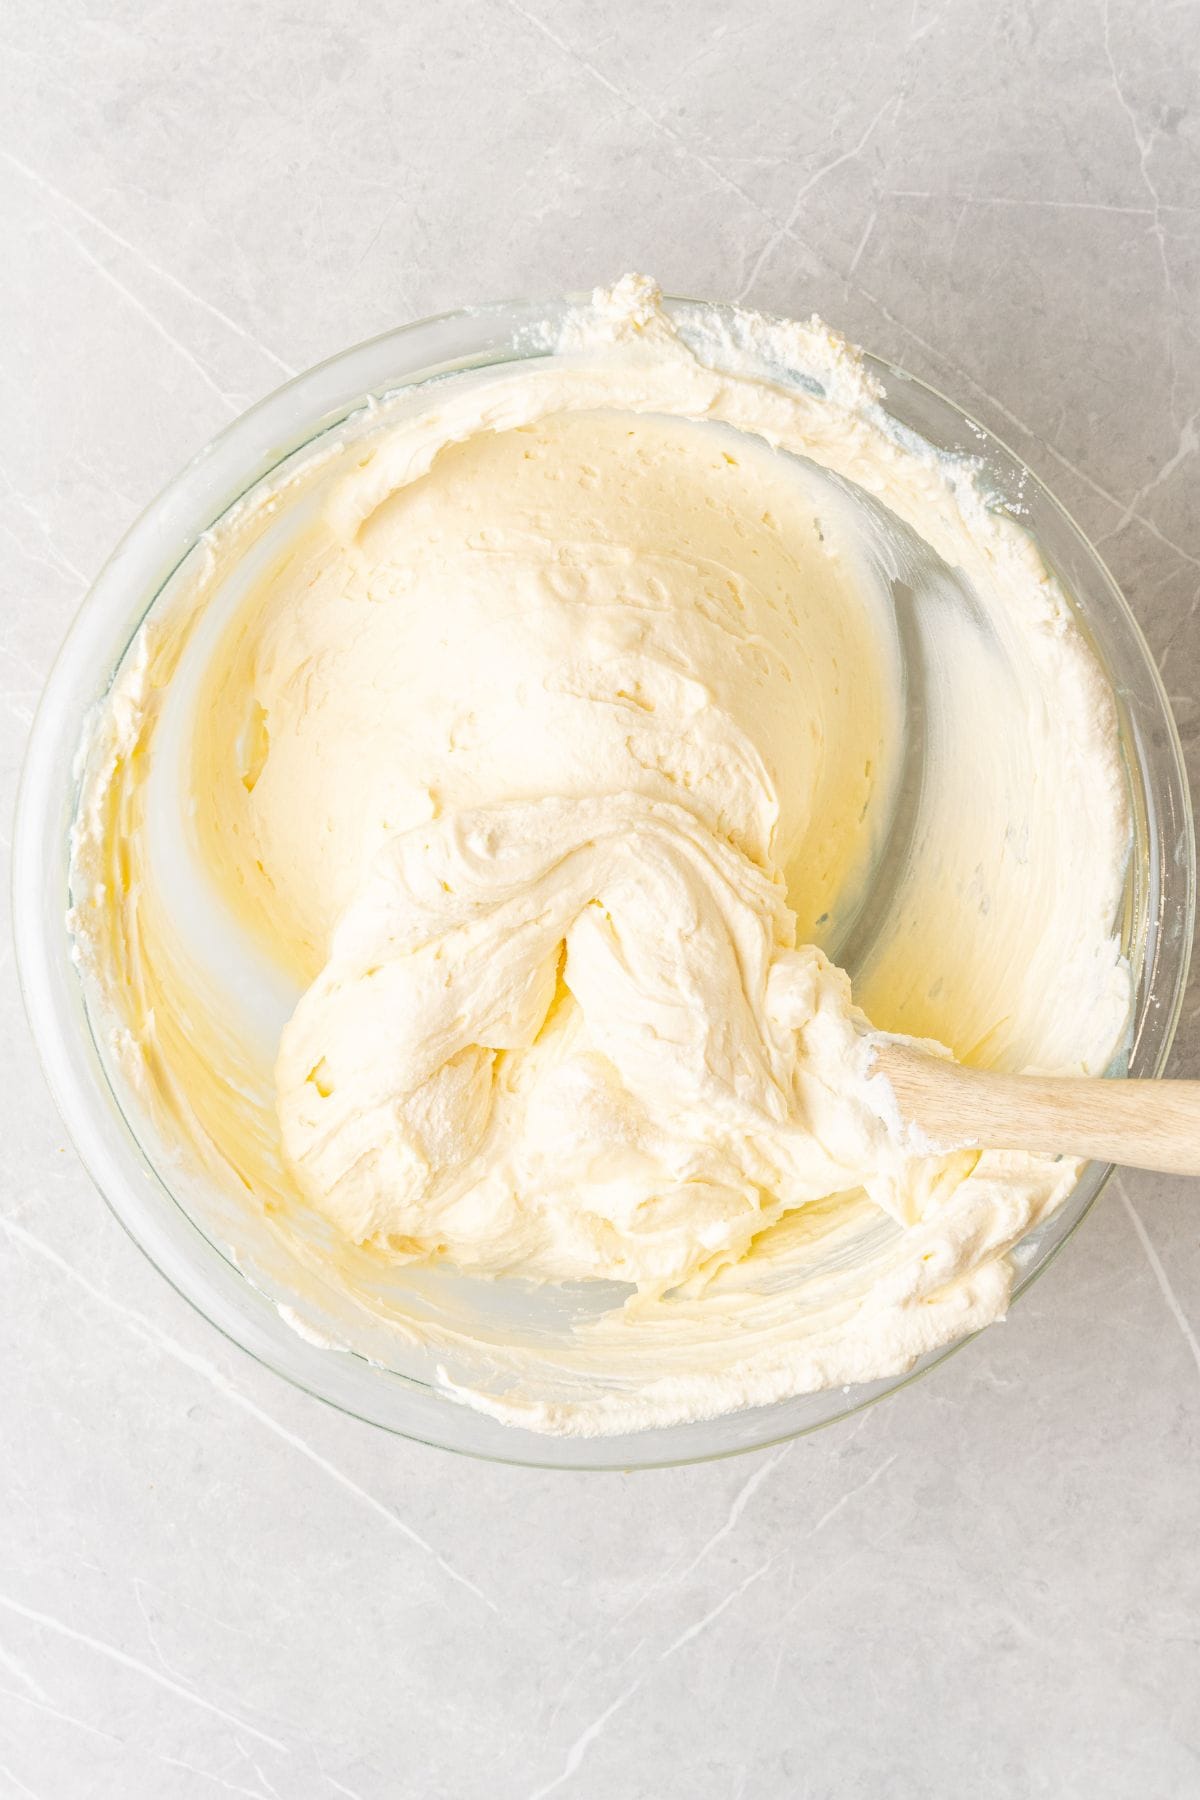
STEP THREE: In a separate large bowl, cream together the cream cheese and powdered sugar until it’s smooth. Mix in the vanilla extract, then gently fold in the Cool Whip by hand until the whipped cheesecake mixture is fully combined.
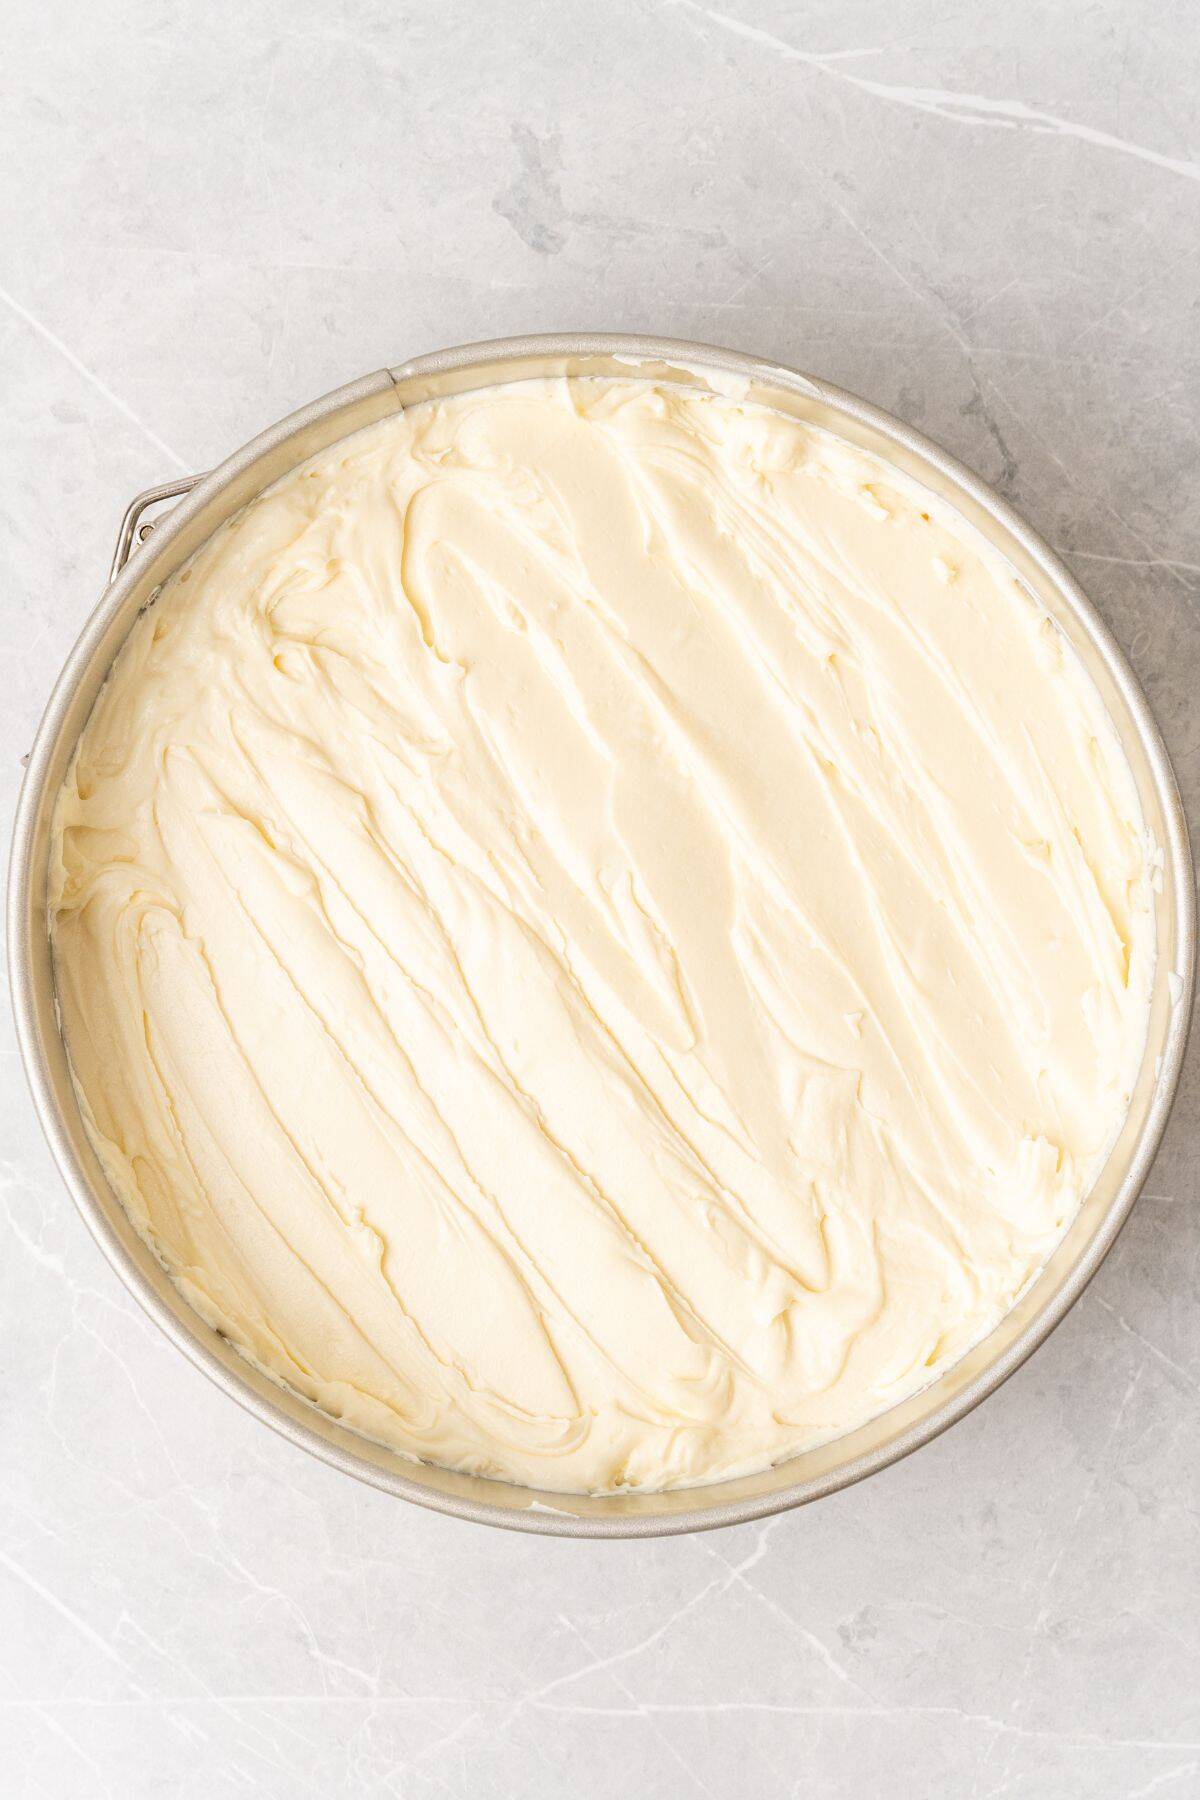
STEP FOUR: Evenly spread the cream cheese mixture over the crust. Place the pan in the fridge and let the dessert chill for at least 3 hours.
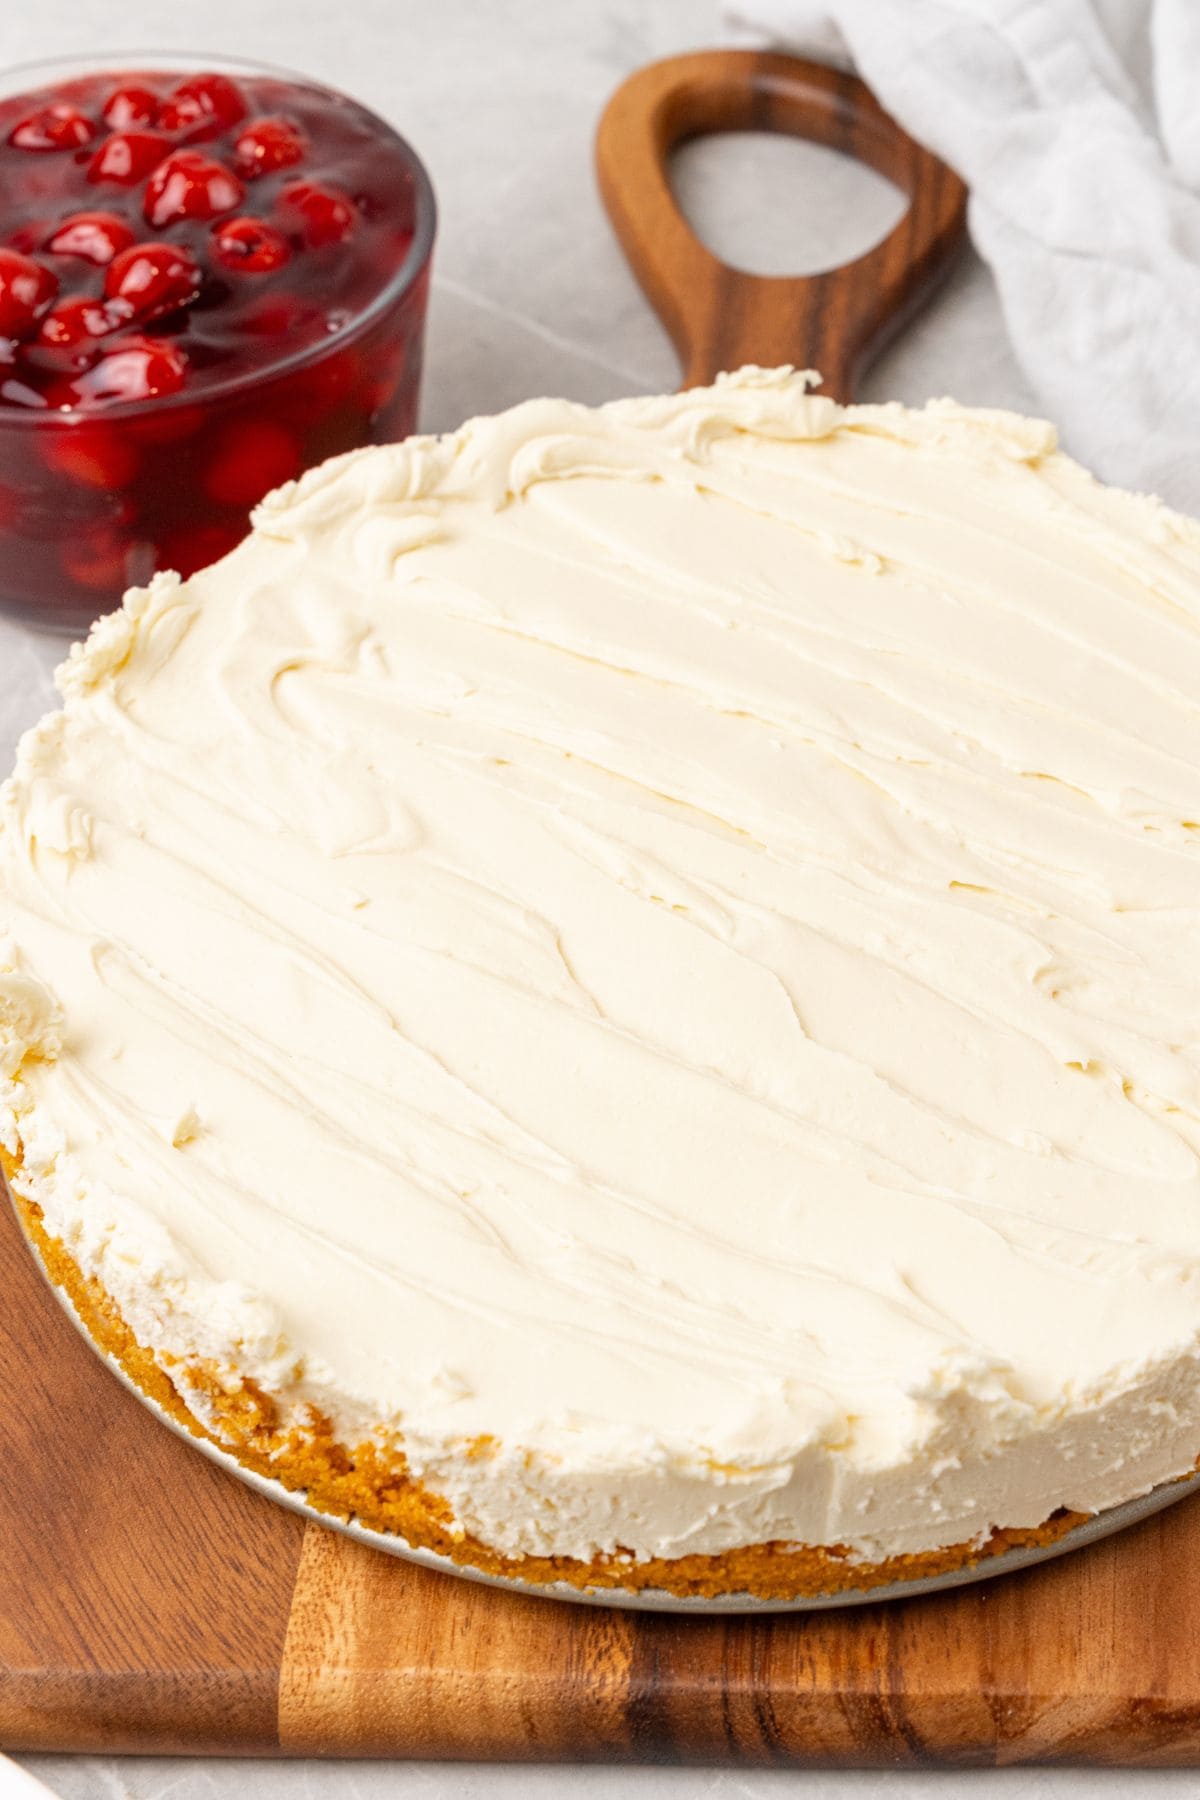
STEP FIVE: Remove the sides of the springform pan, then top it with cherry pie filling just before serving.
Recipe Tips
- To keep the filling light and fluffy, I gently fold the Cool Whip in with a rubber spatula instead of mixing aggressively.
- I mix the powdered sugar in very gradually to avoid any lumps and get a super smooth, creamy texture.
- For a sturdy graham cracker crust, I press it firmly into the pan using the bottom of a measuring cup.
- I make sure my graham cracker crust is chilled completely before I add the cheesecake filling. I’ve even popped the crust into the freezer to chill just to be safe!
- I try to let my Cool Whip cheesecake chill overnight in the refrigerator for the best texture, but if I’m short on time, I still give it a bare minimum of 3 hours to chill.
Variations and Substitutions
- For a different crust, I swap graham crackers for chocolate cookies, gingersnaps, or crushed pretzels.
- I sometimes replace the cheesecake topping with blueberry, strawberry, or lemon instead of cherry.
- For a chocolate version, I sprinkle chopped candy bars over the top once my cheesecake is fully chilled. Reese’s cups, Snickers bars, and M&Ms are my favorite!
- Swirling in fruit preserves like seedless raspberry or strawberry is another way I like to add flavor without weighing down the filling.
- A drizzle of butterscotch, caramel, or chocolate sauce makes my no bake cheesecake feel like a bakery dessert.
What to Serve with Homemade Cheesecake
I usually serve my no bake cheesecake with some whipped cream, chocolate whipped cream, vanilla ice cream, or pineapple ice cream with fresh fruit like strawberries, blueberries, raspberries, or blackberries on the side!
I’ve also played around with adding cinnamon roll apple pie filling or strawberry crunch on top instead of the classic cherry pie filling for a fun twist!
No Bake Cheesecake with Cool Whip FAQs
How do I keep my cheesecake firm?
I make sure I give the cream cheese enough time to fully soften, thaw the Cool Whip, fold the filling gently, and give my cheesecake enough time to chill. When I get these things right, the cheesecake sets beautifully without needing gelatin or baking.
How should I store leftovers?
I store leftover cheesecake covered tightly with aluminum foil or in an airtight container in the fridge. It keeps well for up to 4 days without losing its creamy texture.
Can I freeze cheesecake?
I freeze slices individually wrapped in plastic wrap and stored in an airtight container. When I’m ready to serve, I let them thaw in the fridge until soft but still chilled.
More Easy Recipes Made with Cool Whip
- Peanut butter pie with Cool Whip
- Strawberry pretzel salad
- Cool Whip frosting
- Fruit salad with Cool Whip
- Chocolate Cool Whip
Easy No Bake Cheesecake With Cool Whip
Equipment
Ingredients
- 1 ½ cups graham cracker crumbs
- ⅓ cup melted butter
- 1 tablespoon granulated sugar
- 24 ounces cream cheese, softened to room temperature
- 1 cup powdered sugar
- 1 teaspoon vanilla
- 8 ounces Cool Whip
- 20 ounces cherry pie filling
Instructions
- In a medium bowl, mix together the graham cracker crumbs, melted butter, and granulated sugar until the mixture resembles wet sand.
- Firmly press the mixture into the bottom of a 9” springform pan. Chill the crust in the fridge until the filling is prepared.
- In a separate large bowl, cream together the cream cheese and powdered sugar until smooth.
- Mix in the vanilla extract and then fold in the cool whip until fully combined.
- Evenly spread the cream cheese mixture over the prepared crust.
- Place in the fridge to chill for at least 3 hours. Remove the sides of the springform pan, then top with the cherry pie filling before serving.
Notes
- Store leftovers in the fridge in an airtight container or covered in plastic wrap for up to 4 days.
Nutrition
This nutrition information is based on the exact products I used in this recipe. Brands and sizes of products could alter exact nutrition and should always be calculated independently.
Like this? Leave a comment below!


This worked exactly as written, thanks!
So glad you enjoyed it, Cyndi!