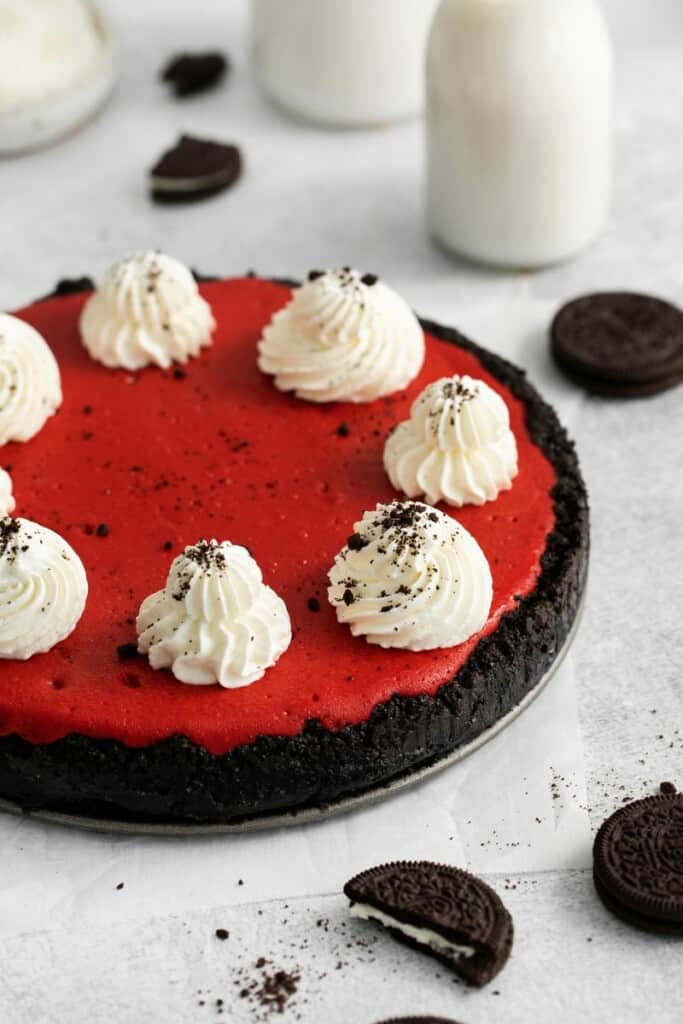
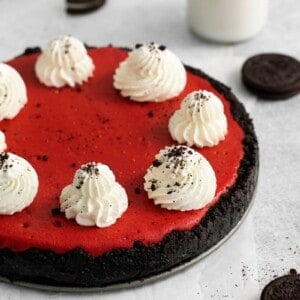
Red Velvet Oreo Cheesecake
This post may contain affiliate links, read my disclaimer.
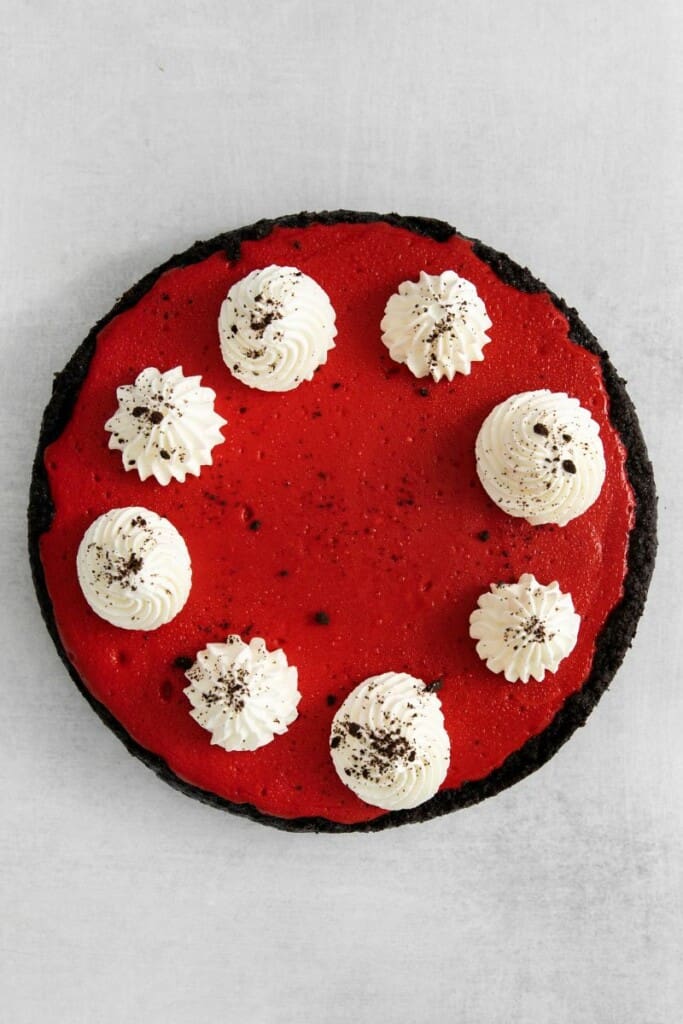
Impress your guests with this lovely red velvet Oreo cheesecake! With a delectably crunchy cookie crust smothered in velvety cheesecake, everyone will be begging for seconds.
Store bought desserts are wonderful in a pinch, but nothing compares to the care and effort that’s poured into a homemade treat.
This recipe combines the classic chocolate flavor of Oreos that we all know and love with creamy, red velvety cheesecake to create a textured red velvet cheesecake with Oreo crust!
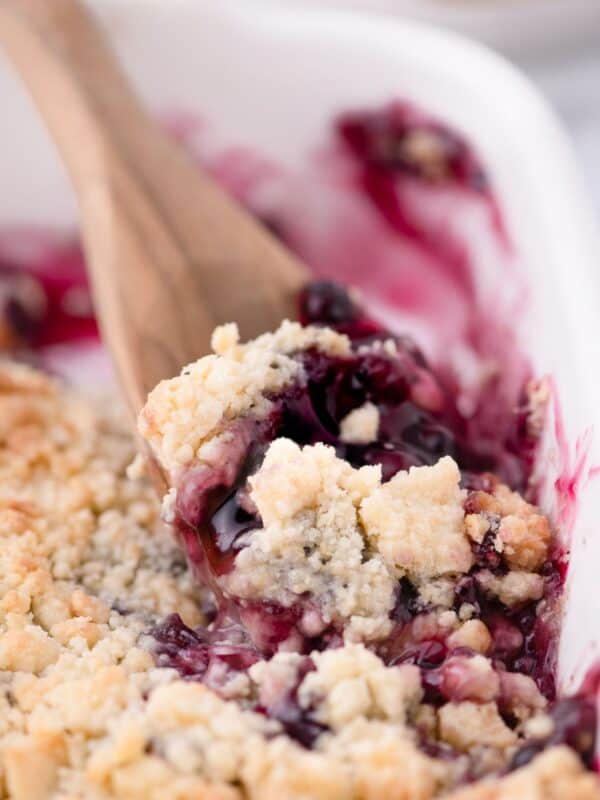
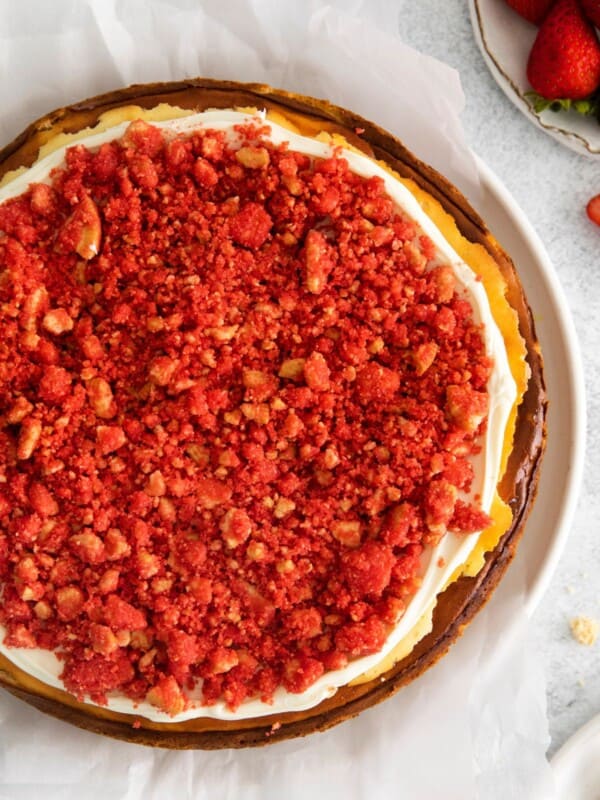
I have shared many cheesecake recipes before, including my 5 ingredient no-bake one, strawberry crunch, and this warm apple crumble version.
While there are SO many delicious varieties of cheesecake out there, this recipe with red velvet and Oreo cookies? It may just take the (cheese)cake!
This recipe has a lot of steps at first glance, but don’t let that intimidate you! The hardest part is waiting for it to cool and set for at least 4 hours without taking a bite.
But like all good things, the wait is well worth it.
Here’s what I’m going to teach you in this post:
- All the ingredients you are going to need to make red velvet cheesecake with Oreo crust.
- Step-by-step instructions on how to create this dish, as well as how to assemble and serve it.
- Tips to make this the most mouthwatering dessert your guests have ever tasted!
This Red Velvet Oreo Cheesecake recipe is a breeze once you get going. And when you finish, your guests will be shocked that it isn’t from a bakery!
How To Make Red Velvet Oreo Cheesecake
A full printable version of this recipe with ingredient measurements is available at the bottom of this post.
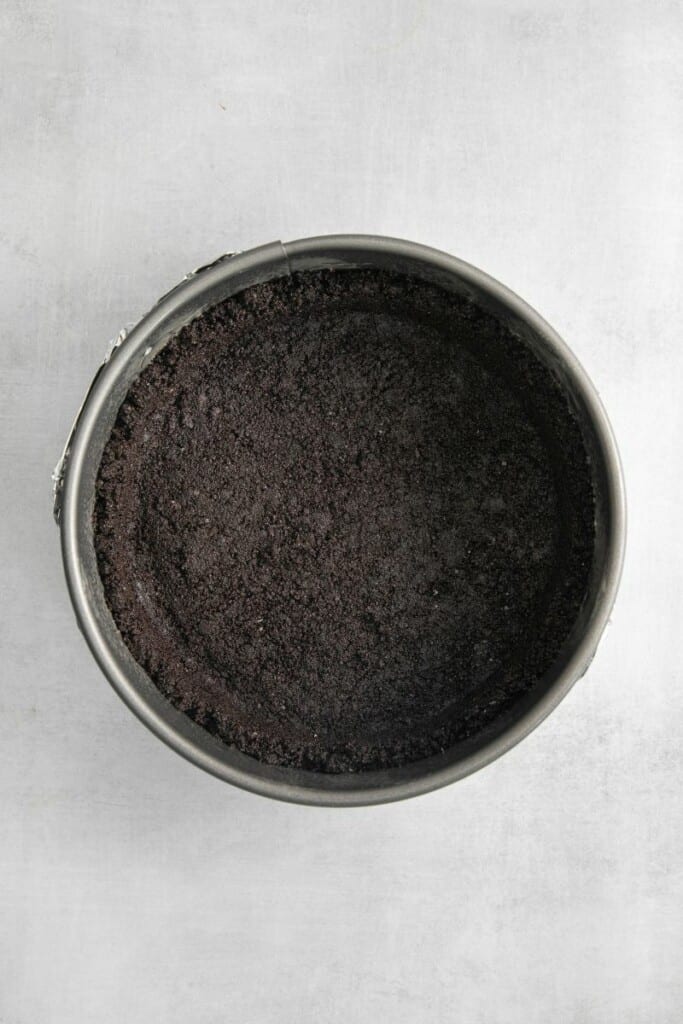
STEP ONE: Preheat your oven to 350F. Wrap the outside of a 9” springform pan with aluminum foil, then grease the inside of the pan with nonstick spray.
STEP TWO: In a medium bowl, stir together Oreo crumbs, melted butter, and salt until combined. Press the mixture into the greased pan — it should be about ¼” thick on the bottom and go about 1” up the sides.
Bake for 8 minutes, then set aside while you prepare the cheesecake layer.
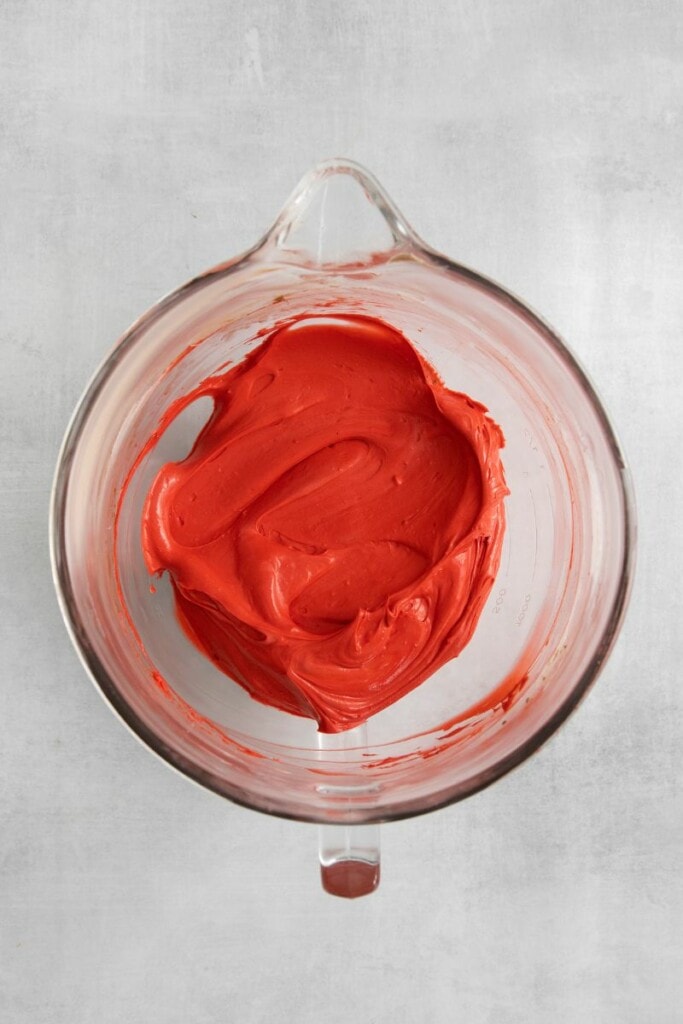
STEP THREE: Add softened cream cheese and granulated sugar to a stand mixer bowl. Beat on medium speed with the paddle attachment until light and fluffy – about 3 minutes.
Then, add sour cream, cocoa powder, and vanilla. Mix to combine while scraping down the sides of the bowl as needed. Add the red food coloring, then switch the mixer to low speed and add the eggs one at a time.
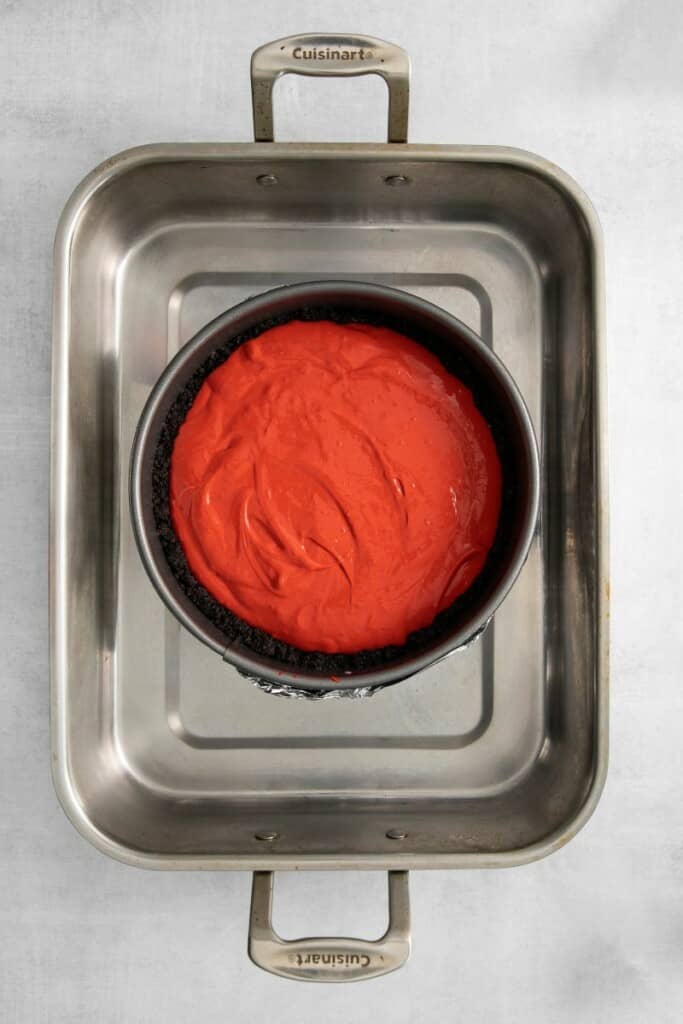
STEP FOUR: Pour the mixture over the Oreo crust and smooth out the top. Place the springform pan into a baking dish, then fill the baking dish halfway with hot water.
Carefully transfer to the oven and bake for 40-45 minutes. Then, transfer the pan to a wire rack and cool to room temperature.
STEP FIVE: Once cooled, place your red velvet cheesecake with Oreo crust in the fridge to chill for at least 4 hours, or preferably overnight.
How Do You Know When Cheesecake Is Done?
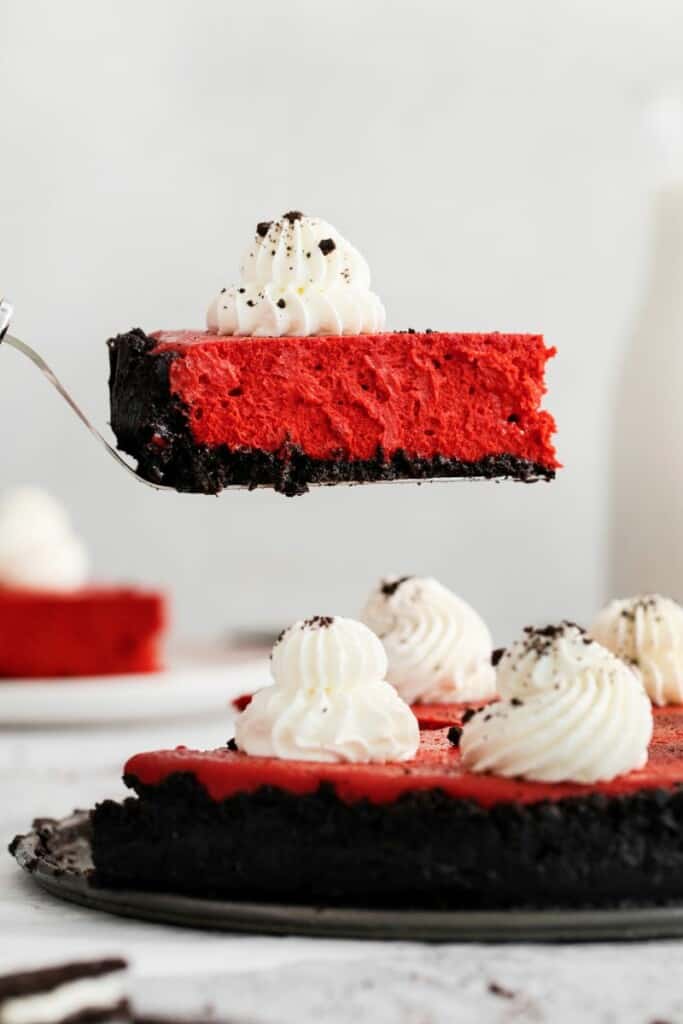
You’ll know it’s done when the edges are set and the middle just slightly jiggles.
Give the pan a gentle shake — if the center is still loose or appears very wet, it needs more time in the oven.
If you’re still unsure, you can tap a clean finger in the center and it should come away clean. Just know that you may need to cover that spot with toppings or decorations!
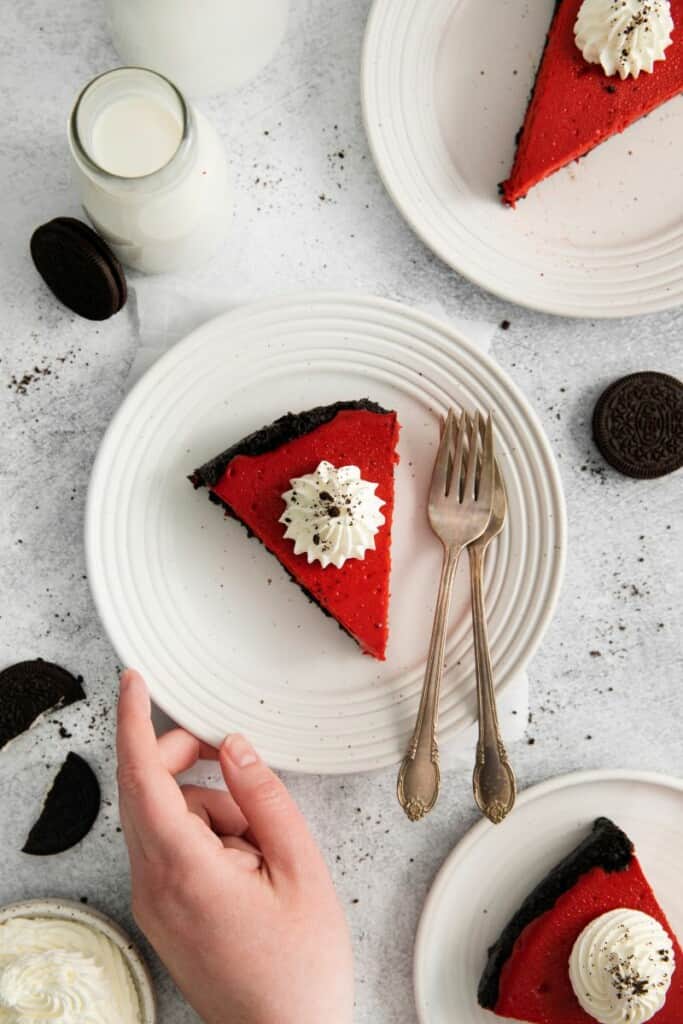
What’s The Best Way To Slice A Cheesecake?
Grab a large, sharp knife and run it under hot water, then dry it thoroughly with a clean towel. The heat from the blade will glide through the center, creating gorgeous, clean slices!
Can You Freeze Red Velvet Oreo Cheesecake?
Absolutely! Once it has fully chilled in the fridge, wrap the entire cheesecake or individual slices tightly in plastic with a layer of tinfoil on top.
Store in the freezer for up to 2 months.
Prior to serving, allow red velvet cheesecake with Oreo crust to thaw in the fridge overnight.
What Makes Red Velvet Cake Flavor?
The classic red velvet flavor comes from a mix of rich cocoa powder and tangy buttermilk.
Since buttermilk would make for a watery cheesecake, we achieve a similar flavor by adding sour cream to the batter.
And to get that distinct red coloring, I use Americolor gel coloring in Red Red or Super Red!
Other Dessert Recipes You’ll Love:
- Red Velvet Brownies
- Red Velvet Cookie
- Lemon Cranberry Bars
- Oreo Cheesecake Cookies
- Oreo Mug Cake
- 3-Ingredient No Bake Cheesecake
- Apple Crisp Mini Cheesecakes
- Pumpkin Cheesecake Cookies
- Strawberry Cheesecake Cookies
Red Velvet Oreo Cheesecake
Ingredients
For the Oreo Crust
- 3 cups oreo cookie crumbs
- 6 tablespoons butter, melted
- ½ teaspoon kosher salt
For the Cheesecake Layer
- 3 bricks cream cheese, softened (24 ounces total)
- 1 cup granulated sugar
- ½ cup sour cream
- 2 tablespoons cocoa powder
- 1 teaspoon pure vanilla extract
- 2 teaspoons red gel food coloring
- 3 large eggs
Instructions
- For the Oreo Crust
- Preheat the oven to 350F. Wrap the outside of a 9” springform pan with aluminum foil to prevent water from seeping into your cheesecake. Lightly grease the pan with nonstick baking spray.
- In a medium bowl, stir together the oreo crumbs, melted butter, and salt. Transfer the mixture to the prepared pan and press it into an even and compact ¼” thick layer. The crust should cover the bottom and 1” up the sides of the pan.
- Bake the crust for 8 minutes and then set it aside while you prepare the cheesecake layer.
- For the Cheesecake Layer
- Add the softened cream cheese and granulated sugar to the bowl of a stand mixer fitted with the paddle attachment. Beat on medium speed until light and fluffy– at least 3 minutes.
- Next, add the sour cream, cocoa powder, and vanilla. Mix to combine and scrape down the sides of the bowl as needed.
- Add the red food coloring to the cheesecake and mix until fully combined.
- With the mixer on low speed, add the eggs one at a time.
- Carefully pour the cheesecake layer over the oreo crust.
- Place the springform pan into a large baking dish and fill the baking dish halfway with hot water. Carefully transfer the baking dish (with the cheesecake in it) to your oven.
- Bake for 45-50 minutes, or until the center of the cheesecake is set and no longer jiggles when shaken.
- Carefully remove the cheesecake from the water bath and place it on a wire rack to cool to room temperature.
- When the cheesecake has cooled, transfer it to the fridge and allow it to chill for at least 4 hours, but preferably overnight.
- To slice the cheesecake, run a sharp flat bladed knife under hot water and then wipe it clean with a paper towel. Slice 1 piece of cheesecake and repeat the process until you’ve cut each piece– keeping the knife clean will help you get really clean slices!
- Store any leftover cheesecake in an airtight container in the fridge for up to five days.
Nutrition
This nutrition information is based on the exact products I used in this recipe. Brands and sizes of products could alter exact nutrition and should always be calculated independently.
Like this? Leave a comment below!