Ninja Foodi Rice

This post may contain affiliate links, read my disclaimer.
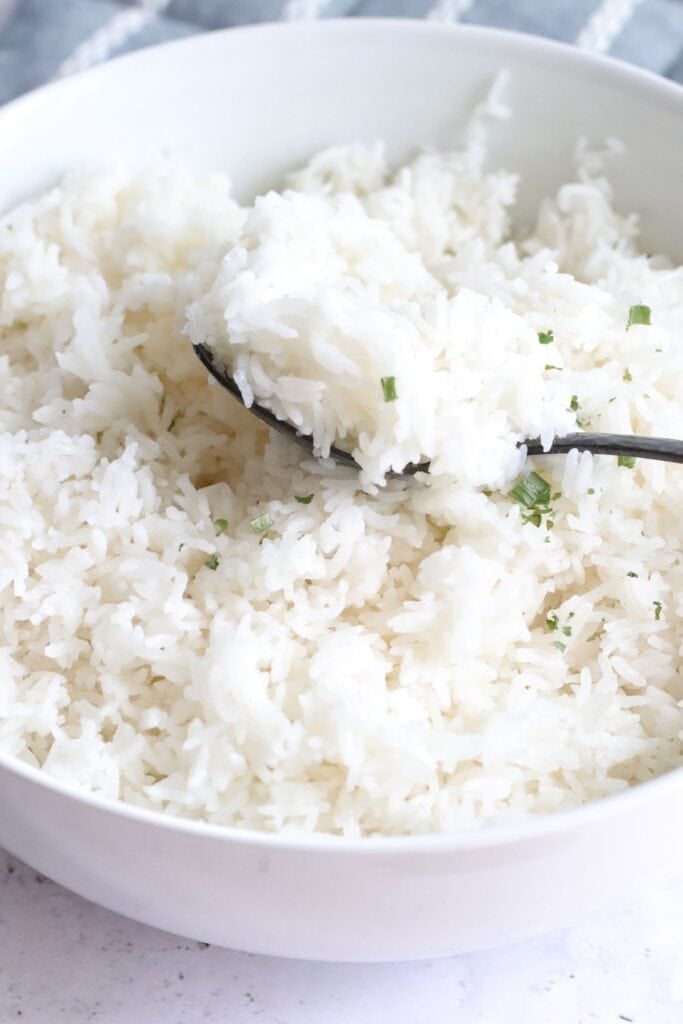
I love being able to make light, fluffy Ninja Foodi rice in mere minutes! My quick and easy recipe is my busy weeknight hack for rounding out a meal and keeping everyone happy.
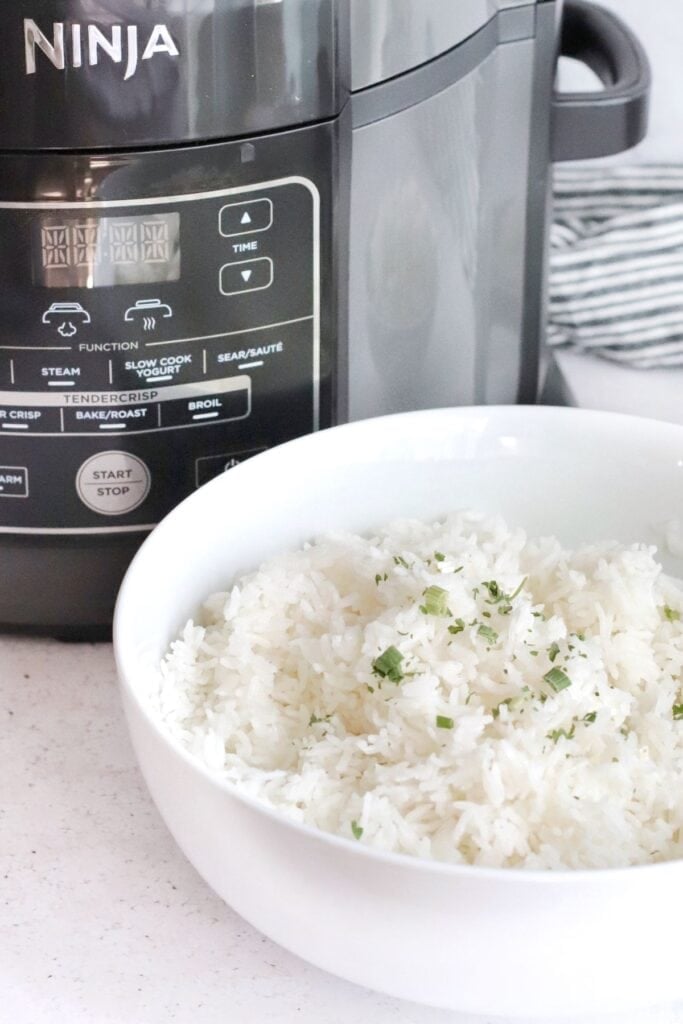
My Easy Way to Make Rice in the Ninja Foodi
The first time I made Ninja Foodi rice was during a week when my schedule was packed and my brain was fried. I was making my family a big stir-fry dinner, but halfway through chopping veggies, I realized I’d completely forgotten to start the rice on the stove.
We had a rice cooker, but I was pretty sure it was somewhere in the basement, covered in a layer of dust. Then I remembered a friend talking about making rice in a pressure cooker, so I decided to grab my Ninja Foodi pressure cooker and give it a shot.
I figured if it didn’t work, then I was right back where I started, just with a little less rice in my pantry. But when the timer beeped and I opened the lid, the white rice was fluffy and perfect, like something out of a restaurant!
Even my kids noticed the difference and made me promise I’d make “this rice” every time. Which means I don’t have to babysit the rice on the stove, slow cook it for hours, or haul out the rice cooker, which is a win in my book!
And if you love a good rice recipe, try my recipes for air fryer rice, one pot chicken and rice, shrimp fried rice, and chicken broccoli rice casserole.
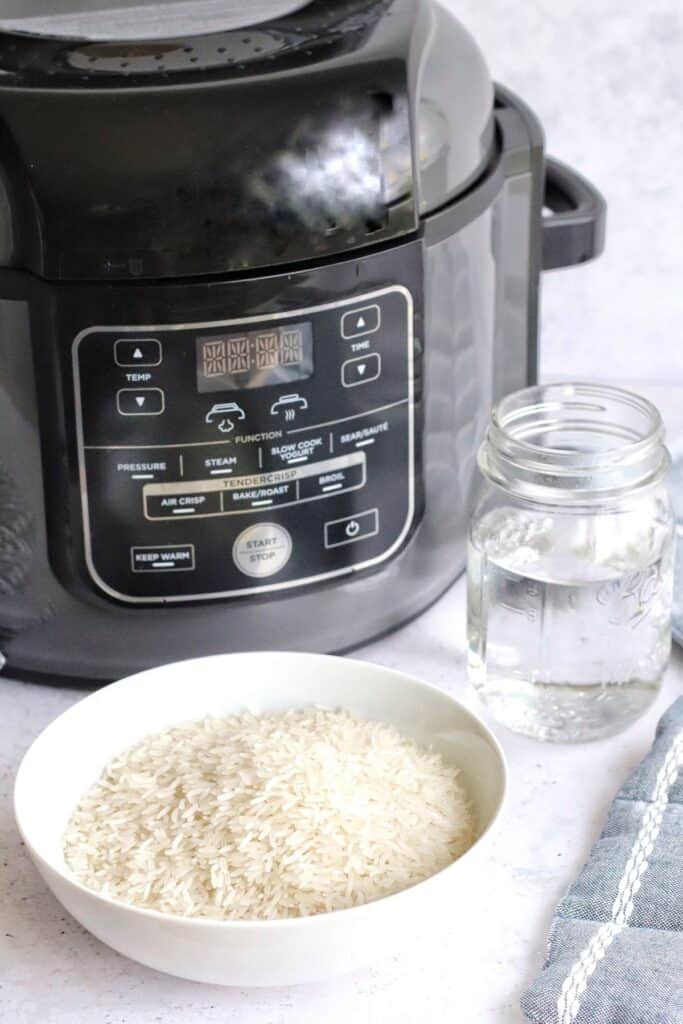
How to Cook Rice in the Ninja Foodi
A full printable version of this recipe with ingredient measurements is available at the bottom of this post.
STEP ONE: Add 3 cups of rice to the Ninja Foodi pot.
STEP TWO: Add 3 cups of water to the pot and salt, if using.
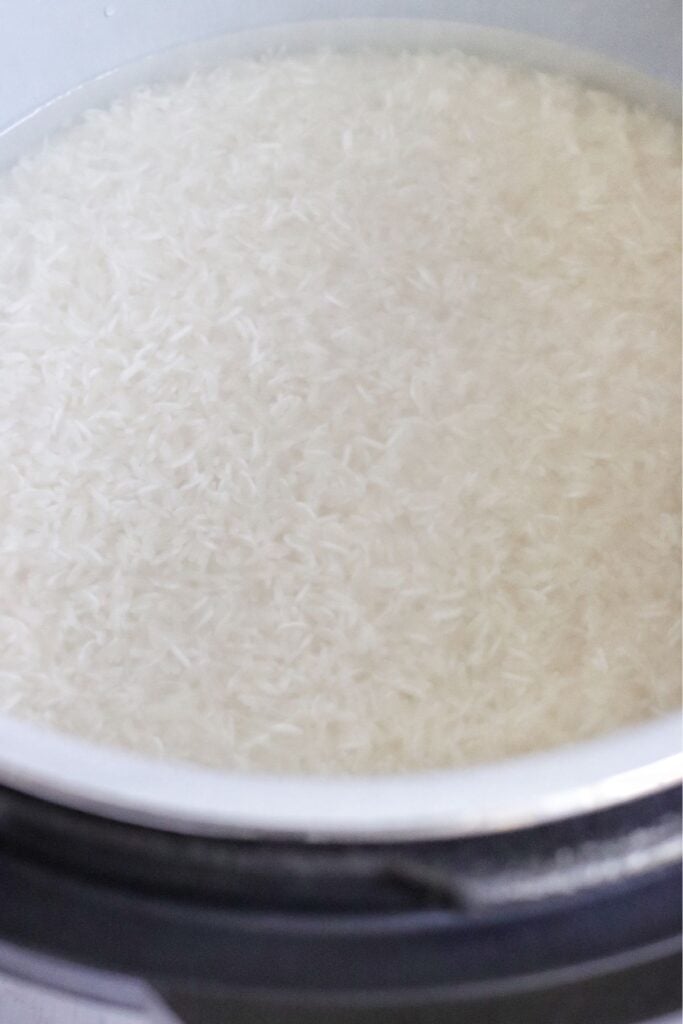
STEP THREE: Secure the pressure cooker lid on the Ninja Foodi. Make sure the valve is set to “Seal.”
STEP FOUR: Cook on “Pressure” for 4 minutes. Once the cooking time is complete, allow the Ninja Foodi to do a natural pressure release for ten minutes.
STEP FIVE: Carefully move the steam valve to “Vent” to release any remaining steam. Remove the lid, then fluff the rice with a fork or spatula before serving.
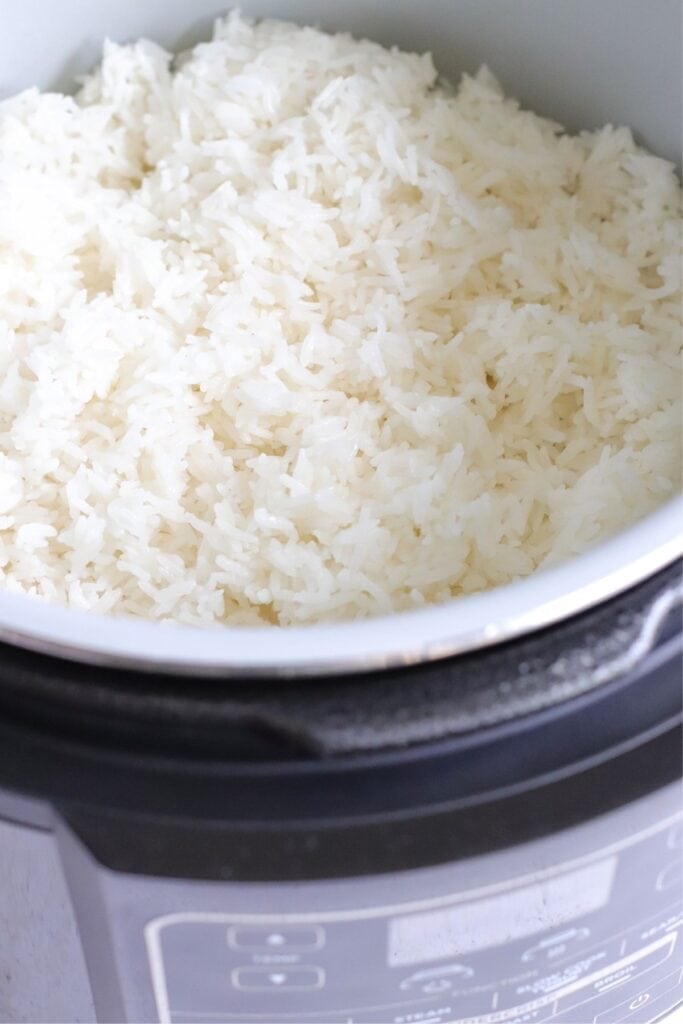
Tips for the Best Ninja Pressure Cooker Rice
- Cover all the rice with water so every grain cooks evenly. I press any stray grains under with a spoon because otherwise, they won’t cook.
- I always check the bag to make sure I’m using the right ratio and cook times for the rice I’m cooking. Each different rice type requires a different liquid to rice ratio.
- I salt the rice before cooking so the grains absorb flavor from the start.
- To measure, I use a dry measuring cup for the rice and a liquid measuring cup for the water to get the best results.
- To avoid any rice sticking to the pot, I transfer the rice to a serving dish as soon as it’s done cooking.
Ninja Foodi Rice Variations and Substitutions
- For a savory flavor boost, I’ll swap the water for chicken broth or vegetable broth.
- I like to stir in fresh herbs after the rice is done cooking. I usually toss in parsley or cilantro for brightness.
- If I want to make coconut rice, I’ll replace half of the water with coconut milk. I love the subtle sweetness and rich flavor!
- To get the fluffiest rice possible, I rinse the rice thoroughly. I cover the grains in cool water, swish, and drain, then repeat until the water runs clear.
- When I want super sticky rice, I use jasmine rice and skip the rinsing step. This gives me that authentic takeout rice that’s perfect with Asian-inspired dishes.
What to Serve With Rice in the Ninja Foodi
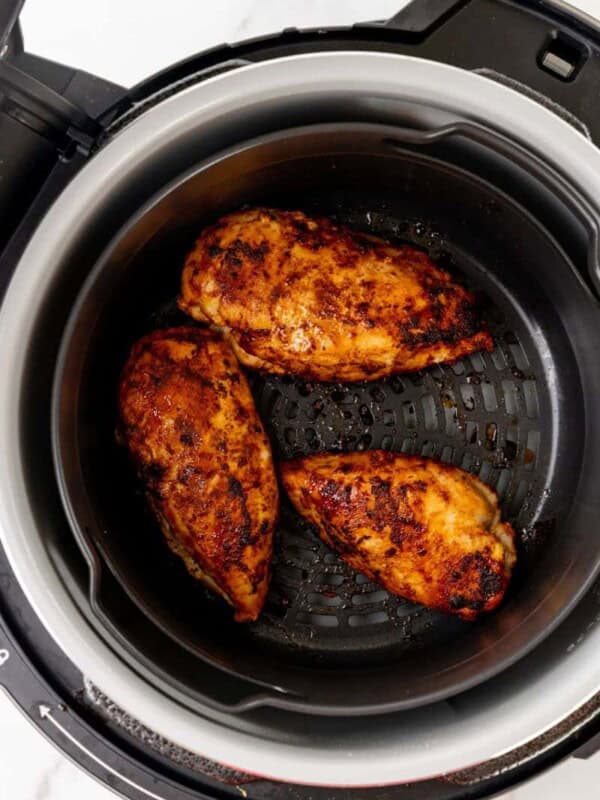
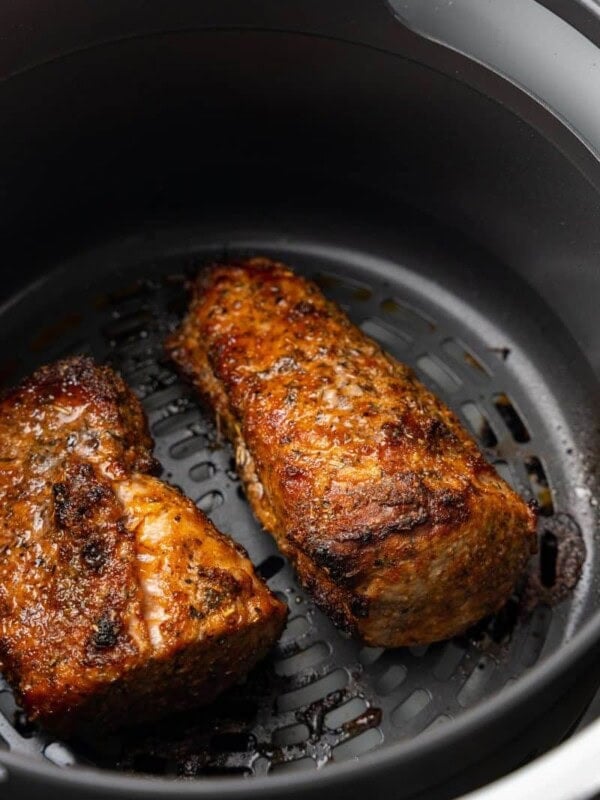
Rice is one of my go-to sides to round out any classic dish like my Ninja Foodi chicken breast, Ninja Foodi pork chops, or my ground beef stir fry.
I also love making sticky rice to go with Asian-inspired dishes like my air fryer teriyaki chicken, air fryer sweet and sour chicken, or air fried pork belly.
I am also guilty of just enjoying it with butter or a little gravy as a side dish.
Ninja Foodi Rice Chart
I always let the pressure naturally release for at least 10 minutes for the fluffiest texture.
| Rice Type | Rice to Water Ratio | Cook Time | Natural Release |
| White (short or long grain) | 3 cups rice to 3 ¾ cups water | 2 minutes | 10 minutes |
| Brown rice | 3 cups rice to 3 ¾ cups water | 22 minutes | 10 minutes |
| Jasmine rice | 3 cups rice to 3 ¾ cups water | 2 minutes | 10 minutes |
Ninja Foodi Rice FAQs
How to store leftover ninja foodi pressure cooker rice
I let my leftover rice fully cool, then store it in an airtight container in the refrigerator for up to 4 days. If I make a big batch, I portion it out and freeze the extra so I always have rice ready for quick meals.
How should I reheat leftover rice?
I sprinkle a little water over the rice and microwave it covered for a minute or two, or I reheat it on the stovetop in a skillet with a splash of broth. It tastes just as good as when it was fresh!
Why is my ninja foodi rice so sticky?
Whenever my rice turns out too sticky, it’s usually because I skipped the rinsing step. I rinse white rice under cold water until it runs clear for the fluffiest results.
More Easy Ninja Foodi Recipes:
- Ninja foodi pork tenderloin
- Ninja foodi baked potato
- Ninja foodi french fries
- Ninja foodi pulled pork
- Ninja foodi mac and cheese
Fluffy Ninja Foodi Rice
Equipment
- Ninja Foodi with pressure cooker function
Ingredients
- 3 cups white jasmine rice
- 3 cups water
Optional
- 3/4 teaspoon salt
Instructions
- Place 3 cups of rice into the Ninja Foodi pot.
- Add 3 cups of water and salt if using, then lightly press down the rice to make sure it is all covered with water. Do not stir. Uncovered rice will NOT cook.
- Place the pressure cook lid on securely and set the valve to seal and set the time to pressure cooker to 4 minutes.
- Once the timer goes off, let the cooker natural release for 10 minutes, then carefully move the valve to vent to make sure all of the steam has been released.
- Remove the lid and fluff rice with a spoon or spatula.
Notes
- Cover all the rice with water so every grain cooks evenly. Press any stray grains under with a spoon because otherwise, they won’t cook.
- Salt the rice before cooking so the grains absorb flavor from the start.
- To measure, use a dry measuring cup for the rice and a liquid measuring cup for the water to get the best results.
- To avoid any rice sticking to the pot, transfer the rice to a serving dish as soon as it’s done cooking.
- Store leftovers in an airtight container in the fridge for up to 4 days.
- Reheat leftovers in the microwave with a little splash of water for a minute or two. Make sure it is hot, then let it cool slightly.
- Ninja Foodi Rice Chart
Rice Type Rice to Water Ratio Cook Time Natural Release White (short or long grain) 3 cups rice to 3 ¾ cups water 2 minutes 10 minutes Brown rice 3 cups rice to 3 ¾ cups water 22 minutes 10 minutes Jasmine rice 3 cups rice to 3 ¾ cups water 2 minutes 10 minutes
Nutrition
This nutrition information is based on the exact products I used in this recipe. Brands and sizes of products could alter exact nutrition and should always be calculated independently.
Like this? Leave a comment below!









I love how fluffy it comes out!
This is so good to know! Thanks, worked like a charm!
I am surprised by this! Thanks for the new idea.
How did we ever cook before electric pressure cookers? Thanks for the recipe and great tips. Rice is a big part of our menu rotation, so I’m hanging on to this recipe!
We use tons of rice. Thanks so much for this simple recipe and all the tips!
Loved how flavorful and easy to make it is. Thank you so much for sharing this amazing recipe, will surely have this again! Well done!
Where does the salt come into the cooking process
Hi Jon, the salt goes in with the rice and water at the beginning. I find adding it brings a lot more flavor to the rice and we always use it.
I’m assuming put on high pressure?
Yes, high pressure!
can i use chicken broth instead of water?
Hi Sharon, Yes! Chicken broth would work in this recipe.
If I want to do 4 or 5 cups of rice.. equal water and same time? Great way to make rice thank you!!
Hi Mym, Yes! Enjoy!
What do I do if it takes more than four minutes to build pressure?? It seems as if my pressure cooker doesn’t perform as quickly as one would think… sometimes I hear boiling before the pressure cooker starts “cook time”
You’re right, Novella, it can take several minutes for the cooker to build pressure before the timer actually starts. The important part is that the rice cooks for 4 minutes under pressure. Just trust the process, and don’t forget to let it naturally release steam for 10 minutes afterward—that’s what gives you that fluffy, tender texture.
Great recipe.
Hi Greg, I’m so glad you enjoyed this recipe!