Smash Burger Recipe
This post may contain affiliate links, read my disclaimer.
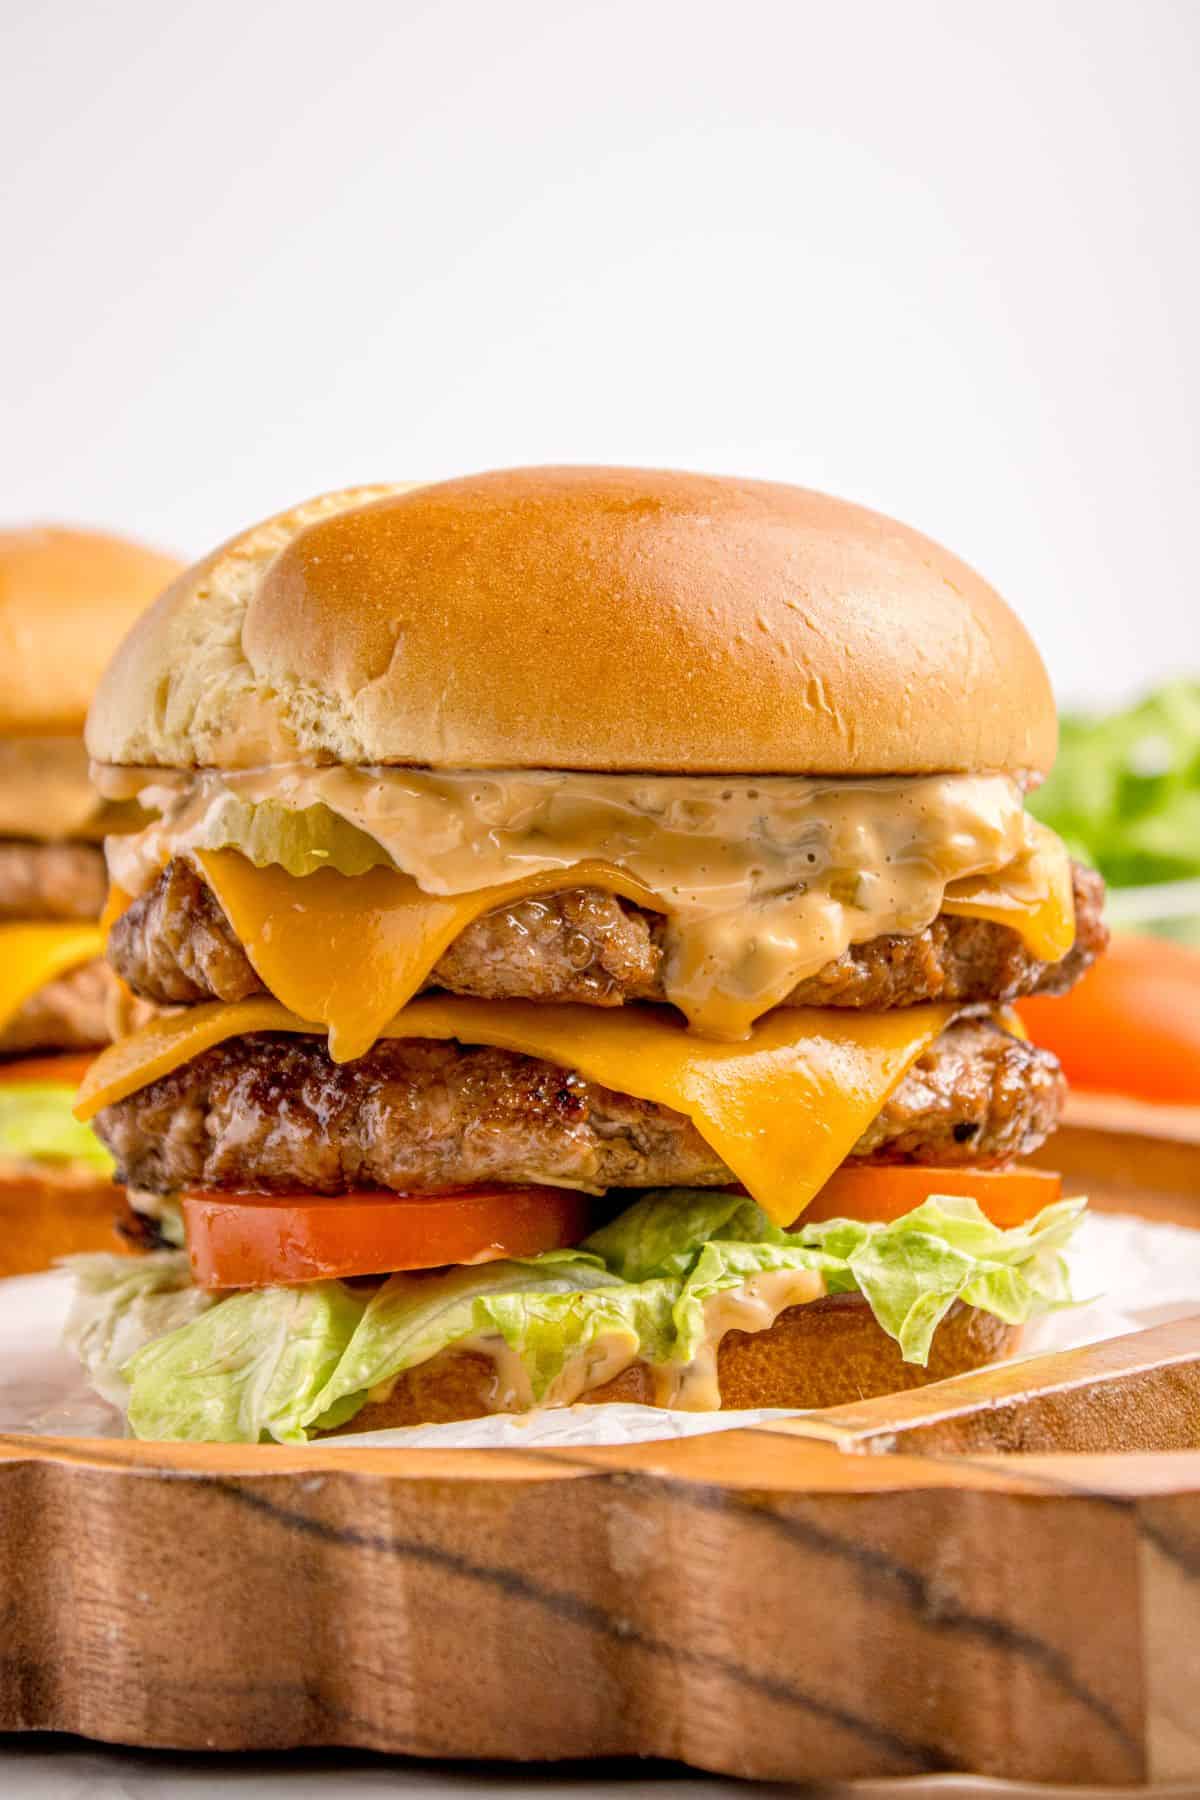
My smash burger recipe is a thin, crispy-edged double patty that’s better than any drive-thru I’ve been to! It’s made with just 5 simple ingredients plus any toppings, and comes together on a hot griddle in just 25 minutes.
Burgers have been on heavy rotation in my house since the kids were old enough to hold one. I’ve already covered hamburgers in the oven, air fryer hamburgers, and even bison burgers, but this smash burger recipe is the one Ben asks for the most.
What makes a smash burger different from a regular burger is the thin patty and the crispy lacy edges that form from high heat hitting fatty ground beef. My version cooks the onions right into the patty for diner-style flavor, but I’ll show you how to leave them off if you want a more traditional smashed burger (more on that below).
PS: If you love loaded burger flavors without the bun, try my burger bowl for the same toppings on a base of lettuce!
Table of Contents
Samantha’s Recipe Highlights

25 Minute Dinner – This smash burger recipe comes together start to finish in 25 minutes, which makes it one of the fastest dinners I have in my rotation. The patties themselves cook in under 3 minutes thanks to how thin they are, so most of the time is spent prepping toppings and toasting buns.
Crispy Lacy Edges in Every Bite – The signature look of a smash burger comes from the way the thin patty hits a hot griddle. Smashing the beef thin maximizes contact with the heat, which means more crust, more flavor, and those lacy crispy edges that you just can’t get with a thick burger.
Double Patty Stack – My smash burger recipe uses 2 thin patties per burger, stacked with melty American cheese in between. Twice the patties means twice the crispy edges in every bite, which is exactly why Ben asks for these every other week.

Key Ingredients and Tips
- Ground beef – I use 80/20 ground beef because the higher fat content gives me both juicy centers and the crispy edges. Leaner beef like 90/10 will dry out fast on a hot griddle.
- Onions – Sliced thin so they soften and caramelize right into the patty as it cooks. Yellow or white onions work, but red onions also give a peppery edge if you want that.
- Burger buns – I usually go with brioche or potato buns because the soft texture holds up to the saucy toppings. Hawaiian rolls work too if you want a sweeter bite.
- American cheese – Melts faster and smoother than any other cheese, which is non-negotiable for a smash burger. Swiss, pepper jack, or sharp cheddar are good swaps for different flavors.
- Burger sauce – A creamy sweet and tangy sauce ties the whole burger together. I use my homemade smash burger sauce but store-bought burger sauce works in a pinch.
- Salt – Kosher salt draws moisture out of the surface of the patty, which helps that brown crust form. Sprinkle it on right after smashing, not before, or it can pull too much moisture out of the meat.
- Toppings – Iceberg lettuce, sliced tomato, and dill pickles are my favorites to use to keep it a copycat recipe. These are the same toppings you’d find on any restaurant-style smashed burger.
How to Make a Smash Burger Recipe
Find the full ingredient proportions, detailed instructions, storage tips, and a video tutorial in the printable form at the bottom of the post.
Portion the beef – For this smash burger recipe, I divide 1 pound of 80/20 ground beef into 4 loose balls of about 4 ounces each. I don’t pack them tight. The looser the ball, the more tender the patty is after smashing. I keep them cold in the fridge until the griddle is ready, because cold beef holds onto its fat better when it hits the heat.
Heat the griddle – I preheat a flat griddle or cast iron skillet over medium-high heat until it’s around 400 to 450 degrees F. The pan has to be very hot or the patty won’t develop that signature crispy edge. If I’m cooking on the stove and not a grill, I turn on the vent fan because it can smoke a little bit.
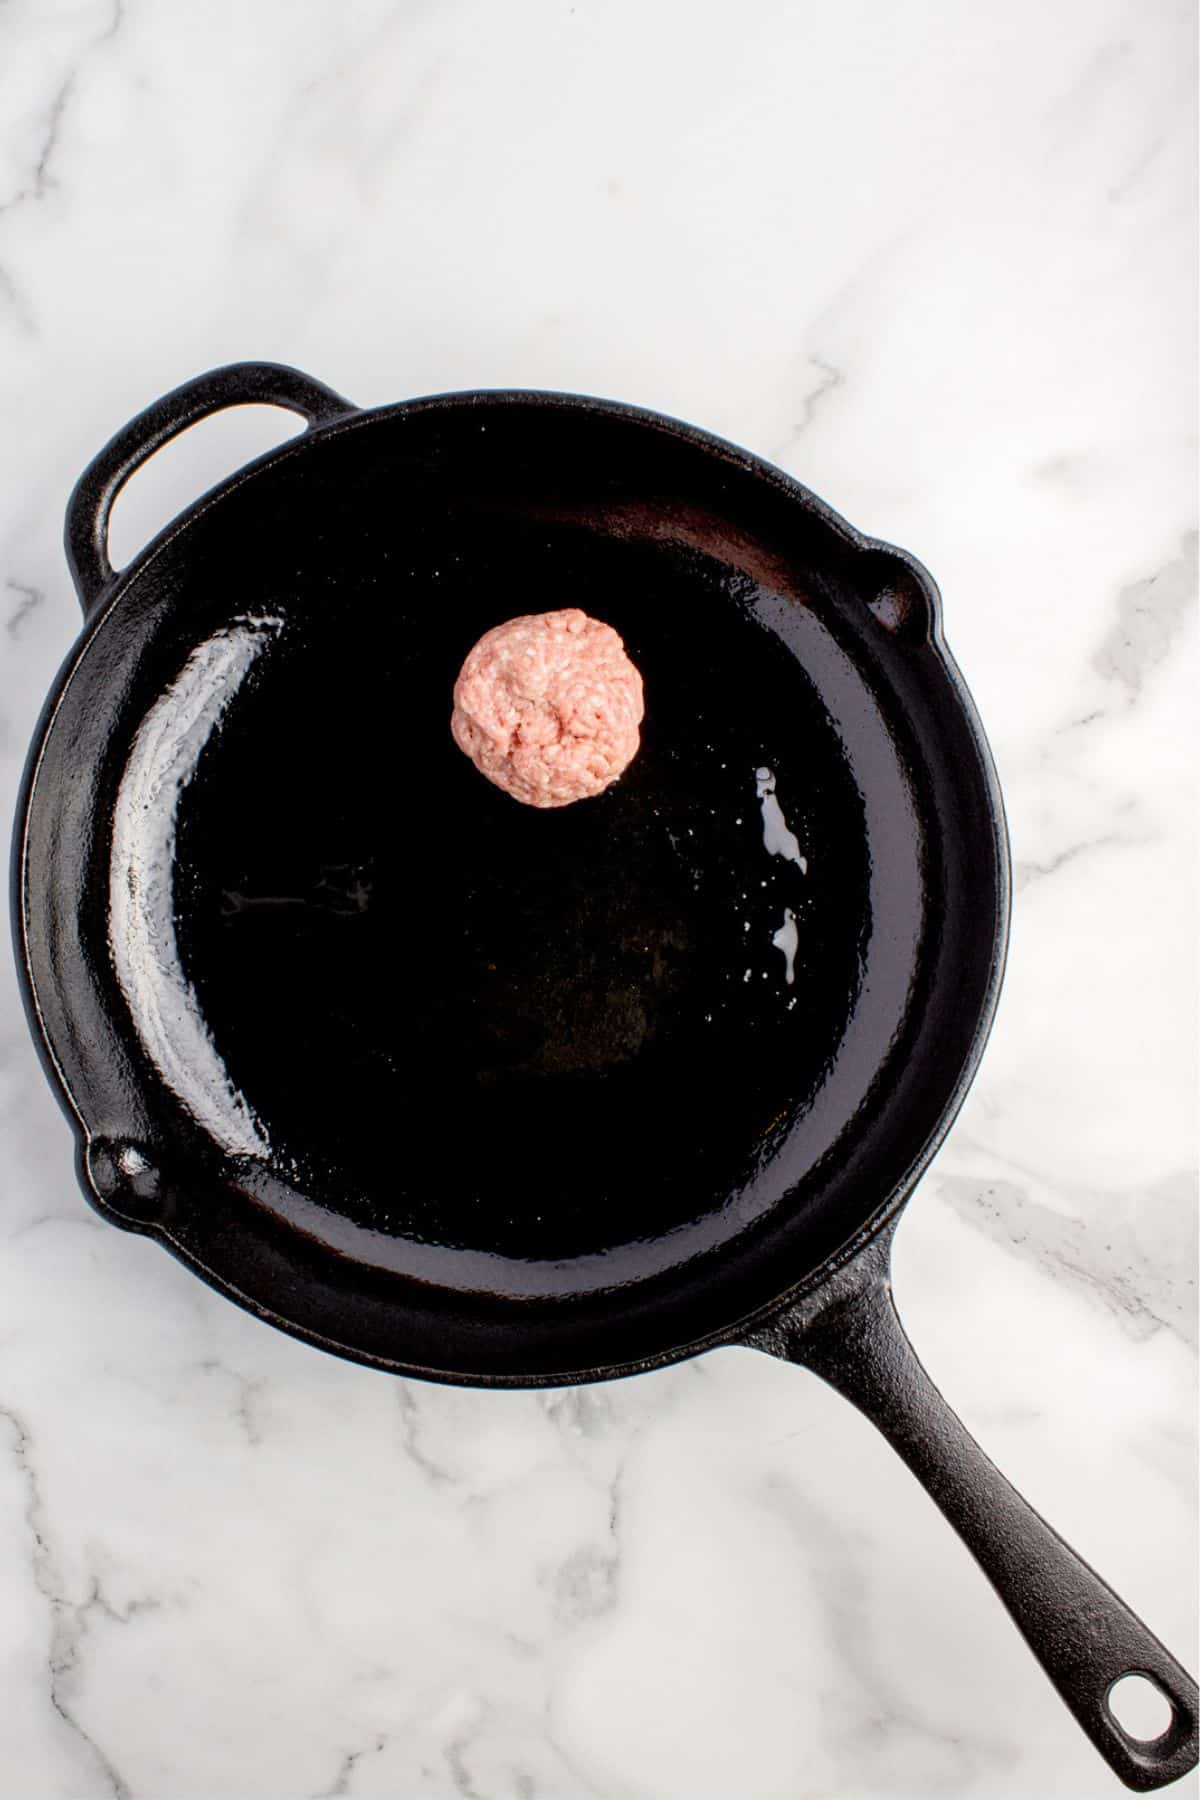
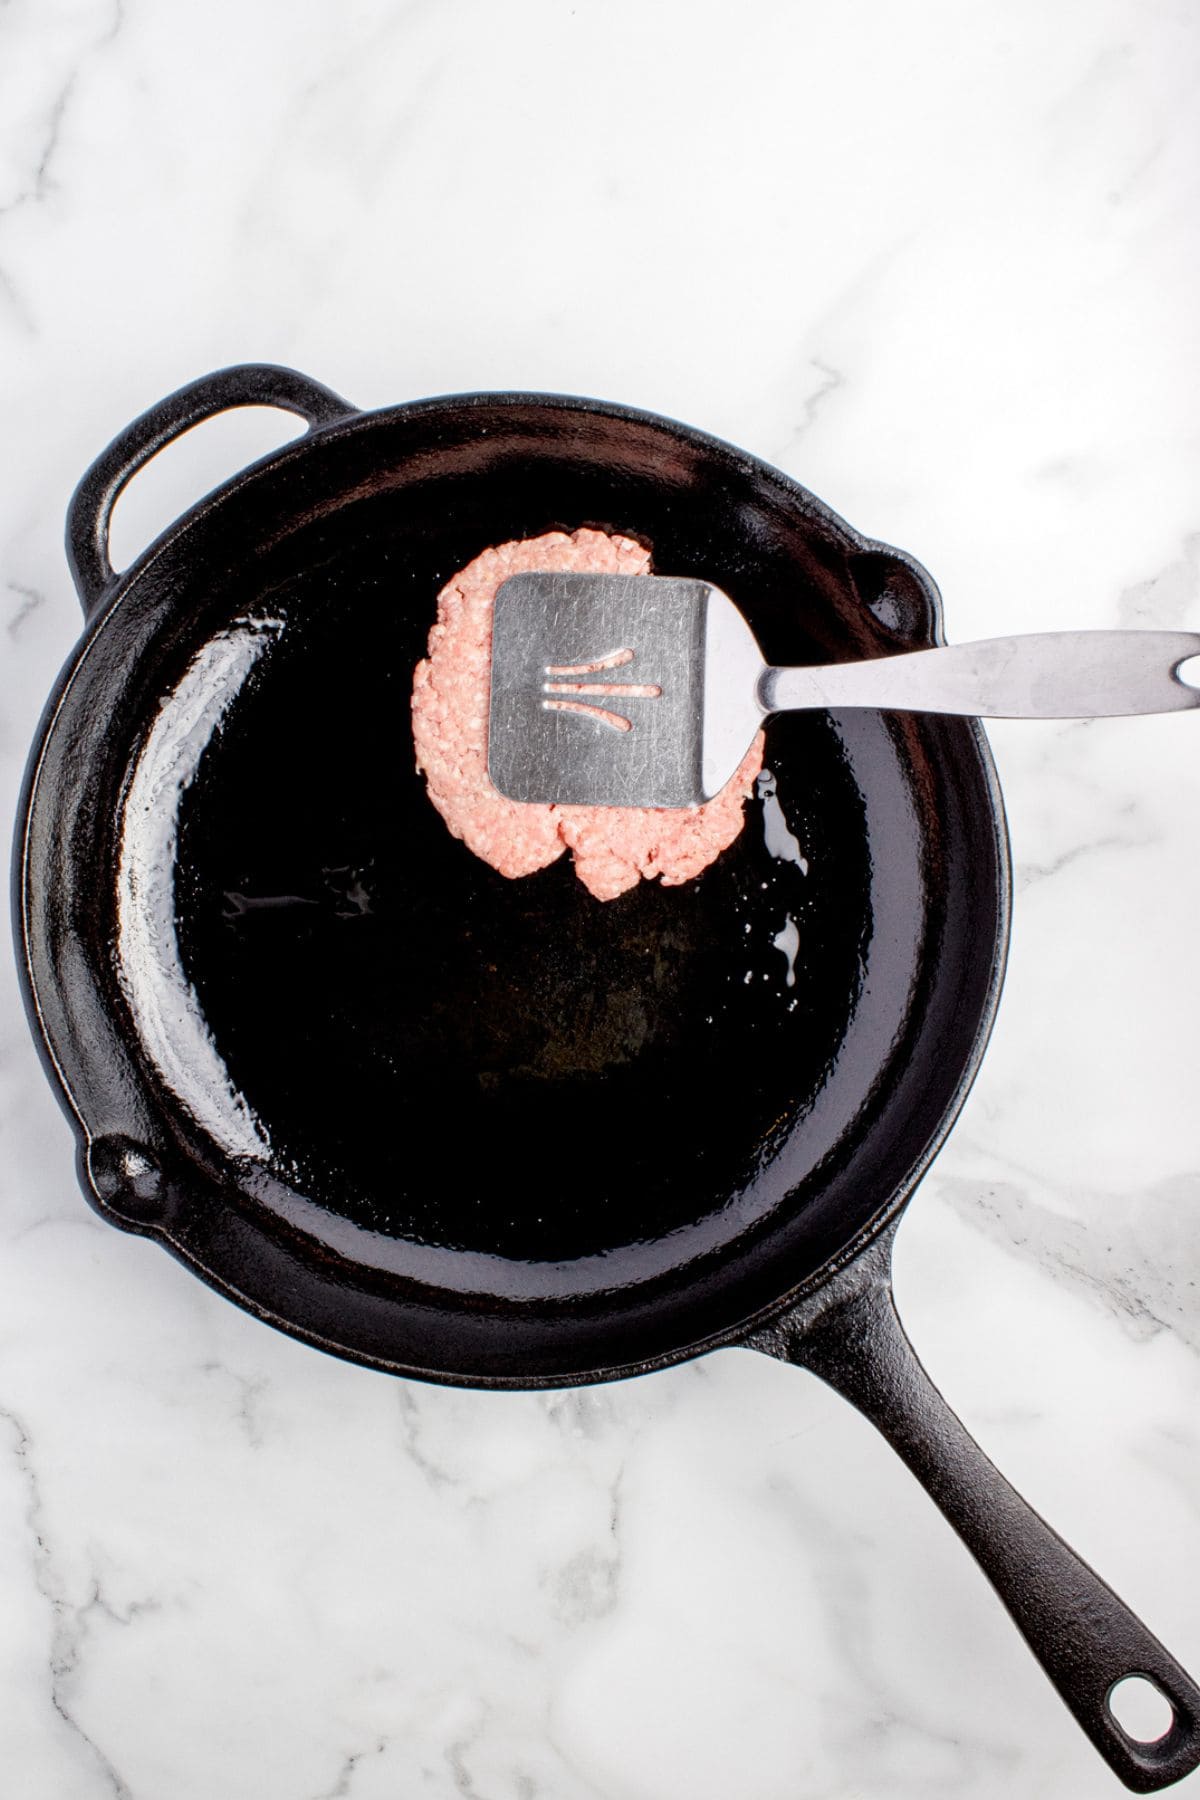
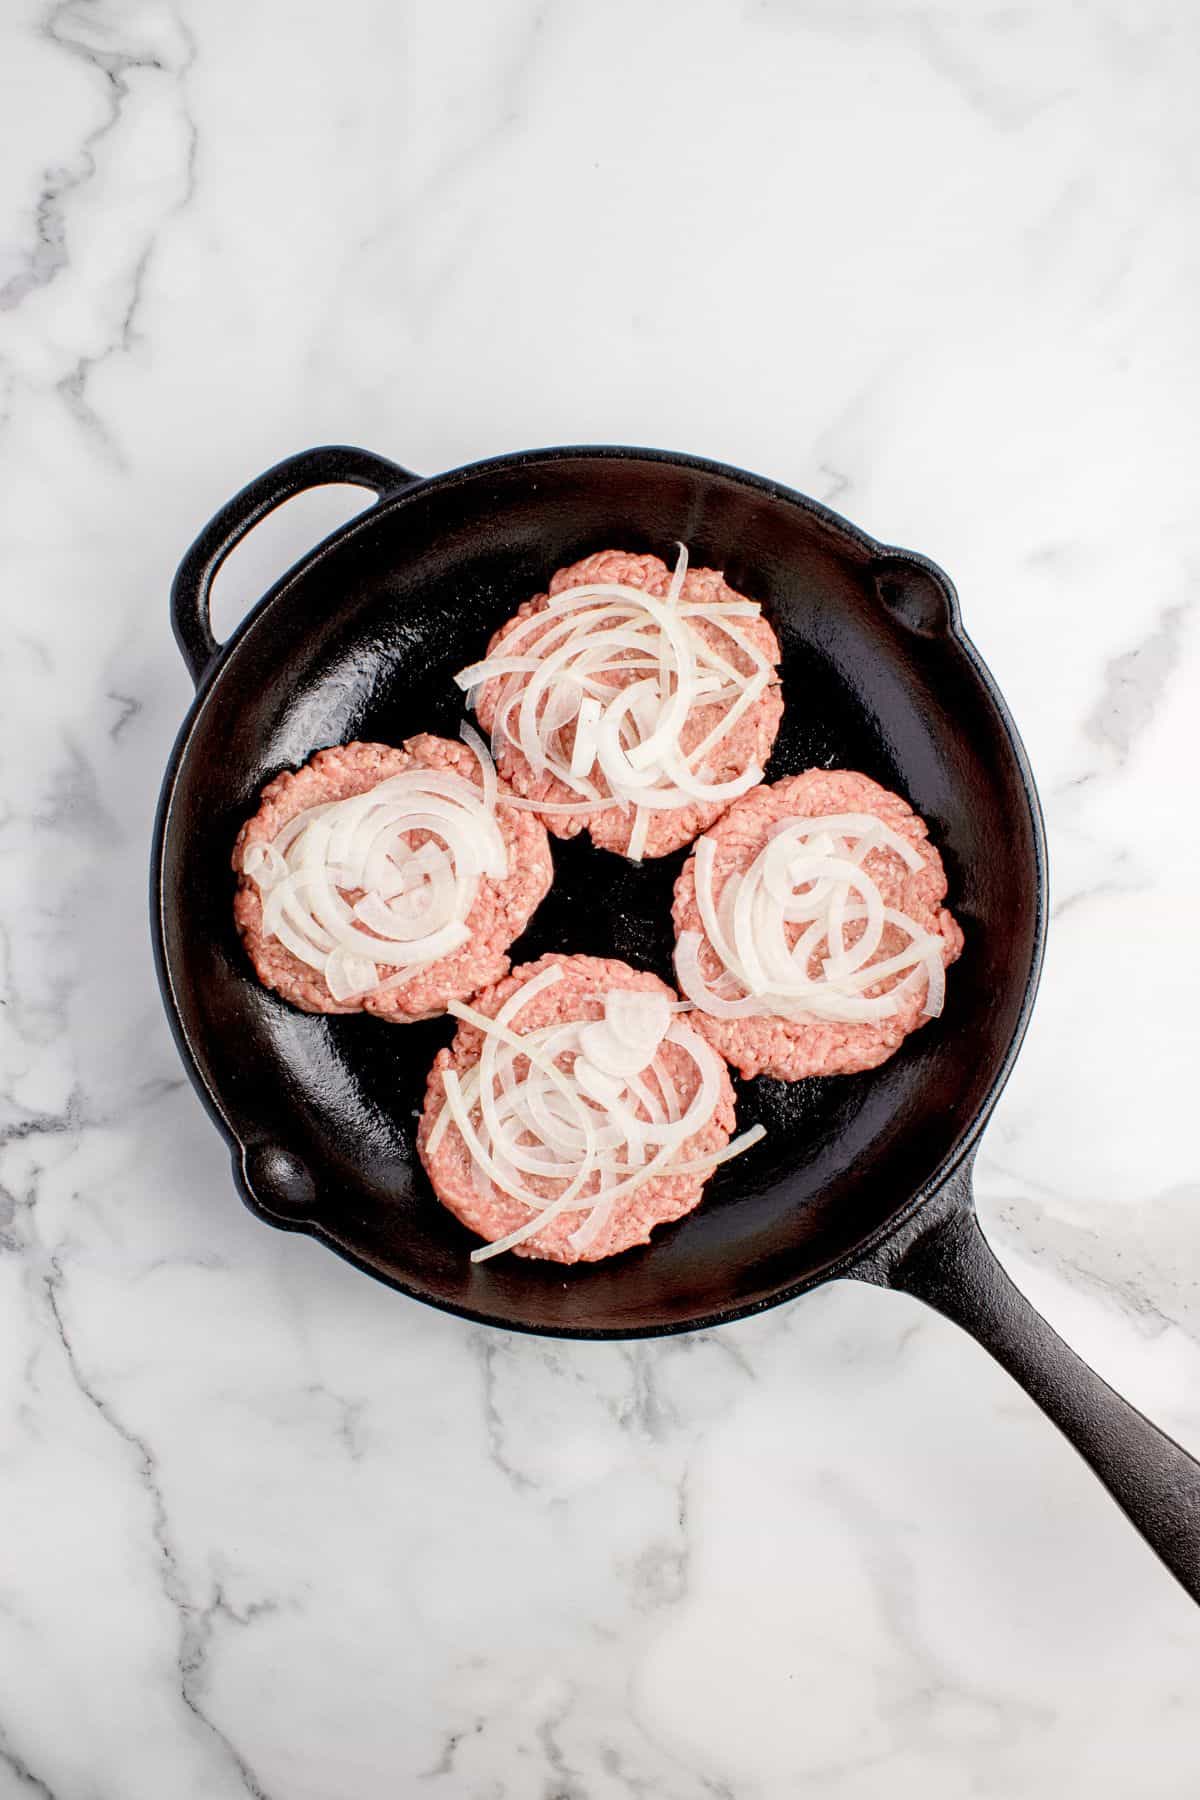
Smash and season – I place 1 or 2 chilled beef balls onto the hot griddle, then lay a piece of parchment paper over them and press down hard with a stiff spatula or burger press to flatten into thin patties. I peel off the parchment, sprinkle each patty with kosher salt, and immediately top with sliced onions so they cook right into the meat.
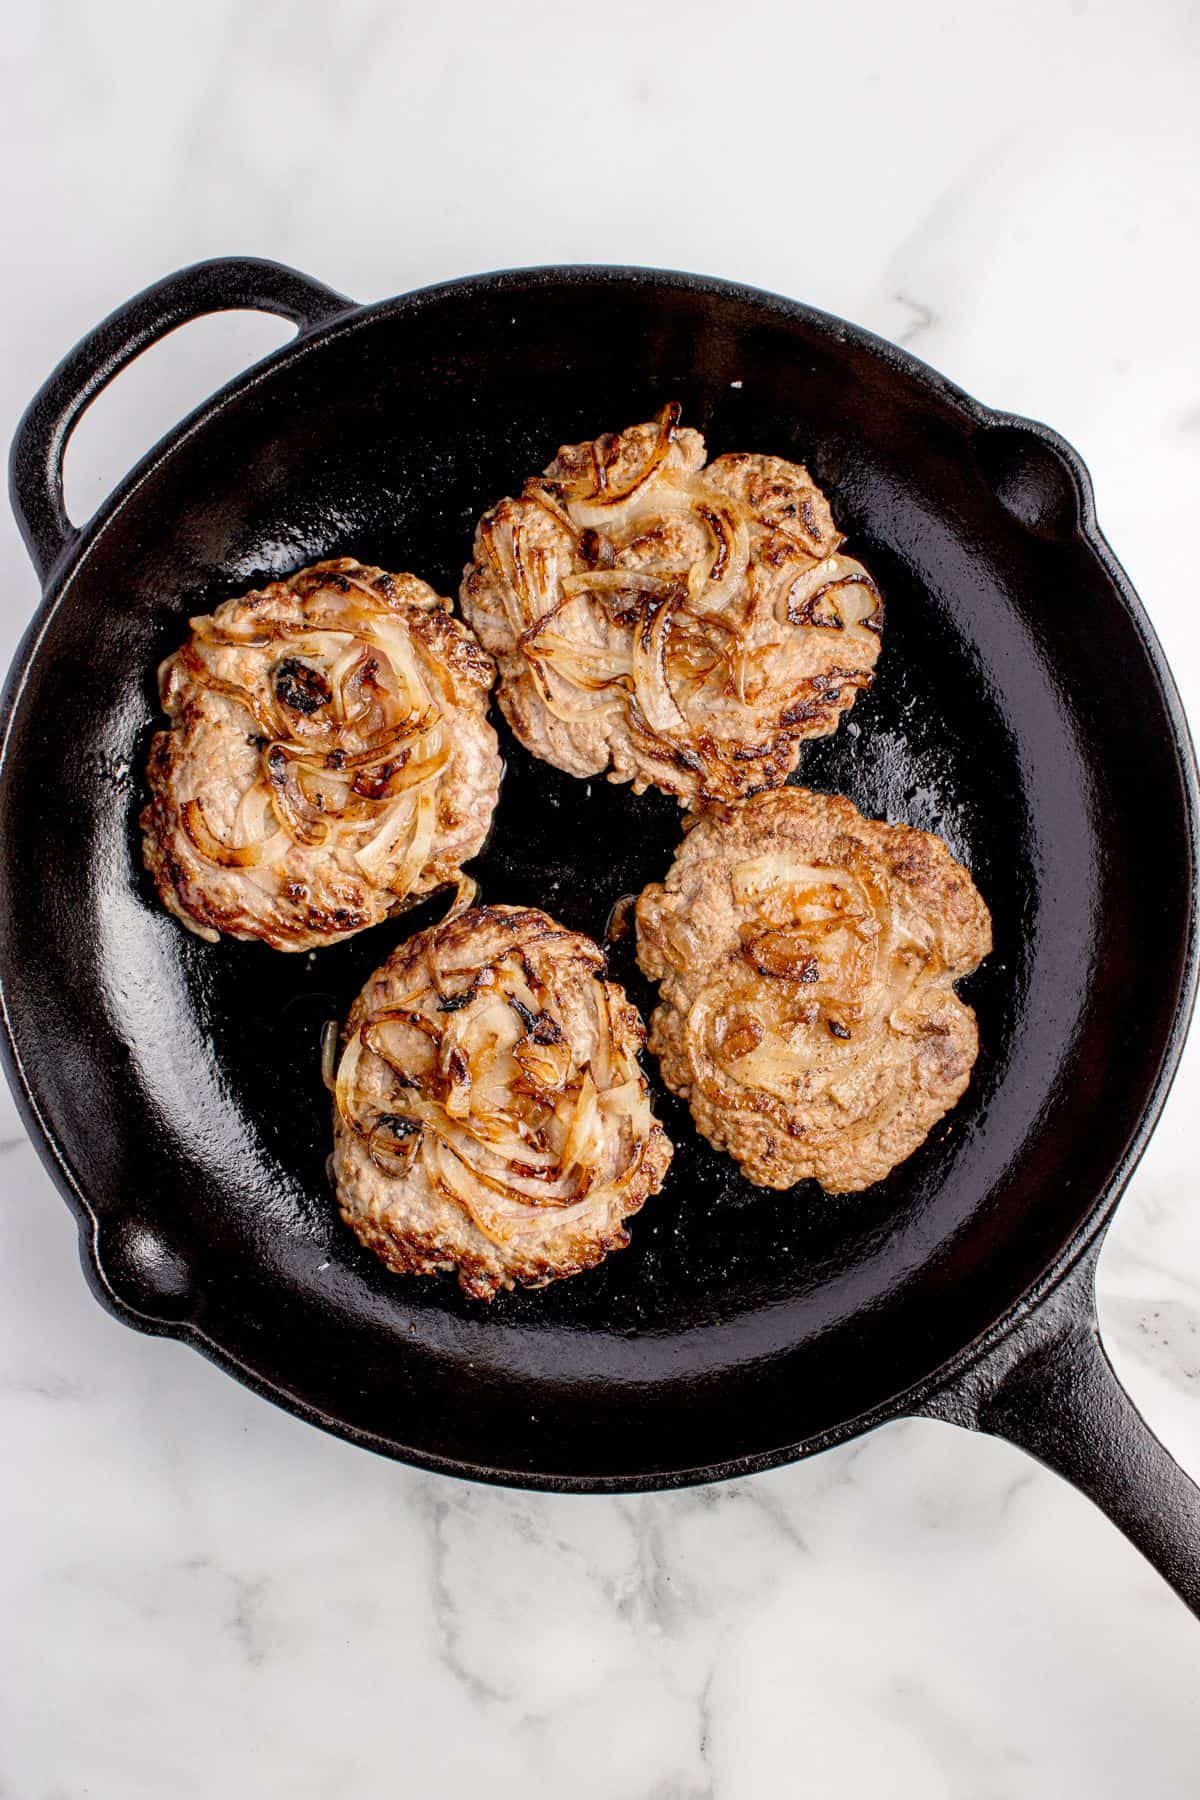
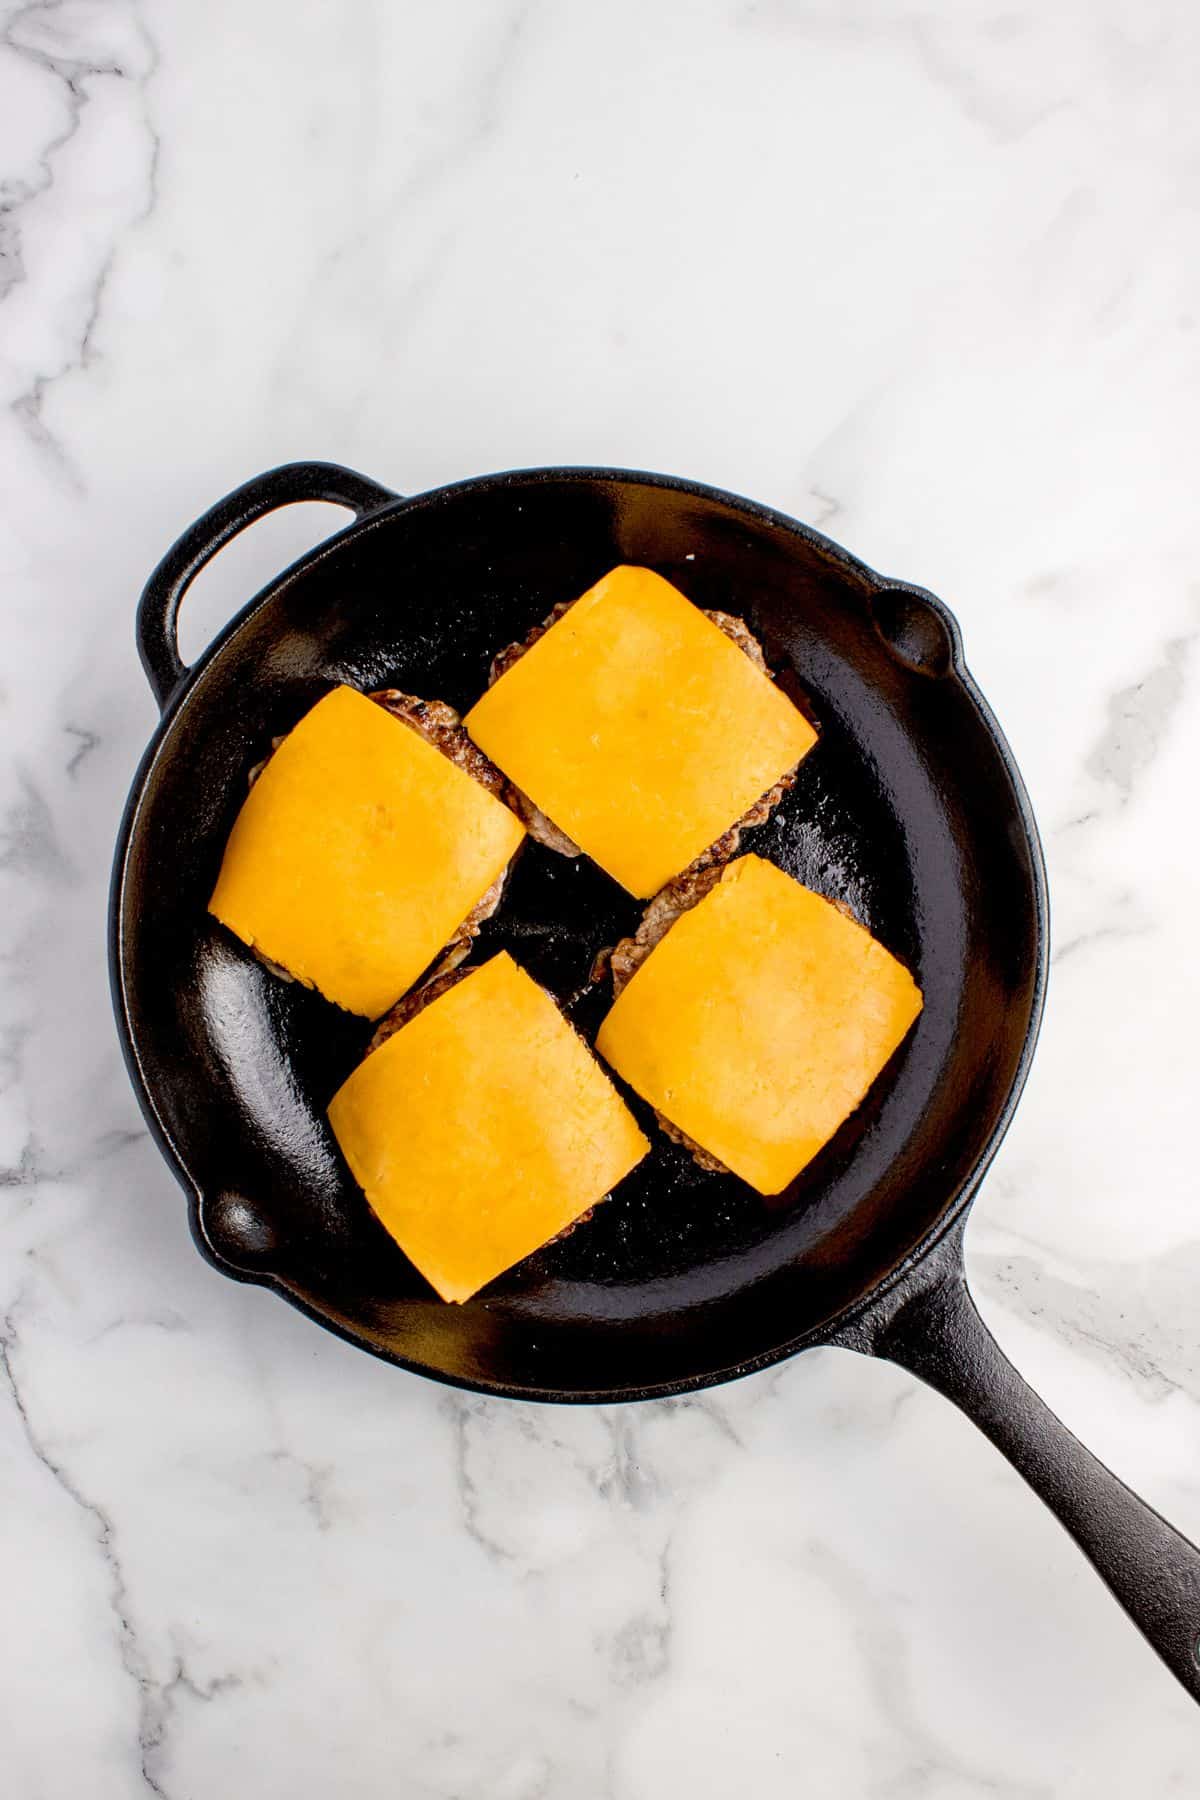
Flip once, add cheese – I cook the patties for 1.5 to 2 minutes until the edges are deeply browned and lacy. Then I use a metal spatula to scrape under the patty (so I keep all the crust) and flip carefully, leaving the onions on top. I cook the second side for 30 to 60 seconds, then add a slice of American cheese on each.
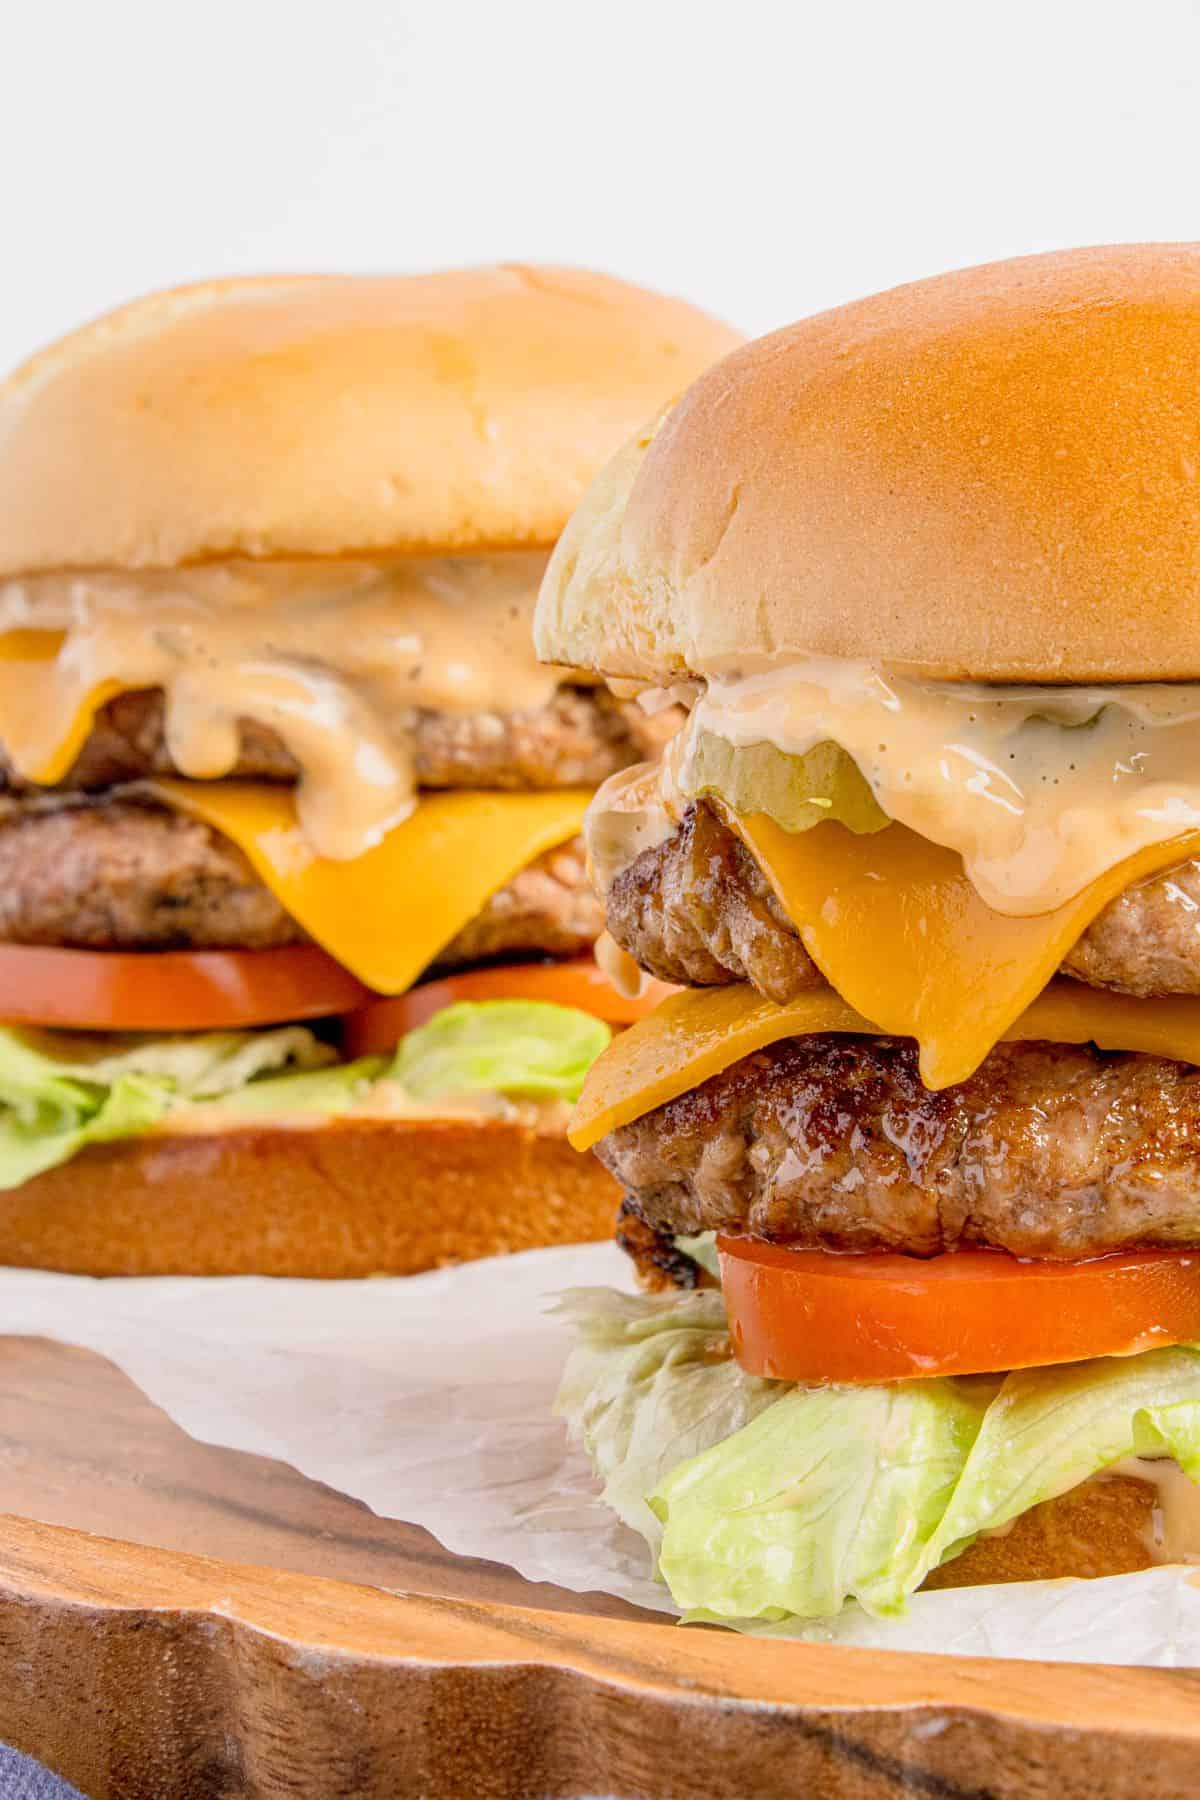
Stack and build – I spread burger sauce on the bottom bun, then add lettuce, tomato, and a stacked double patty with the onions and melted cheese on top. Finish with pickle slices and another spread of sauce on the top bun before serving!
Recipe Tips
The single biggest variable in any smash burger recipe is heat. I always preheat my griddle to 400 to 450 degrees F before adding the beef to the pan, because anything cooler and the patty steams instead of sears. I recommend turning on the vent fan because this method creates some smoke!
Unlike a steak that you let come to room temperature, smash burgers need cold beef so the fat stays in the meat until it hits the heat. I usually portion my beef into balls 1 to 2 days ahead and keep them covered in the fridge until I’m ready to cook. Cold meat plus a hot griddle is what gives you the juiciest centers and crispiest edges.
When you press the patty down, smash once and only once. Smashing again after the first 30 seconds pushes out all the juices and ruins the texture. One firm press right when the beef hits the griddle is all you need.
For the onion-into-the-patty technique, press the sliced onions down into the raw beef right after smashing so they steam and caramelize into the meat as it cooks. If you’d rather make a more traditional smash burger without onions cooked in, just leave them off the patty and add raw or grilled onions as a topping after cooking instead.
Serving Ideas
This smash burger recipe pairs with any classic burger side. I usually serve mine with air fryer french fries or air fryer sweet potato fries for the crispy contrast, plus a cold glass of lemonade if it’s hot out!
For backyard cookouts and bigger spreads, I love rounding out the plate with Cajun corn on the cob, my classic coleslaw, baked beans, or easy macaroni salad on the side. The smashed burger is rich and beefy, so a fresh slaw or a crunchy side balances out the plate.
If I’m making a bigger meal for company, corn nuggets make a great appetizer to start with before the burgers hit the table!
Storing and Reheating
Cooked patties from this smash burger recipe keep in an airtight container in the fridge for up to 4 days. I always store the patties separately from the buns and toppings so nothing gets soggy, then reassemble when I’m ready to eat.
For longer storage, I freeze the cooked patties in a freezer-safe bag with parchment paper between each one. They hold up well for about 3 months. To thaw, just move them to the fridge overnight before reheating.
To reheat, I put the patties back into a hot skillet over medium heat for 1 to 2 minutes per side. The skillet brings back the crispy edges way better than the microwave. I cover the pan with a lid for the last 30 seconds to warm the center evenly without overcooking.
Smash Burger Recipe FAQs
What’s the difference between a smash burger and a regular burger?
A smash burger is a thin patty (about 1/4 inch) that gets pressed flat on a hot griddle to develop crispy lacy edges from the high heat hitting the surface of the beef. A regular burger is thicker (around 3/4 to 1 inch) and cooked low and slow, so you don’t get the same crust. Smash burgers cook faster, which is one of the reasons they’re in my rotation so often.
Why aren’t my smash burger edges crisping up?
Three things usually cause this. Either the griddle isn’t hot enough (aim for 400 to 450 degrees F), the patty isn’t smashed thin enough, or the beef is too lean. I recommend working with 80/20 ground beef, a very hot pan (before adding the patties), and press down hard with a stiff spatula to get those signature crispy lacy edges.
Can I make a smash burger without a griddle?
Yes, a large cast iron skillet works great as a backup. Just preheat it over medium-high heat until it’s hot, then work in batches if you’re making more than 2 patties at a time. I avoid nonstick pans for this because they don’t get hot enough to develop the crust.
Can I portion the patties ahead of time?
This is one of my favorite shortcuts for a weeknight smash burger recipe! I portion the beef into loose balls 1 to 2 days ahead, cover them, and keep them in the fridge until the griddle is ready. Cold meat actually sears best, so prepping ahead works in your favor here. Just don’t pack the balls tight.

More Beef Recipes

Crispy Smash Burger Recipe
Ingredients
- 1 pound ground beef, 80/20
- 1 cup onions, thinly sliced
- 2 burger buns
- 1 teaspoon salt
- 4 slices American cheese
Toppings
- 1 tomato, large, sliced into 4-6 slices
- 2 leaves iceberg lettuce, 1 per burger
- 6 pickle slices
- 1/4 cup smash burger sauce, store-bought or homemade
Instructions
- Divide the ground beef into 4 equal portions, about 4 ounces each. Gently roll the portions into loose balls. Do not press or compact the meat. This keeps the burgers tender instead of dense.
- Heat a skillet to medium-high heat (400-400F) and place the beef onto the hot griddle and immediately smash it down with a spatula, pressing firmly.
- Sprinkle the patties with salt then top them with the sliced onions.
- Cook the patties for 1 1/2 to 2 minutes, until the edges are deeply browned and crispy and the onions begin to soften. Flip them carefully, keeping the onions in place. Cook the second side for 30 to 60 seconds.
- Place a slice of American cheese on each patty.
- To assemble with toppings: Spread burger sauce on the top and bottom buns. Add 1 leaf of lettuce to each bottom bun then some tomato slices. Top with the 2 patties stacked on top of each other and finish with some pickle slices and the top bun.
Notes
Nutrition
This nutrition information is based on the exact products I used in this recipe. Brands and sizes of products could alter exact nutrition and should always be calculated independently.
Like this? Leave a comment below!