Pot Pie In The Air Fryer
This post may contain affiliate links, read my disclaimer.
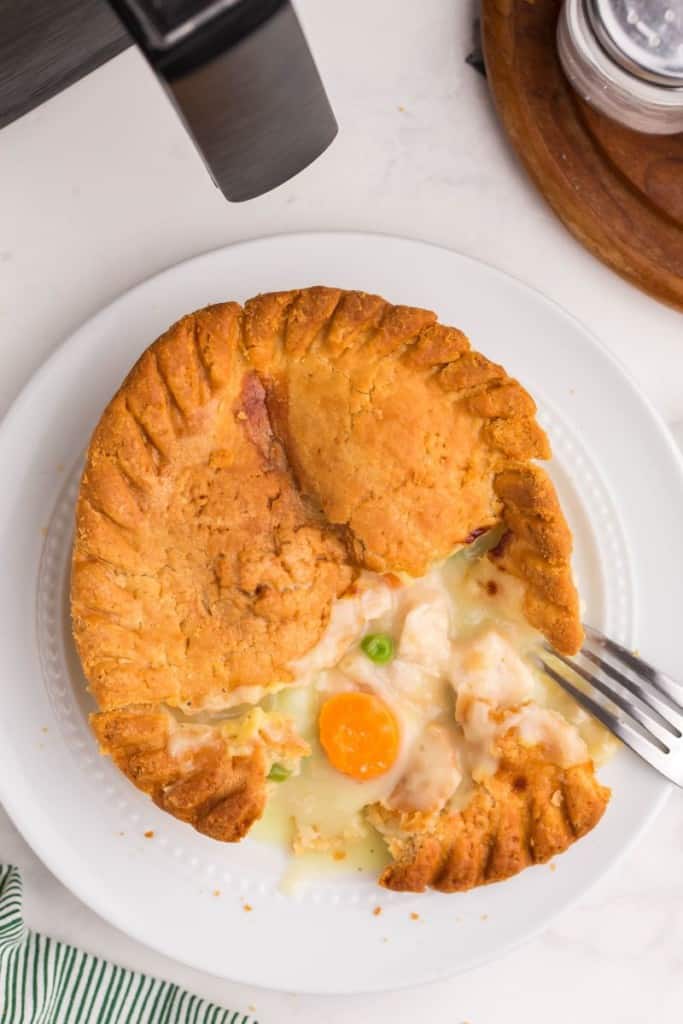
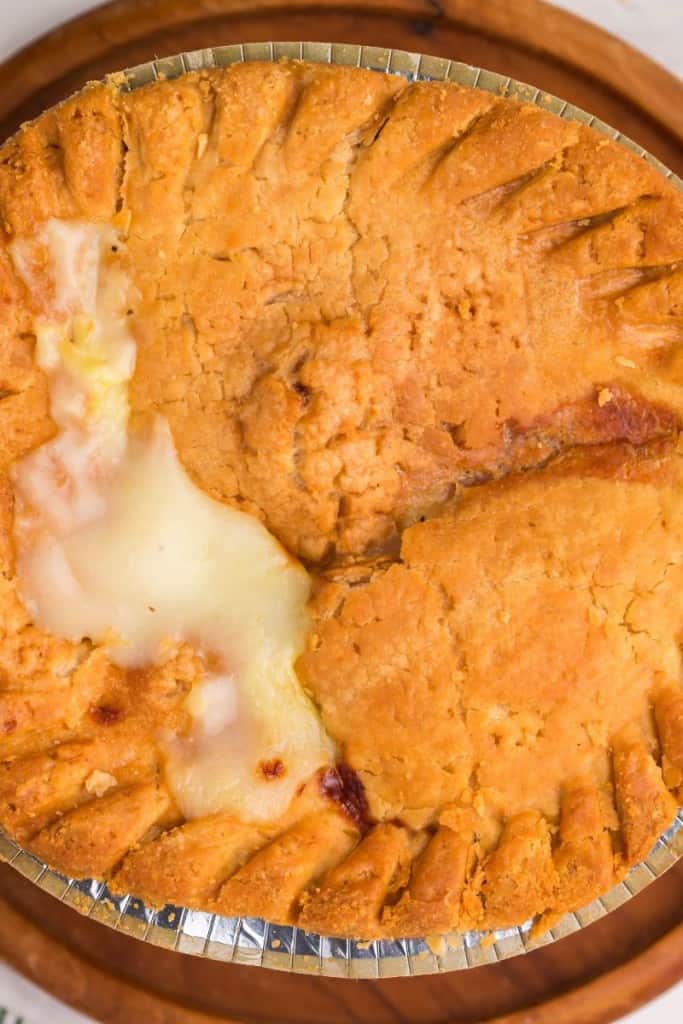
Your family is going to go crazy for chicken pot pie in the air fryer! It’s the best way to make frozen pot pie if you want the crust to turn out irresistibly flaky and golden.
On busy weeknights, you just can’t beat hassle-free comfort food.
And once you try making Marie Callender frozen chicken pot pie in the air fryer, your family will be begging you to make it all the time!
While the microwave is great for warming frozen pot pie all the way through, it just doesn’t cook the top crust the way I want.
The oven is better, but it takes much longer. The air fryer is the best way to get the crust perfectly flaky and golden!
Here’s what I’m going to teach you in this post:
- How to make mouth-watering chicken pot pie in the air fryer in just a few easy steps
- How to adjust the cooking time if you have a smaller pot pie
- Tips and tricks to make the best air fryer pot pie
- The easiest way to reheat leftover chicken pot pie in the air fryer
Pot pie does take some time to cook in the air fryer, but the hands-on prep time for this recipe is only about five minutes.
That leaves you plenty of time to whip up your favorite sides or just sit back and relax until dinner’s ready.
The next time you’re short on time and craving comfort food, you have to try making a frozen pot pie in the air fryer.
This is one the whole family will ask you to make again and again!

How to Make Pot Pie in the Air Fryer
A full printable version of this recipe with ingredient measurements is available at the bottom of this post.
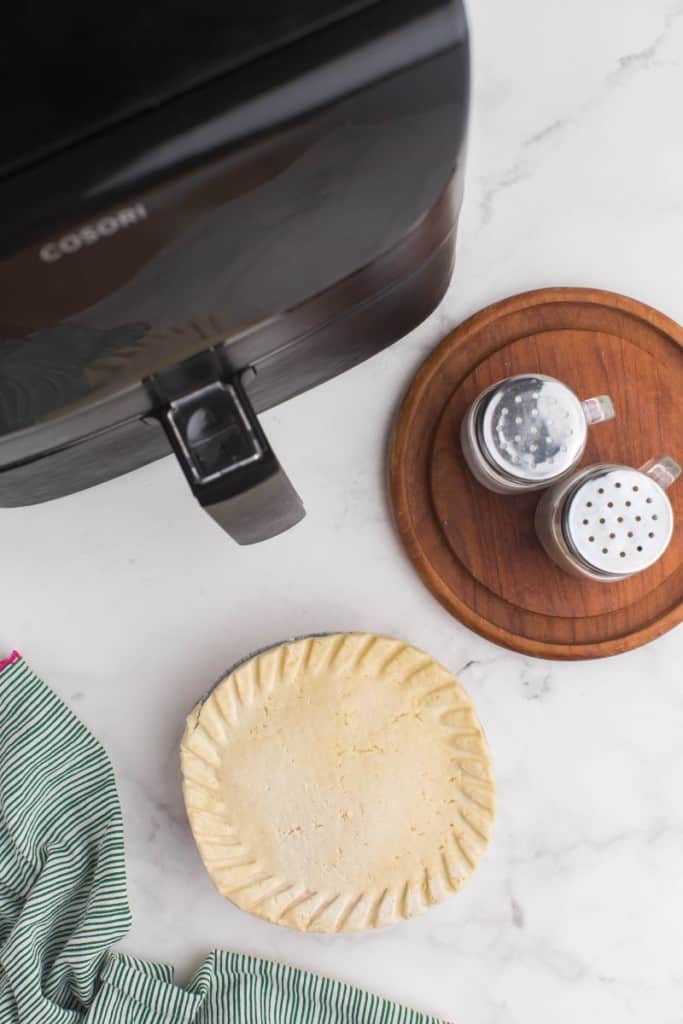
STEP ONE: Preheat the air fryer to 350 degrees F.
STEP TWO: Cover the pot pie in aluminum foil. Place the pot pie in the center of the air fryer basket.
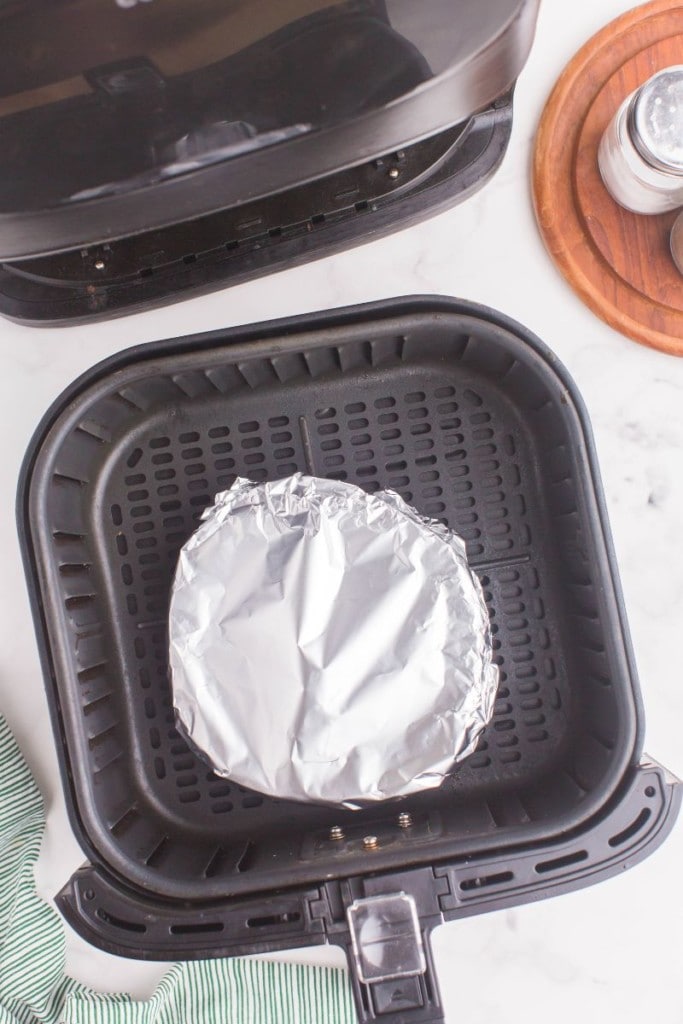
STEP THREE: Cook the pot pie in the air fryer for 20 minutes.
STEP FOUR: Carefully remove the pot pie and take the foil off. Next, use scissors to cut a hole out of the middle of the foil, leaving it over the edges to keep them from burning.
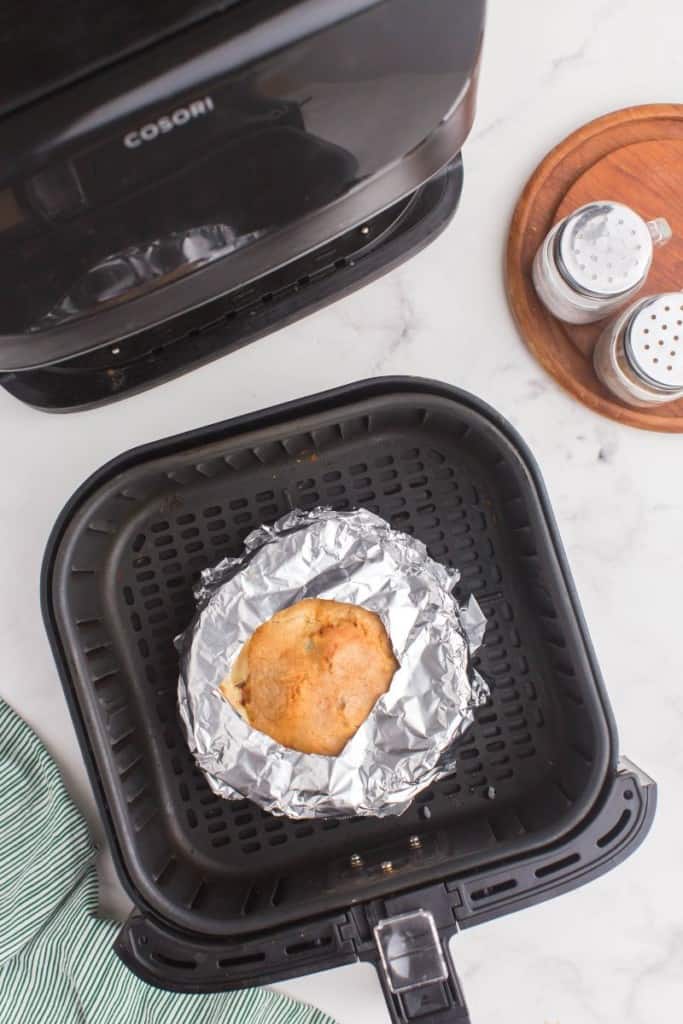
STEP FIVE: Cook in the air fryer for an additional 40 minutes.
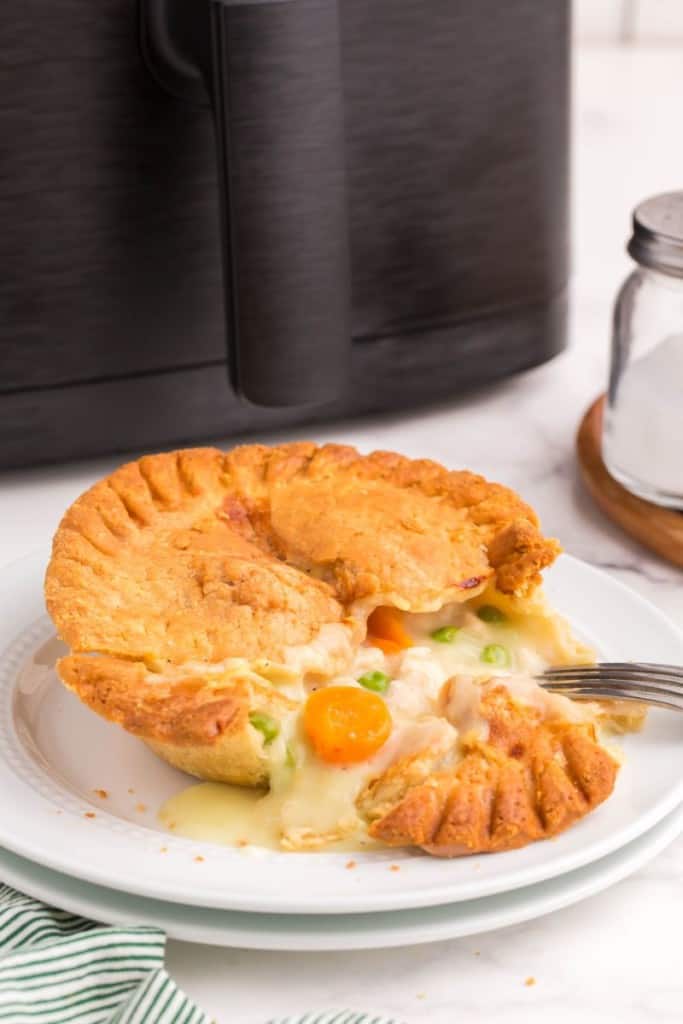
STEP SIX: Let the pot pie sit for 5 minutes once the cooking time is up.

STEP SEVEN: Remove the pot pie from the air fryer and remove the foil before serving.
Can You Cook Frozen Pot Pies in the Air Fryer?
You bet! It’s faster than making them in the oven, but the crust turns out much better than using the microwave. It’s basically the best of both worlds.
I like to use the Marie Callender brand of frozen pot pie, but Banquet chicken pot pies or any other brand would absolutely work.
You can also use these same instructions to make one of the Gardein plant-based chick’n pot pies from Marie Callender’s meat-free line!
How Long Does it Take to Cook a Frozen Pot Pie in an Air Fryer?
While the air fryer speeds up the cooking process for many foods, pot pie simply isn’t one of them.
From start to finish, you can go from freezer to table in about an hour and five minutes.
However, the hands-on prep is very minimal and only takes a few minutes. The air fryer does all the heavy lifting!
Can You Cook a 10 oz. Chicken Pot Pie in the Air Fryer?
Want to make a smaller frozen pot pie in the air fryer? No problem! For a 10 oz. pot pie, I recommend wrapping the outer edges of the crust rather than the whole pie.
After that, simply cook the pot pie in the air fryer for 40 minutes at 350 degrees F until the temperature reaches 165 degrees F.
Make sure to still let it rest for 5 minutes after cooking.
How to Get a Crispy Chicken Pot Pie Top When You’re Crunched on Time
Want the quick convenience of the microwave method with the flaky crust you get from cooking the pot pie in the air fryer? Use both!
Start by cooking the frozen pot pie in the microwave for 5 minutes. After that, pop it in the air fryer for 2-3 minutes to crisp up the crust, and voila, you’re ready to eat!
Tips for the Best Air Fryer Pot Pie
- Depending on your air fryer, you may only need to wrap the edges of the crust in foil instead of the entire thing. The goal is to get the crust flaky without letting the edges burn.
- I always recommend using an Instant Read Thermometer to check the internal temperature. It needs to reach 165 degrees F to ensure the chicken is cooked all the way through.
- After the cooking time ends, leave the pot pie in the air fryer to rest for 5 minutes. This gives the filling time to set, so it won’t be as messy when you cut into it.
How to Reheat a Chicken Pot Pie in the Air Fryer
- Completely cover the pot pie with aluminum foil to prevent the crust from burning.
- Place the leftover pot pie in the air fryer.
- Cook for 30 minutes at 350 degrees F.
Other Frozen Dinner in the Air Fryer Recipes You’ll Love:
- Frozen Burrito in the Air Fryer
- Frozen Chicken Cordon Bleu in the Air Fryer
- Frozen Hamburgers in the Air Fryer

Pot Pie in the Air Fryer
Ingredients
- 15 ounce Marie Callender Chicken Pot Pie
Additional Supply
- Aluminum Foil
Instructions
- 1. Preheat your air fryer to 350 degrees.
- 2. Cover your pot pie in aluminum foil. Place the pot pie in the center of your air fryer basket.
- 3. Cook for 20 minutes. Carefully remove your pot pie and take the foil off. Next, using scissors, cut a hole out of the middle of the foil so that it still covers the edges of the pie to keep them from burning.
- 4. Cook for an additional 40 minutes. Let the pot pie sit in the oven for 5 minutes. Remove from the air fryer and take the foil off to serve.
Notes
Nutrition
This nutrition information is based on the exact products I used in this recipe. Brands and sizes of products could alter exact nutrition and should always be calculated independently.
Like this? Leave a comment below!


I have a cosori 0.5 will the time still work for the smaller pot pie or do I do start it in the microwave and then the airfryer I also have a cosori smart oven and it’s a 7.0 would theme still be the same thank you
Hi ElDona, this is the size for a 10oz pot pie that serves 1 to 2 people. The same time and temperature will work in the basket and air fryer oven, but the air fryer oven may need a few extra minutes to cook.
WHY spend an hour for a pot pie? It IS supposed to be convenience food, after all!
If YOUR suggestion to nuke it for 5 minutes, then air fry it for 3 to 5 minutes works, WHY waste the time?
Is there any major taste difference???
Hi John, it’s the same reason people cook normal pot pies in an actual oven and it takes even more time than an air fryer! Cooking it solely in the air fryer or oven makes the crust extra crispy, but yes, cooking them in the microwave (for those that have one) and crisping it up gives you about 85% of the crisp with the air fryer only. I hope that helps!
The key here is covering the entire pie with foil for the first segment of baking. Every other blog gets this part wrong. They either call for covering the edges only or omitting the foil altogether, which always results in a burnt crust ESPECIALLY if you’re preparing a larger pot pie (14oz+) that requires more time under the heat. My only modification to your method is I make slits in the foil so water vapor doesn’t get trapped under the foil and make the crust soggy. This allows me to leave the foil on for almost the entire bake time and go about part of my day uninterrupted by foil removal. I take it off 5-10 minutes before completion because I like a crispy crust but I don’t believe it’s necessary. Of course not removing the foil means the pot pie will look more like a standard oven preparation (where the crust is kind of flat and flaky instead of fluffy and crisp)
Thank you for this preparation, it’s really the only one out there that hits the bullseye for pot pies.
Thanks a bunch for sharing your pot pie baking trick and for all your feedback! Covering the whole pie with foil at the start to prevent that burnt crust issue, especially with larger pies, is a smart move and your hack of making slits in the foil to avoid a soggy crust is genius. Leaving the foil on for most of the bake time sounds like a time-saver too.