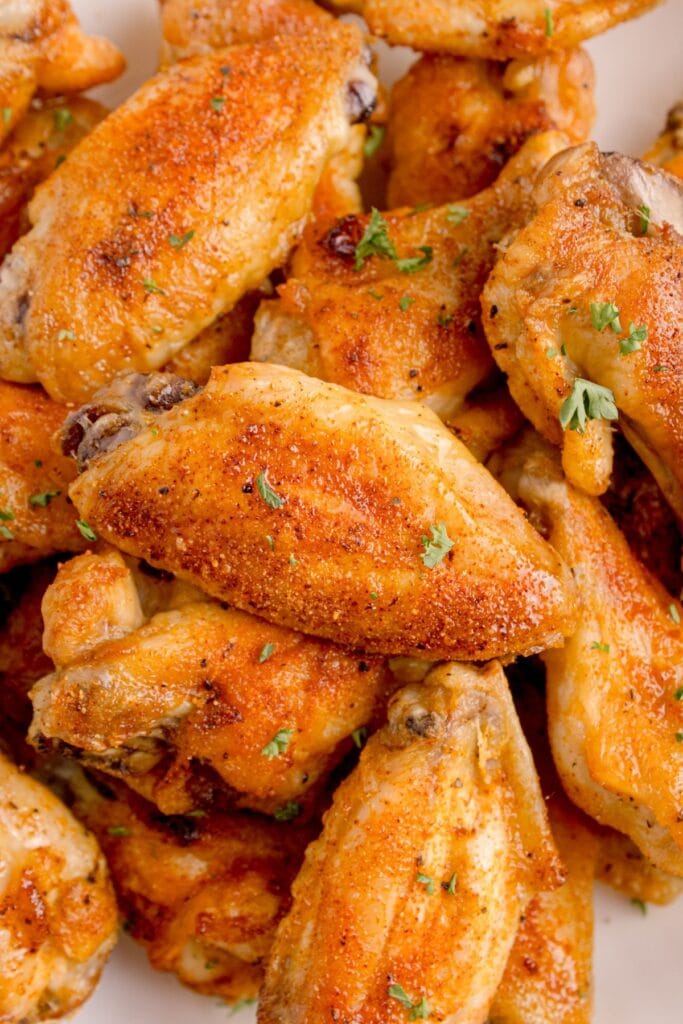
My baked chicken wings come out juicy and tender every time, and I don’t have a worry about a ton of excess oil either! I use my special homemade seasoning blend to give them a savory, smoky flavor and a crispy crust.

This post may contain affiliate links. If you click on a link and make a purchase, I may receive a small commission at no extra cost to you. For more information, please read my disclaimer.
My Favorite Crispy Baked Chicken Wings
My baked chicken wings started with a conversation (ahem, argument) between my daughter, Leah, and my son, Connor. They were debating the best flavors for wings, and with so many delicious options, it was hard to pick just one!
So I decided to come up with a wings recipe that could easily be customized to match everyone’s taste. I decided seasoned wings in the oven would be best, so everyone can use their favorite dipping sauces.
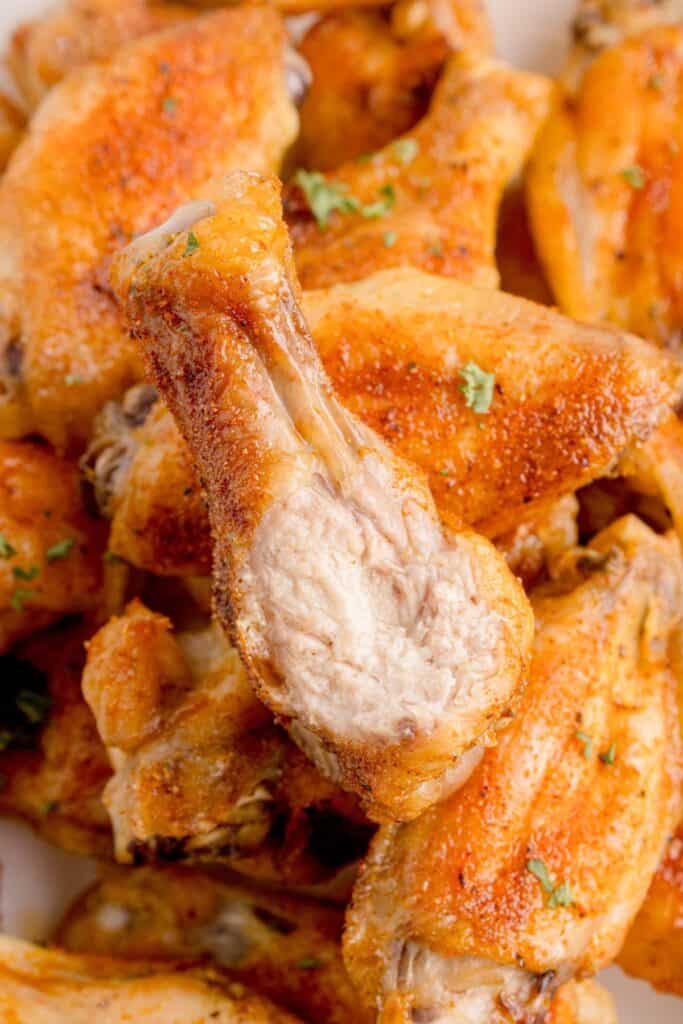
Now, I’ve pan-fried and deep-fried chicken wings before, and while I love those too, baking wings in the oven helps me cut down on grease. They still come out juicy and tender every time, but are much easier to prepare and clean up.
My kids took one bite of these wings, and the look on their faces said it all. Even better that everyone at the table was happy because they each had their own separate sauce options! Hey, if I can avoid a silly fight between my kiddos, I’m going to do it!
Looking for even more delicious chicken wings recipes? Don’t miss my air fryer chicken wings, grilled chicken wings, Ninja Foodi chicken wings, air fryer buffalo wings, or my recipe for frozen chicken wings in the air fryer.
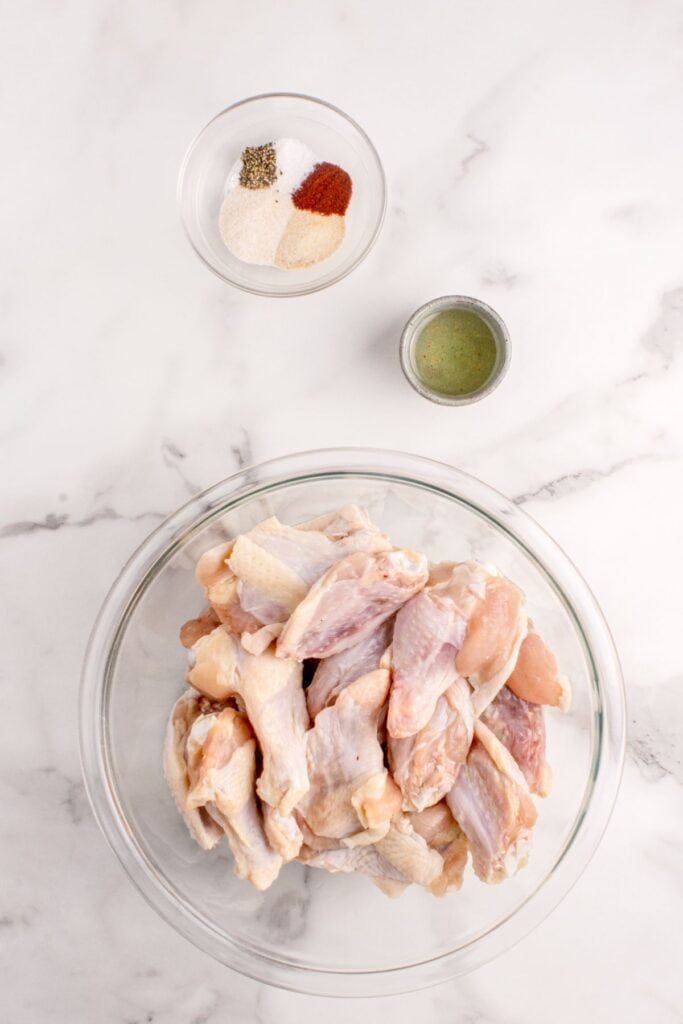
Chicken Wings Ingredients
- Chicken wings – I use fresh chicken flats and drumettes for this recipe.
- Olive oil – To help the seasoning stick and get the chicken perfectly brown and crispy!
- Smoked paprika – Adds a smoky, slightly sweet flavor, as well as color.
- Garlic powder – For an extra savory punch. I like garlic powder because I always have a jar in the cupboard… and fresh garlic could burn in the oven!
- Onion powder – Its natural sweetness balances out the rest of the spice blend.
- Salt and pepper – Enhances the natural flavor of the chicken.
How to Bake Chicken Wings
A full printable version of this recipe with ingredient measurements is available at the bottom of this post.
STEP ONE: Pat the wings dry with paper towels to remove any excess moisture. Place them in a bowl and combine them with 2 tablespoons of oil.
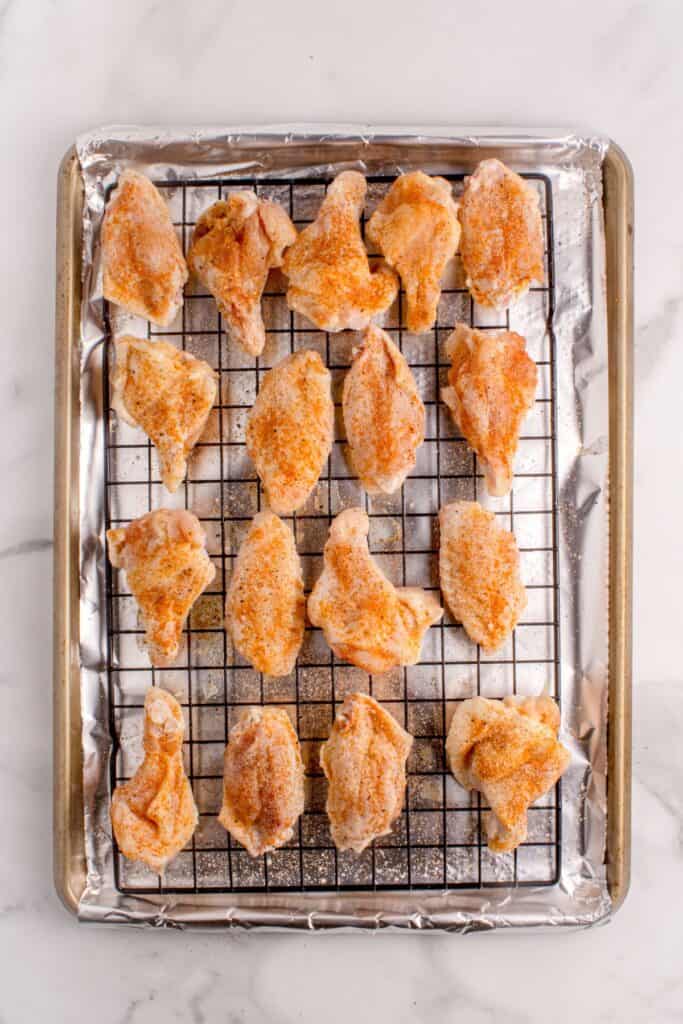
STEP TWO: Lay the wings out on a wire rack in a single layer with space between each one, and arrange the rack on top of a baking sheet. Sprinkle the seasoning on both sides, making sure each piece is well-coated.
STEP THREE: Pop the wings in the fridge uncovered for at least 30 minutes or up to 24 hours.
STEP FOUR: Set the oven to 450 degrees F with the rack in the upper-middle position.
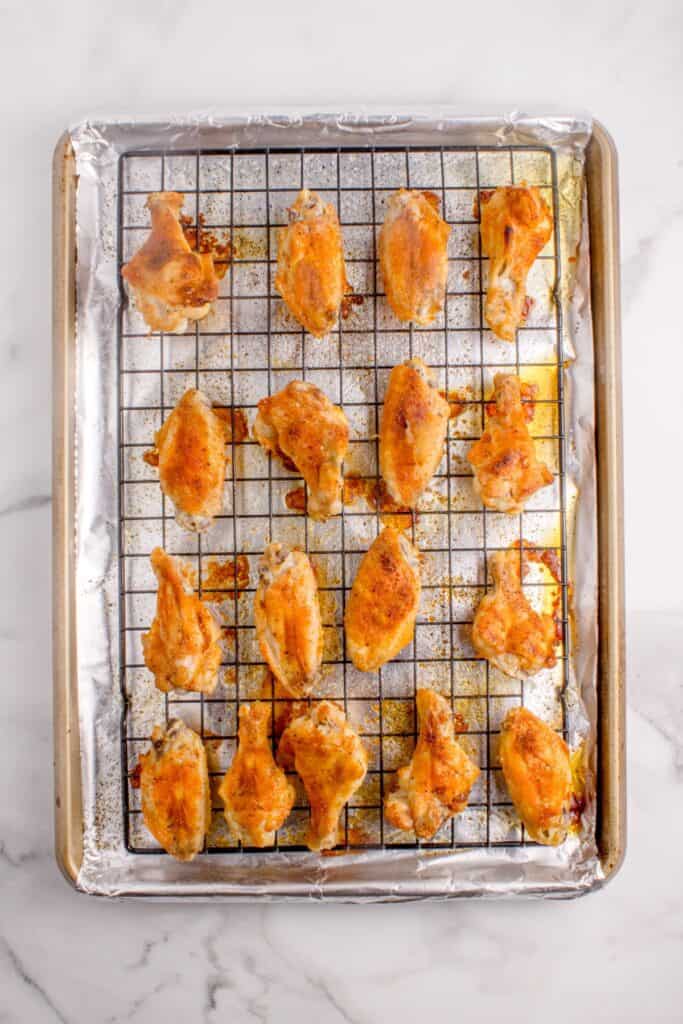
STEP FIVE: Bake the wings for 20-25 minutes, flipping them halfway through or until they turn golden brown. Then, to make the skin even crispier, broil them for about 1 minute per side.
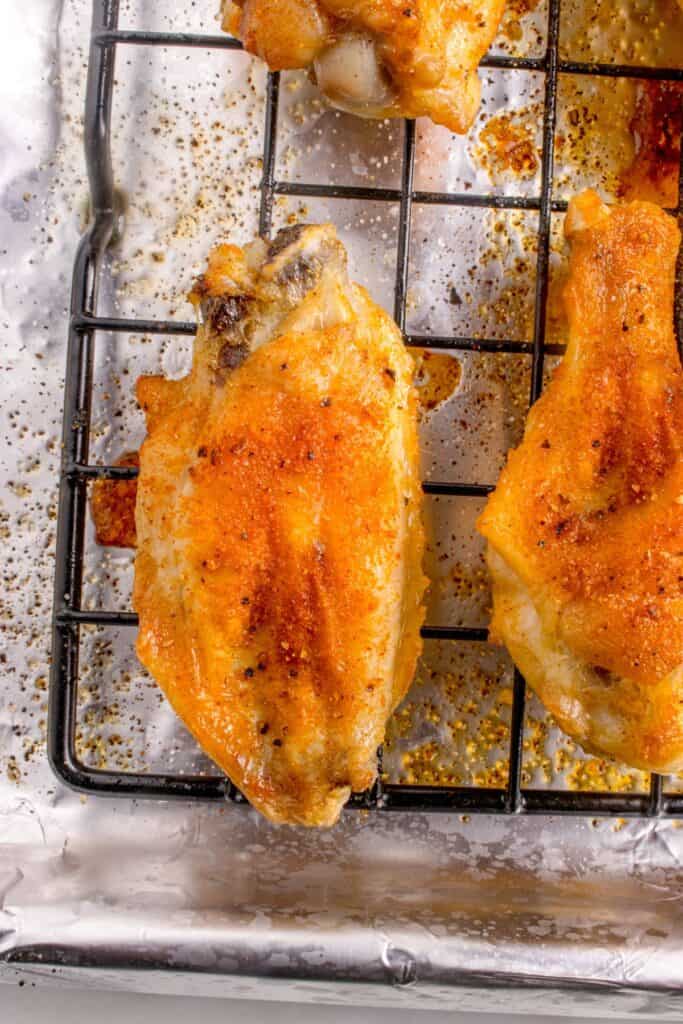
STEP SIX: Allow the chicken to rest for 3 to 5 minutes before serving, and enjoy!
Chicken Wings in the Oven Sauce Recommendations
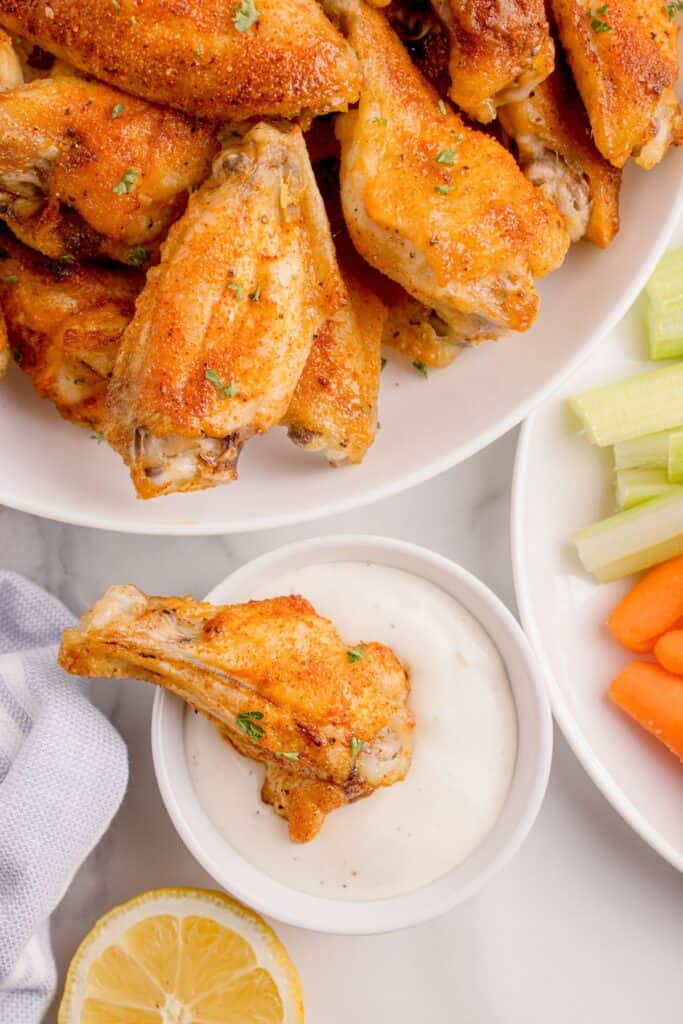
The easiest way to customize my wings is with a variety of dipping sauces! It’s also the easiest way to keep my kids happy without having to adjust the original recipe. Here are just a few of my favorites:
- Garlic parmesan
- Buffalo sauce
- BBQ sauce
- Honey buffalo
- Honey sriracha
- Honey garlic
- Ranch dipping sauce
- Blue cheese dressing
Tips for the Best Baked Chicken Wings
- If using frozen wings, be sure to thaw them first and pat them dry before oiling and seasoning them. I find that all that excess water prevents crisping!
- To ensure even cooking, I separate the flats and drumettes when prepping the wings.
- I line my baking sheet with aluminum foil or parchment paper for easier cleanup. This extra layer will catch any fallen seasoning or juices!
- Don’t skip the chilling step! I know I noted that it’s optional, but it really is the secret to getting perfectly crispy baked chicken wings.
- Don’t forget to let them rest after baking, either. This allows the juicy wings to retain their moisture while the skin crisps and sets.
Chicken Wings Recipe Variations and Substitutions
- Instead of drumettes or flats, whole chicken wings or skin-on chicken thighs could be used as an easy alternative.
- For a more subtle flavor, sometimes I use white pepper instead of black pepper. Or, I go with regular paprika instead of smoked for, well… less smokiness!
- To add some heat, try some chipotle powder or a few dashes of hot sauce. My Buffalo-native husband always asks for these spicy extras!
- If olive oil isn’t available, avocado oil, canola oil, or any neutral oil will work just fine.
- My family loves to personalize this recipe by brushing on different sauces or serving with dips to match everyone’s taste. I’ll say it again… it’s key to making everyone happy, including mom!
Baked Chicken Wings FAQs
Can I air fry chicken wings instead?
Yes! I air fry chicken wings by cooking them at 400 degrees F for 20 to 25 minutes, turning the wings halfway through the cooking time.
How long to bake chicken wings
I bake my chicken wings at 450 degrees F for 20 to 25 minutes, and I always flip them halfway through. I also broil the wings for about 1 minute per side to get a crispier skin.
How should I store leftover chicken wings?
I let the chicken wings cool to room temperature, then transfer them to an airtight container and store them in the refrigerator for 3 to 4 days.
For longer storage, I place the cooked wings in a freezer bag in a single layer and store them in the freezer for up to 2 months.
How should I reheat chicken wings?
To reheat chicken wings, I use the oven or air fryer. I preheat the oven to 375 degrees F, then bake them on a wire rack for 10 to 15 minutes. When using the air fryer, I preheat it to 350 degrees F, then reheat the wings for 5 to 8 minutes.
If reheating from frozen, I bake the chicken at 375 degrees F for 20 to 25 minutes.
More Easy Game Day Recipes
- Easy spinach artichoke dip
- 7 layer taco dip
- Buffalo chicken dip recipe in the crock pot
- Air fryer bacon jalapenos
- BBQ grape jelly meatballs

Easy & Crispy Baked Chicken Wings
Ingredients
- 2 pounds chicken wings flats and drumettes separated
- 2 tablespoons olive oil
- 1 teaspoon garlic powder
- 1 teaspoon onion powder
- 1/2 teaspoon smoked paprika
- 1/2 teaspoon kosher salt
- 1/4 teaspoon black pepper
Instructions
- Pat the wings really dry with paper towels removing excess moisture. Place them in a bowl and add 2 tablespoons of oil and toss to combine.
- Lay the chicken pieces out on a wire rack in a single layer with space between each wing, set over a baking sheet lined with aluminum foil or parchment paper (for easier cleanup) and then sprinkle on the seasoning on both sides. Make sure every piece is well-coated.
- (Optional) Pop them in the fridge uncovered for 30 minutes and up to 24 hours. This step helps get extra crispy baked wings.
- Set the oven to 450 degrees F with your rack in the upper-middle position.
- Bake at 450 degrees F for 20-25 minutes, flipping them halfway through or until they turn golden brown. For extra crispy skin, broil them for about 1 minute per side.
- Allow the wings to rest 3–5 minutes before serving. This allows the juicy, crispy chicken wings to retain their moisture while the skin crisps and sets.
Video
Notes
- If using frozen wings, thaw them first and pat them dry before oiling and seasoning them.
- To ensure even cooking, separate the flats and drumettes when prepping the wings.
- I line my baking sheet with aluminum foil or parchment paper for easier cleanup.
- Don’t skip the chilling step! It really is the secret to getting perfectly crispy baked chicken wings.
- To air chicken wings, cook them at 400 degrees F for 20 to 25 minutes, turning the wings halfway through.
- Store leftover wings in an airtight container and store them in the refrigerator for 3 to 4 days.
- To reheat, preheat and cook them in the oven on a wire rack at 375 degrees F for 10 to 15 minutes. Or use an air fryer preheated at 350 degrees F for 5 to 8 minutes.
Nutrition
This nutrition information is based on the exact products I used in this recipe. Brands and sizes of products could alter exact nutrition and should always be calculated independently.


This was a really delicious recipe. I ate 1/2 of the wings w/out a dipping sauce. It was on point!
That means a lot, Bill! I’m so happy you liked the wings!
thus is amazing would recommend the is amazing!!!!
Hi Finnarment, I’m so thrilled you loved the baked wings recipe! Thanks for your feedback.
Followed the recipe exactly. Grateful to find a recipe that was a bit lighter than some. I like the idea of the wings being somewhat subtle in flavor and let everyone goop them up with their personal favorite sauce. The “extra crispy” skin was not achieved, however.
Hi Karen, Did you broil them before serving? Broiling for for 1 minute per side will help them to crisp up and give that classic bite.
I have also found adding baking powder in the dry seasoning helps them crisp up. Delicious recipe!
This worked exactly as written, thanks!
You’re so welcome, Dolly! I’m so glad the chicken wing recipe worked out great for you.