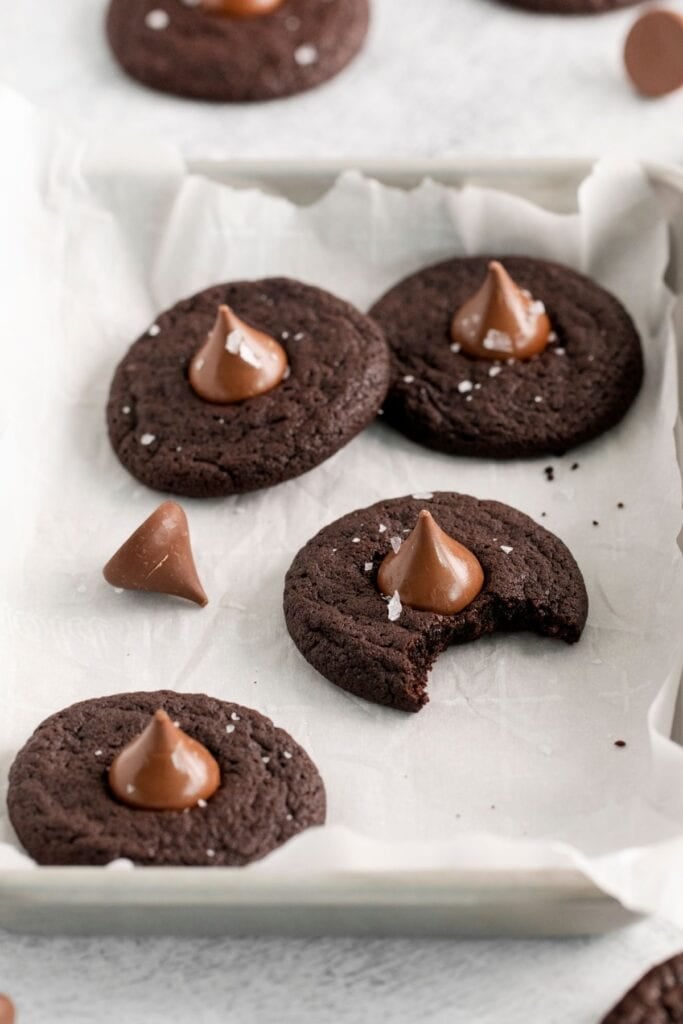
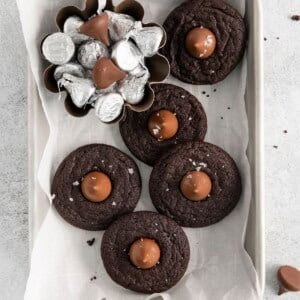
Chocolate Kiss Cookies
This post may contain affiliate links, read my disclaimer.
My chocolate kiss cookies turn out rich, soft, and full of classic holiday flavor. I make these every year when I want something chocolatey that’s fun to bake with the kids!

My Easy Recipe For Chocolate Blossom Cookies
I grew up on Hershey Kiss cookies at Christmas, but it wasn’t until I was making a batch with my kids for the holiday season that I got the idea to make chocolate kiss cookies!
My daughter Leah loves anything chocolate, so I knew Hershey Kiss cookies would be right up her alley. As I was explaining the cookies to her and gathering the ingredients, she asked, “Are the cookies chocolate too?” I was about to say no when I thought… why not?
I wondered if my recipe was going to be a chocolate overload, but honestly, it might be my favorite variation! I’ll never say no to a kiss cookie, but something about the fudgy decadence of double chocolate, like my chocolate blossom cookies, is just so perfect for the holiday season!
For more kiss cookie recipes, check out my sugar cookies with Hershey Kisses, peanut butter kiss cookies, peppermint kiss cookies, and Hershey kiss cookies without peanut butter!

Chocolate Blossoms Ingredients
- Unsalted butter – I melt it, then let it cool slightly for a softer, chewier texture.
- Granulated sugar – Gives the cookies that perfect sweetness and helps the edges crisp just slightly.
- Egg – Holds everything together and gives the dough structure.
- Pure vanilla extract – I always add a splash for warmth and balance.
- All purpose flour – This is the foundation of my cookie that keeps it soft but sturdy.
- Unsweetened cocoa powder – This is what gives my cookies their rich, chocolate flavor that makes them so good.
- Baking soda – Just enough to help the cookies rise without getting cakey.
- Kosher salt – A pinch enhances the sweetness and really brings out the chocolate flavor.
- Hershey Kisses – The star of the show! I use classic chocolate kisses and press them in as soon as the cookies come out of the oven.
- Flaky sea salt for garnish – A little sprinkle on top adds the perfect sweet-salty finish.
How to Make Chocolate Kiss Cookies
A full printable version of this recipe with ingredient measurements is available at the bottom of this post.
STEP ONE: Preheat the oven to 350 degrees F and line two baking sheets with parchment paper.
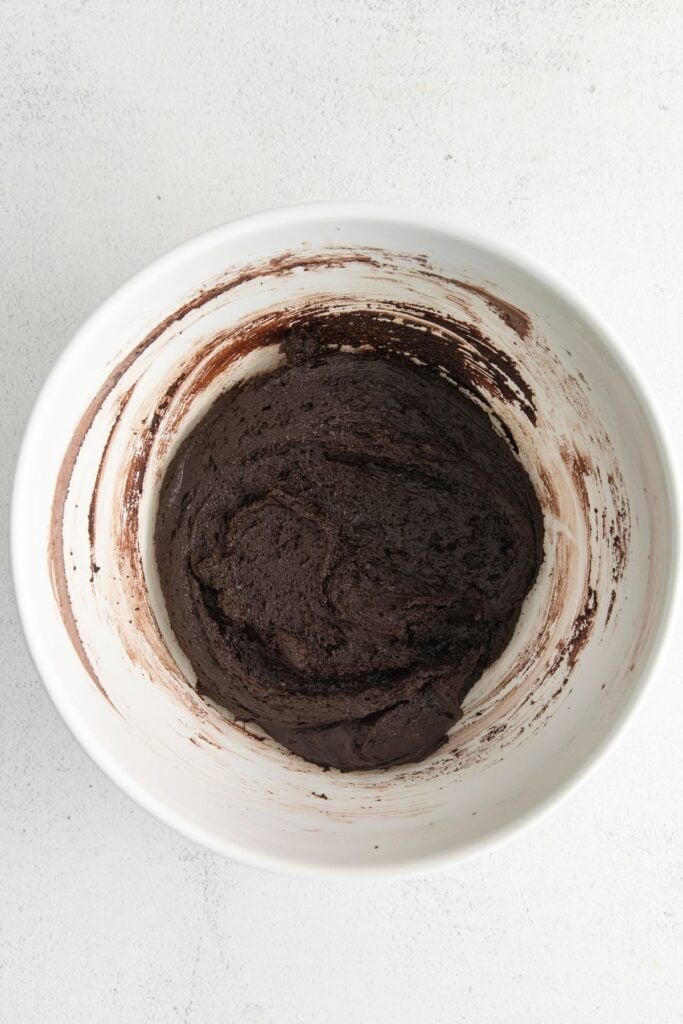
STEP TWO: Whisk together the melted butter and granulated sugar in a large bowl until combined. Then, add the egg and vanilla and whisk some more. Mix the flour, cocoa powder, baking soda, and salt in another smaller bowl. Add the dry and wet ingredients together and mix until there are no more lumps of flour. Be careful not to over mix!
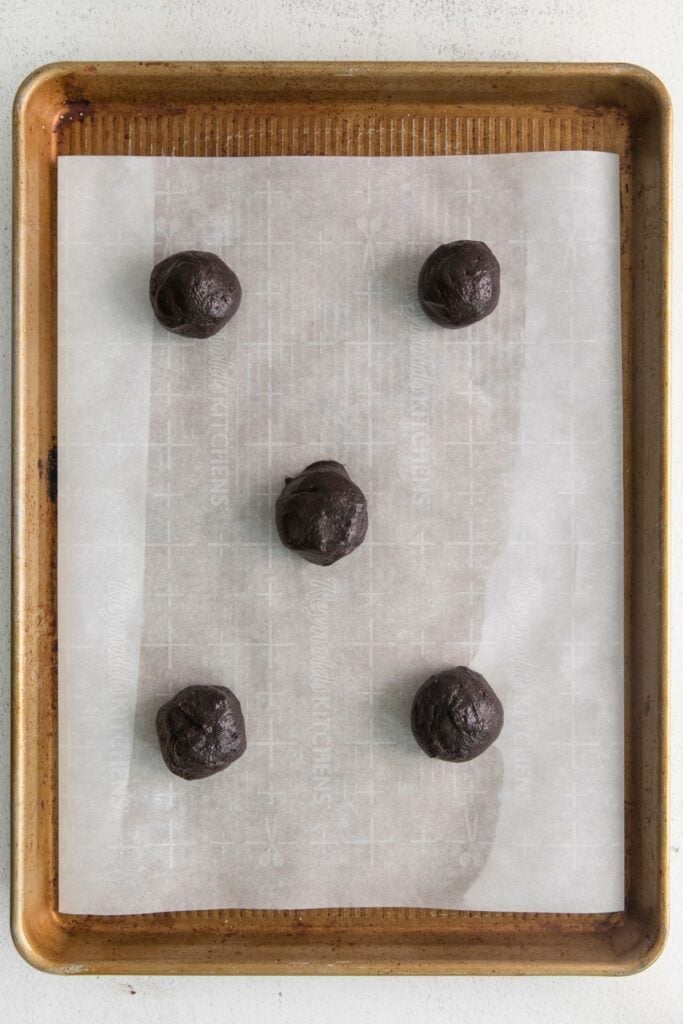
STEP THREE: Using a cookie scoop or spoon, create 1 tablespoon-sized portions of the dough and roll them into balls. Make sure to place them at least 2 inches apart on the baking sheet.
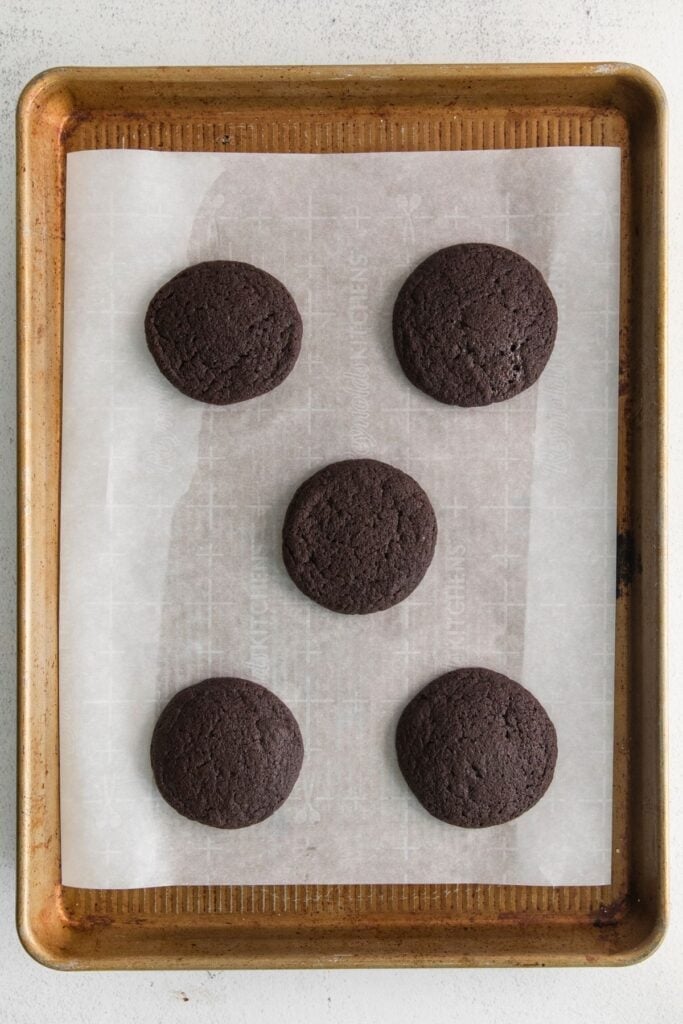
STEP FOUR: Bake the cookies for 9-10 minutes or until the edges are set. The center should be a bit soft. Take them out of the oven and press a Hershey Kiss on top of each one while the cookies are still warm.
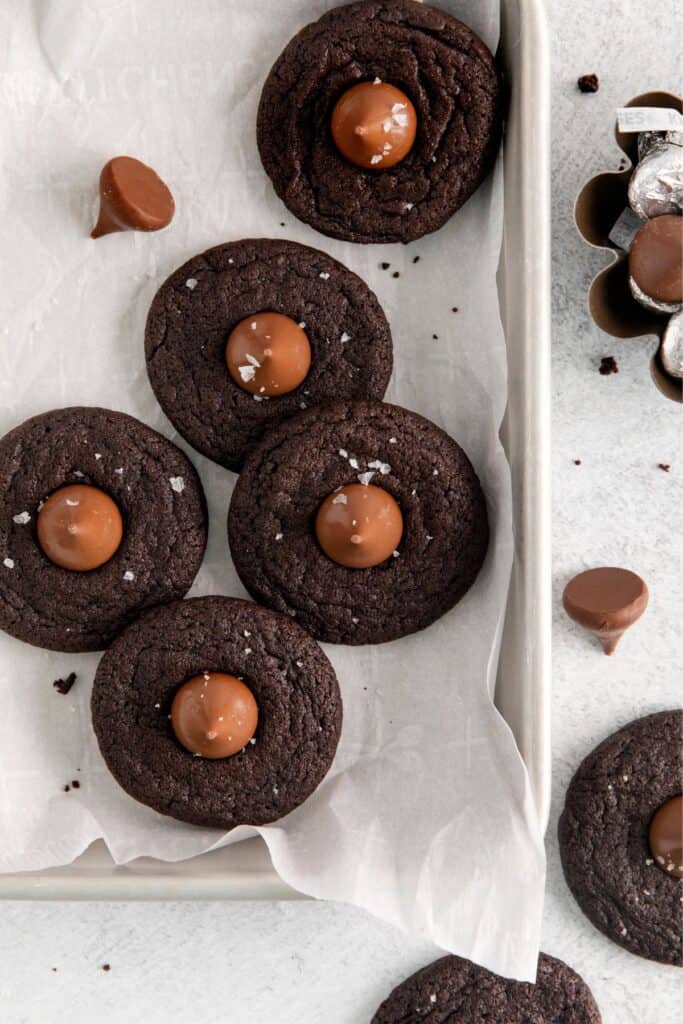
STEP FIVE: Let the cookies cool, and then sprinkle them with a bit of flaky sea salt before serving.
Tips for the Best Chocolate Kisses Cookies
- Melting the butter first gives the dough that rich, brownie-like texture I love so much!
- To avoid overmixing that can give the cookies a tough texture, I combine the dry and wet ingredients just until there are no more lumps of flour.
- I use a cookie scoop to scoop the dough, which makes it much easier to roll them into evenly sized balls that will bake at the same rate.
- I place the cookie dough balls at least 2 inches apart on each baking sheet so they won’t combine as they spread during the baking process.
- I unwrap each chocolate kiss and then place them in a bowl in the refrigerator while the cookies bake. This makes it easy to press them into the cookies as soon as they come out of the oven, and the chilled kisses are less likely to melt!
- For perfectly round cookies, swirl the cookies inside a round cookie cutter or circular glass when they come out of the oven.
Chocolate Christmas Cookies Variations and Substitutions
- For a deeper, richer flavor, I’ll replace ¼ of the granulated sugar with brown sugar. I love the caramel notes the brown sugar adds!
- I sometimes use white chocolate or caramel-filled kisses for a fun flavor twist.
- Rolling the dough in granulated sugar before baking adds sparkle and sweetness. I usually do this if I’m bringing chocolate kiss cookies to a party because it makes them so pretty.
- I love swapping in peanut butter kisses when I want a peanut butter-chocolate combo. My husband always asks me to make at least a few of these per batch!
- A drizzle of melted white chocolate over the top gives the kiss cookies a festive finish and adds even more chocolate goodness.
Chocolate Kiss Cookies FAQs
How do I keep Hershey’s Kisses from melting on chocolate blossoms?
I like to stick my chocolate kisses in the refrigerator while the cookies are baking, just to chill them a bit. That way, when I press them into the top of the warm cookies right out of the oven, they’re less likely to melt!
How to Store the Cookies
Once my chocolate kiss cookies are completely cool, I store them in an airtight container at room temperature. They stay soft and chewy about 4 days, though it’s a real surprise if they last that long in my house!

More Easy Cookie Recipes
- Double chocolate chip cookies
- Chocolate marshmallow cookies
- Turtle cookies
- Brownie crinkle cookies
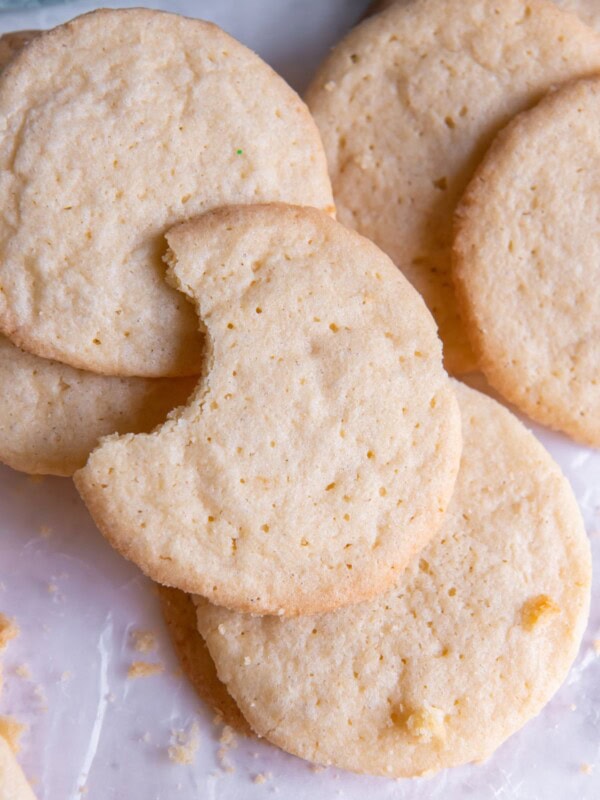
- Christmas sugar cookies
- Thumbprint cookies with icing
Easy Chocolate Kiss Cookies
Ingredients
- 10 tablespoons unsalted butter, melted
- ¾ cup granulated sugar
- 1 large egg
- 1 teaspoon pure vanilla extract
- 1 cup all purpose flour
- ½ cup unsweetened cocoa powder
- ½ teaspoon baking soda
- ¼ teaspoon kosher salt
- 12 Hershey kisses
- flaky sea salt, for garnish (optional)
Instructions
- Preheat the oven to 350 degrees F and line two large baking sheets with parchment paper.
- In a large bowl, whisk together the melted butter and granulated sugar until well combined. Next, add the egg and vanilla. Whisk to combine.
- In a small bowl, whisk together the flour, cocoa powder, baking soda, and salt.
- Add the dry ingredients to the wet and mix just until no large lumps of flour remain.
- Scoop out 1 tablespoon sized portions and roll them into smooth balls. Place them at least 2” apart on the prepared baking sheet.
- Bake the cookies for 9-10 minutes, or just until the edges of the cookies are set– the center will still be a bit soft.
- Remove the cookies from the oven and immediately place a Hershey kiss on top of each.
- Allow the cookies to cool completely on the baking sheet (this will help them set fully) and then sprinkles with flaky sea salt before enjoying.
Notes
- Melting the butter first gives the dough that rich, brownie-like texture.
- To avoid overmixing that can give the cookies a tough texture, combine the dry and wet ingredients just until there are no more lumps of flour.
- Use a cookie scoop to scoop the dough, which makes it much easier to roll them into evenly sized balls that will bake at the same rate.
- Unwrap each chocolate kiss and then place them in a bowl in the refrigerator while the cookies bake. The chilled kisses are less likely to melt!
- For perfectly round cookies, swirl the cookies inside of a round cookie cutter or circular glass when they come out of the oven.
- Store the cookies in airtight container on the counter for up to 4 days.
Nutrition
This nutrition information is based on the exact products I used in this recipe. Brands and sizes of products could alter exact nutrition and should always be calculated independently.
Like this? Leave a comment below!


I followed the recipe, weighing most of the ingredients. The resulting mixture was definitely more very wet brownie batter than rollable dough, but I improvised and put it into mini muffin cups. There was a little overflow on some of them, but otherwise, this was a great solution, and it really envelope the kiss, giving you a very melty chocolate center. The batter is very mildly sweet, and needs the kiss center to achieve dessert worthy status.
Hi Rachel, That’s a great solution! These cookies are very rich and fudgy, they turn out to be a thinner cookie than a traditional kiss cookie. Enjoy!