3-Ingredient Ham Glaze

This post may contain affiliate links, read my disclaimer.

My 3-ingredient ham glaze is made with 3 ingredients easily found around the house, butter, brown sugar, and orange juice. It takes just 10 minutes to put together and really makes that holiday ham taste extra special without spending a bunch of time in the kitchen.
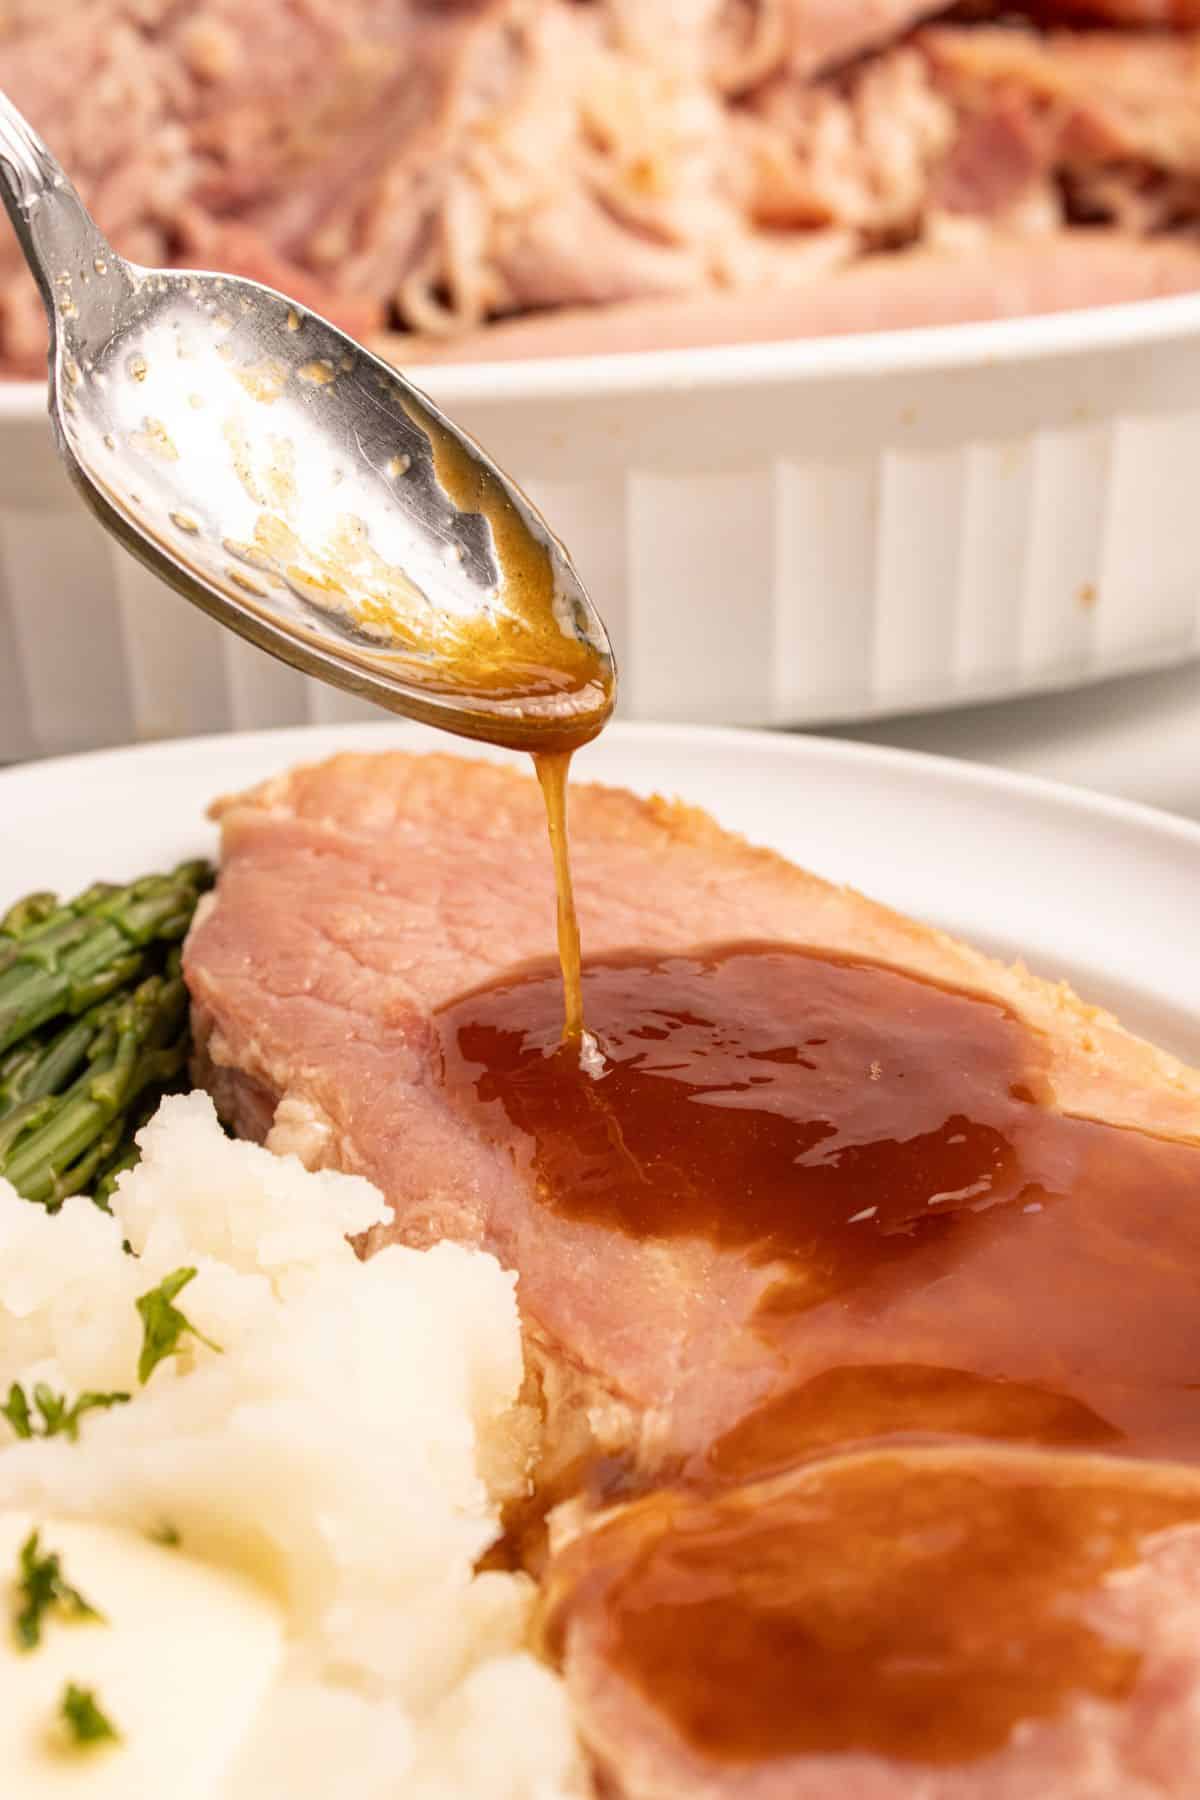
Some of my other favorite ways to elevate a ham for the holidays super easy are my pineapple sauce for ham and my ham gravy!
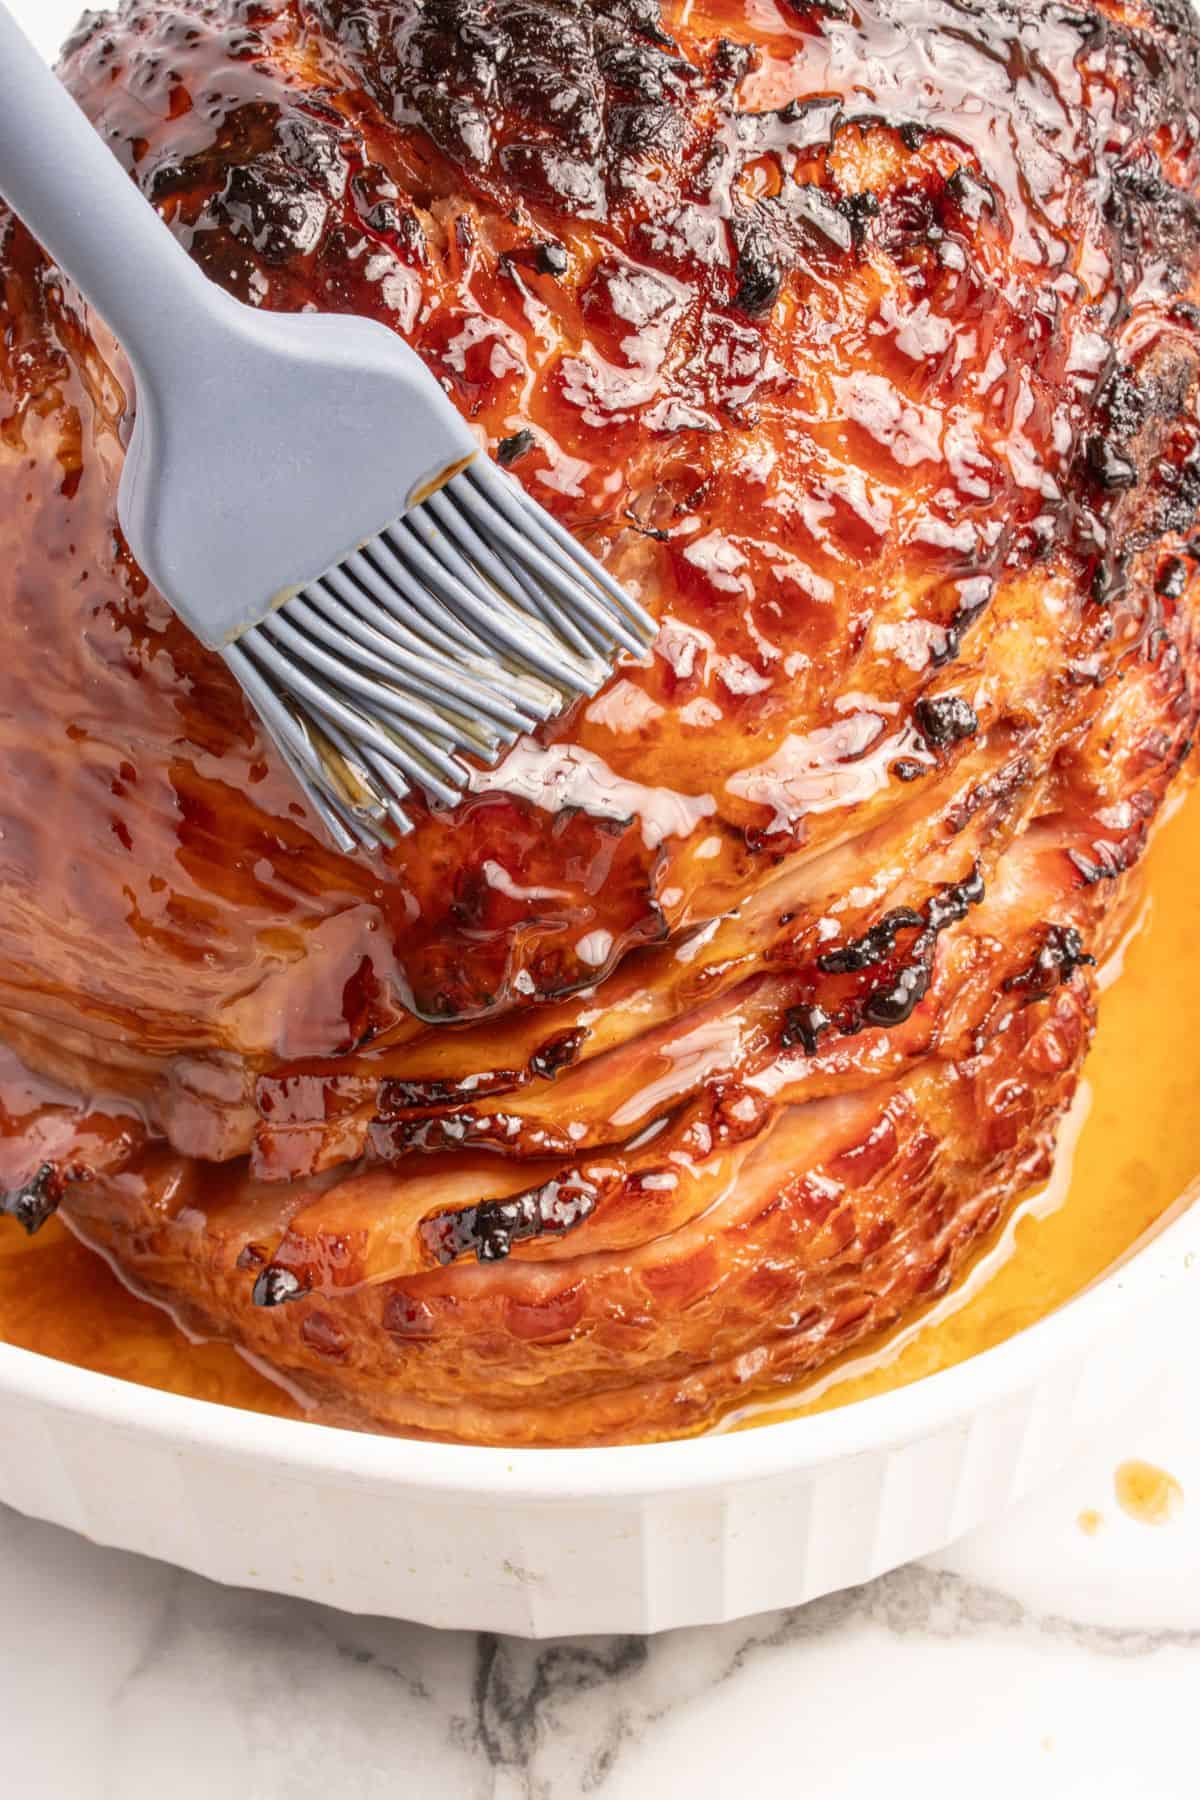
What makes this easy ham glaze worth it

Only 3 ingredients – Butter, brown sugar, and orange juice are all you need, and they’re things I usually already have around the house. I don’t have to make a special holiday grocery run for one more thing.
10 minutes on the stove – I stir it all together in one saucepan while the ham is already in the oven. It’s quick enough that I can pull it off while I’m juggling a bunch of other dishes, and it’s one of the easiest sauces I make all holiday season.
The orange juice is what makes it pop – Butter and brown sugar on their own lean one-note sweet, so the orange juice is my favorite part. I tested this glaze about 5 times before I settled on it, and that splash of citrus is what I kept coming back to. It cuts the richness, gives the glaze a brighter flavor, and caramelizes into that glossy shine everyone notices before they even take a bite.
I first made this 3-ingredient ham glaze when Ben and I were hosting family for Easter for the first time. The ham was already in the oven, and I was limited to the ingredients I had on hand. I was going to just use sugar and butter, but then I saw the orange juice.
I felt like I was taking a risk, but the citrus and acidity ended up being the perfect addition. Everyone was impressed by the glossy coating, but once they tried a bite, they were really blown away by the flavor!
My ham glaze recipe is my favorite way to elevate a spiral ham when I’m also keeping track of a bunch of other dishes on the stove or in the oven. It only takes a few minutes, but it makes all the difference!
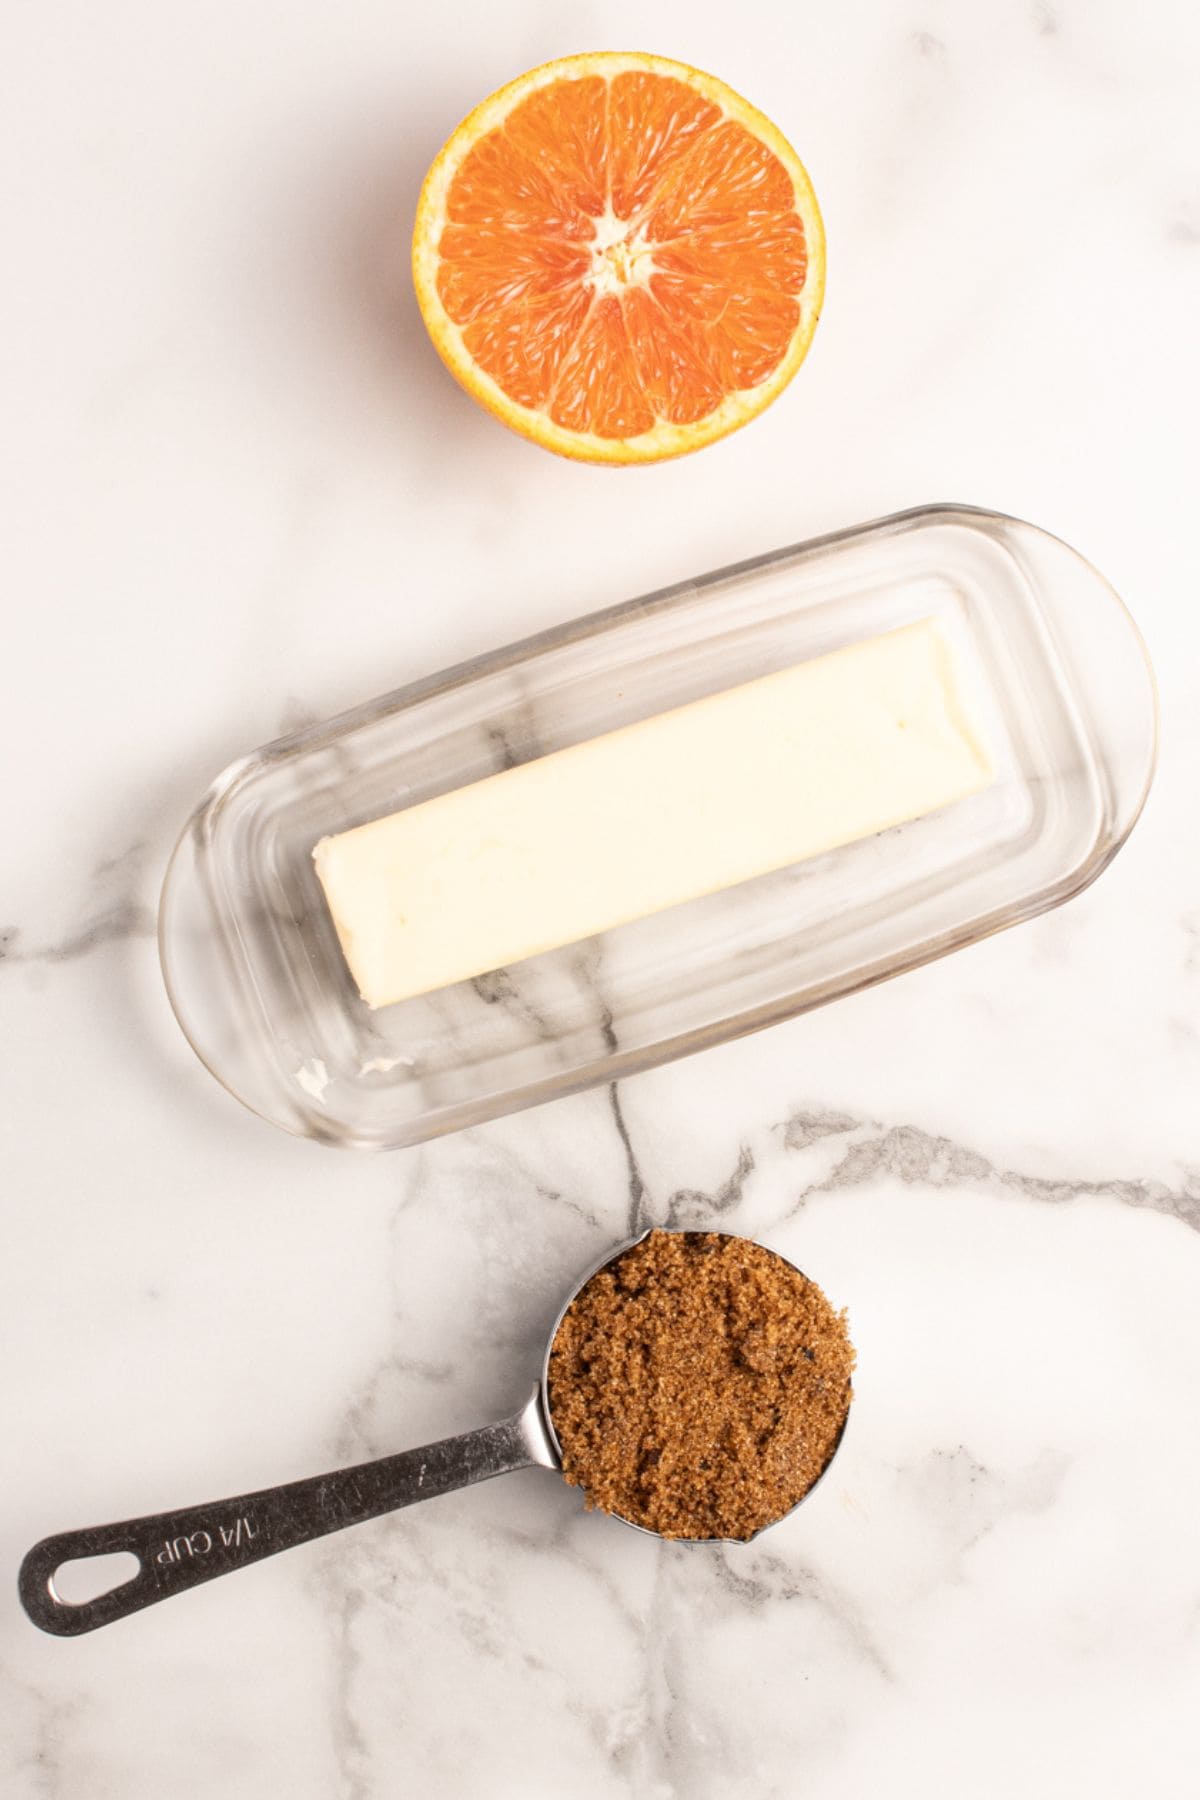
3-ingredient ham glaze ingredients
- Butter – The butter is the base of this easy ham glaze and allows the brown sugar to fully melt without leaving behind a gritty texture.
- Brown sugar – This adds a deep caramel flavor and also caramelizes on the outside of the ham as it roasts in the oven.
- Orange juice – The citrus balances out the richness of the butter and the sweetness of the brown sugar so the glaze doesn’t taste flat. Another sweet, acidic juice like pineapple would also work here.
How to make a ham glaze
A full printable version of this recipe with ingredient measurements is available at the bottom of this post.
STEP ONE: In a medium-sized saucepan, combine the butter, brown sugar, and orange juice.
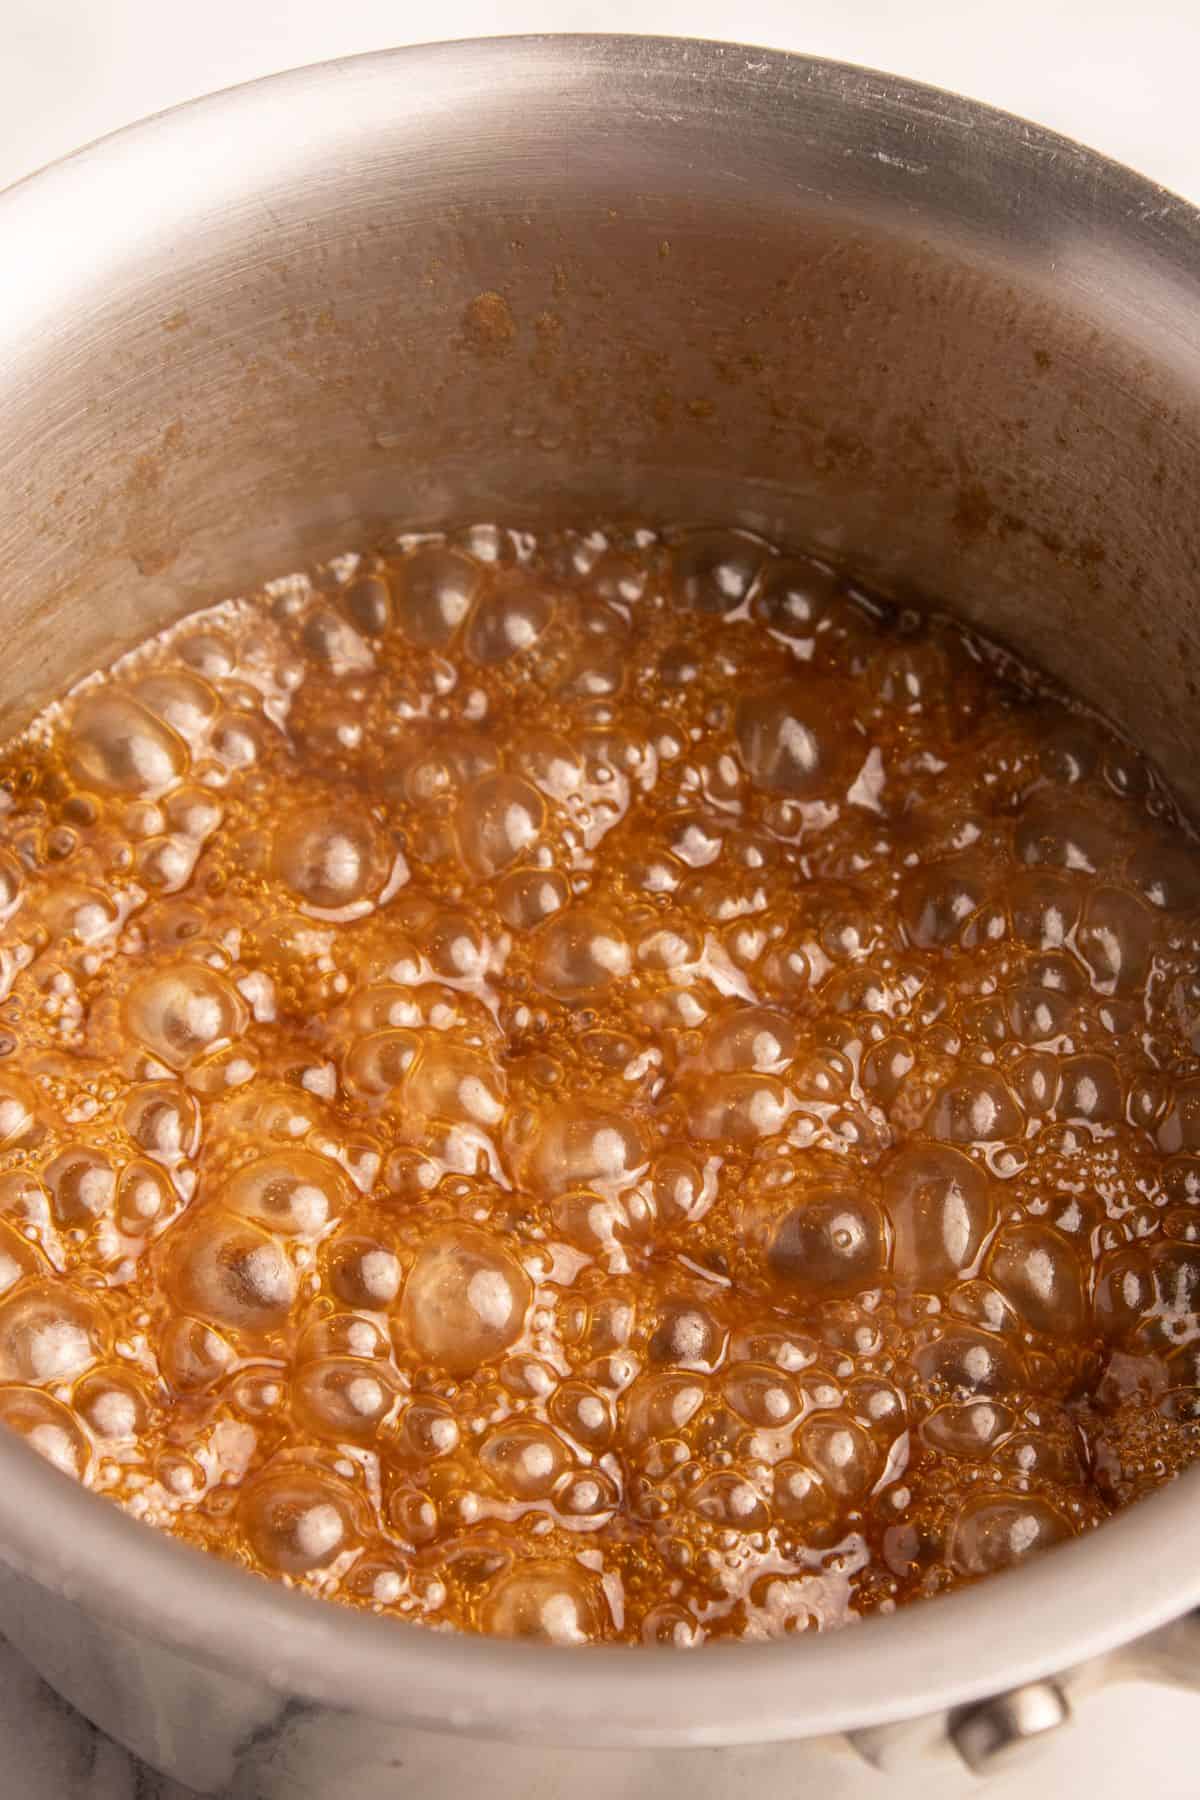
STEP TWO: Stir everything over medium heat until the butter has melted, the sugar is fully dissolved, and the glaze looks smooth and glossy, about 5 minutes.
STEP THREE: Let the glaze simmer, and once it starts to bubble, remove the pot from the heat.
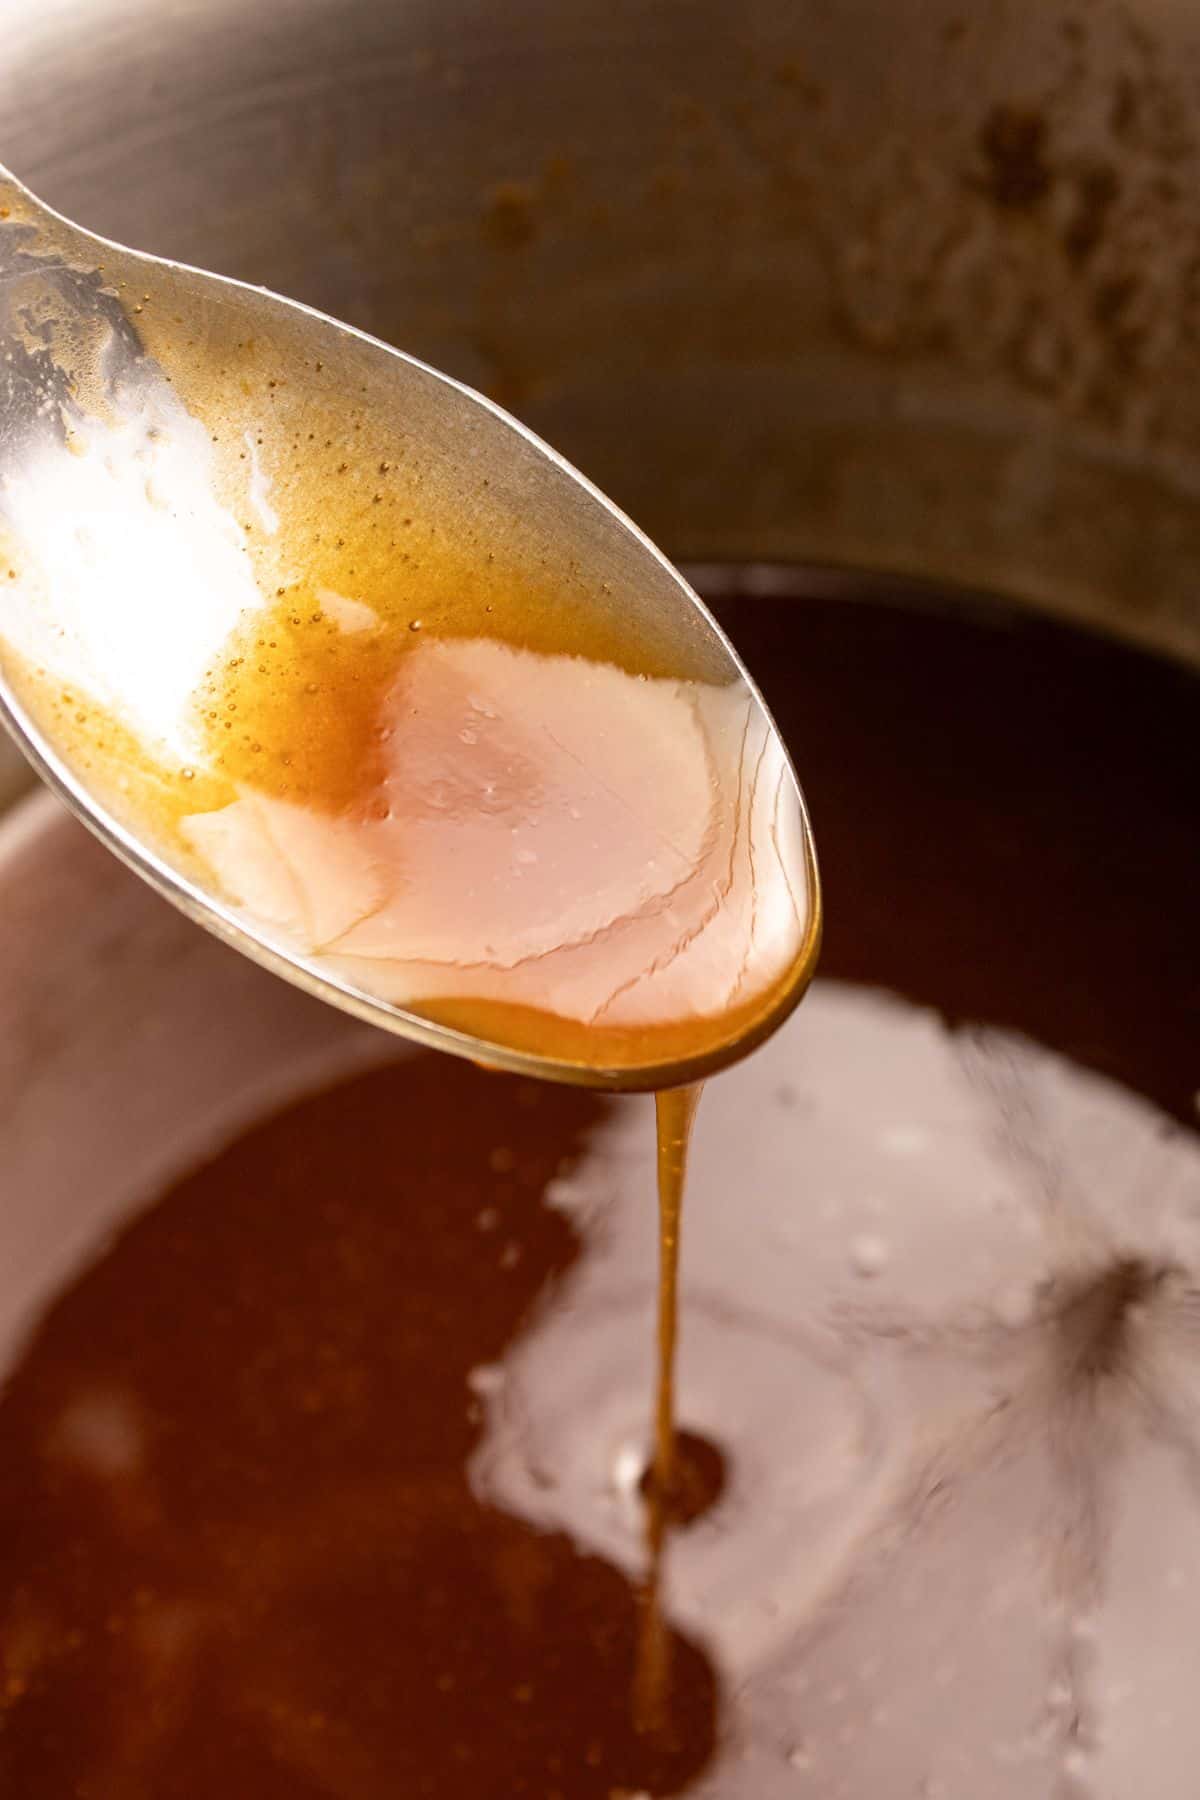
STEP FOUR: Let the glaze cool for a few minutes to thicken slightly.
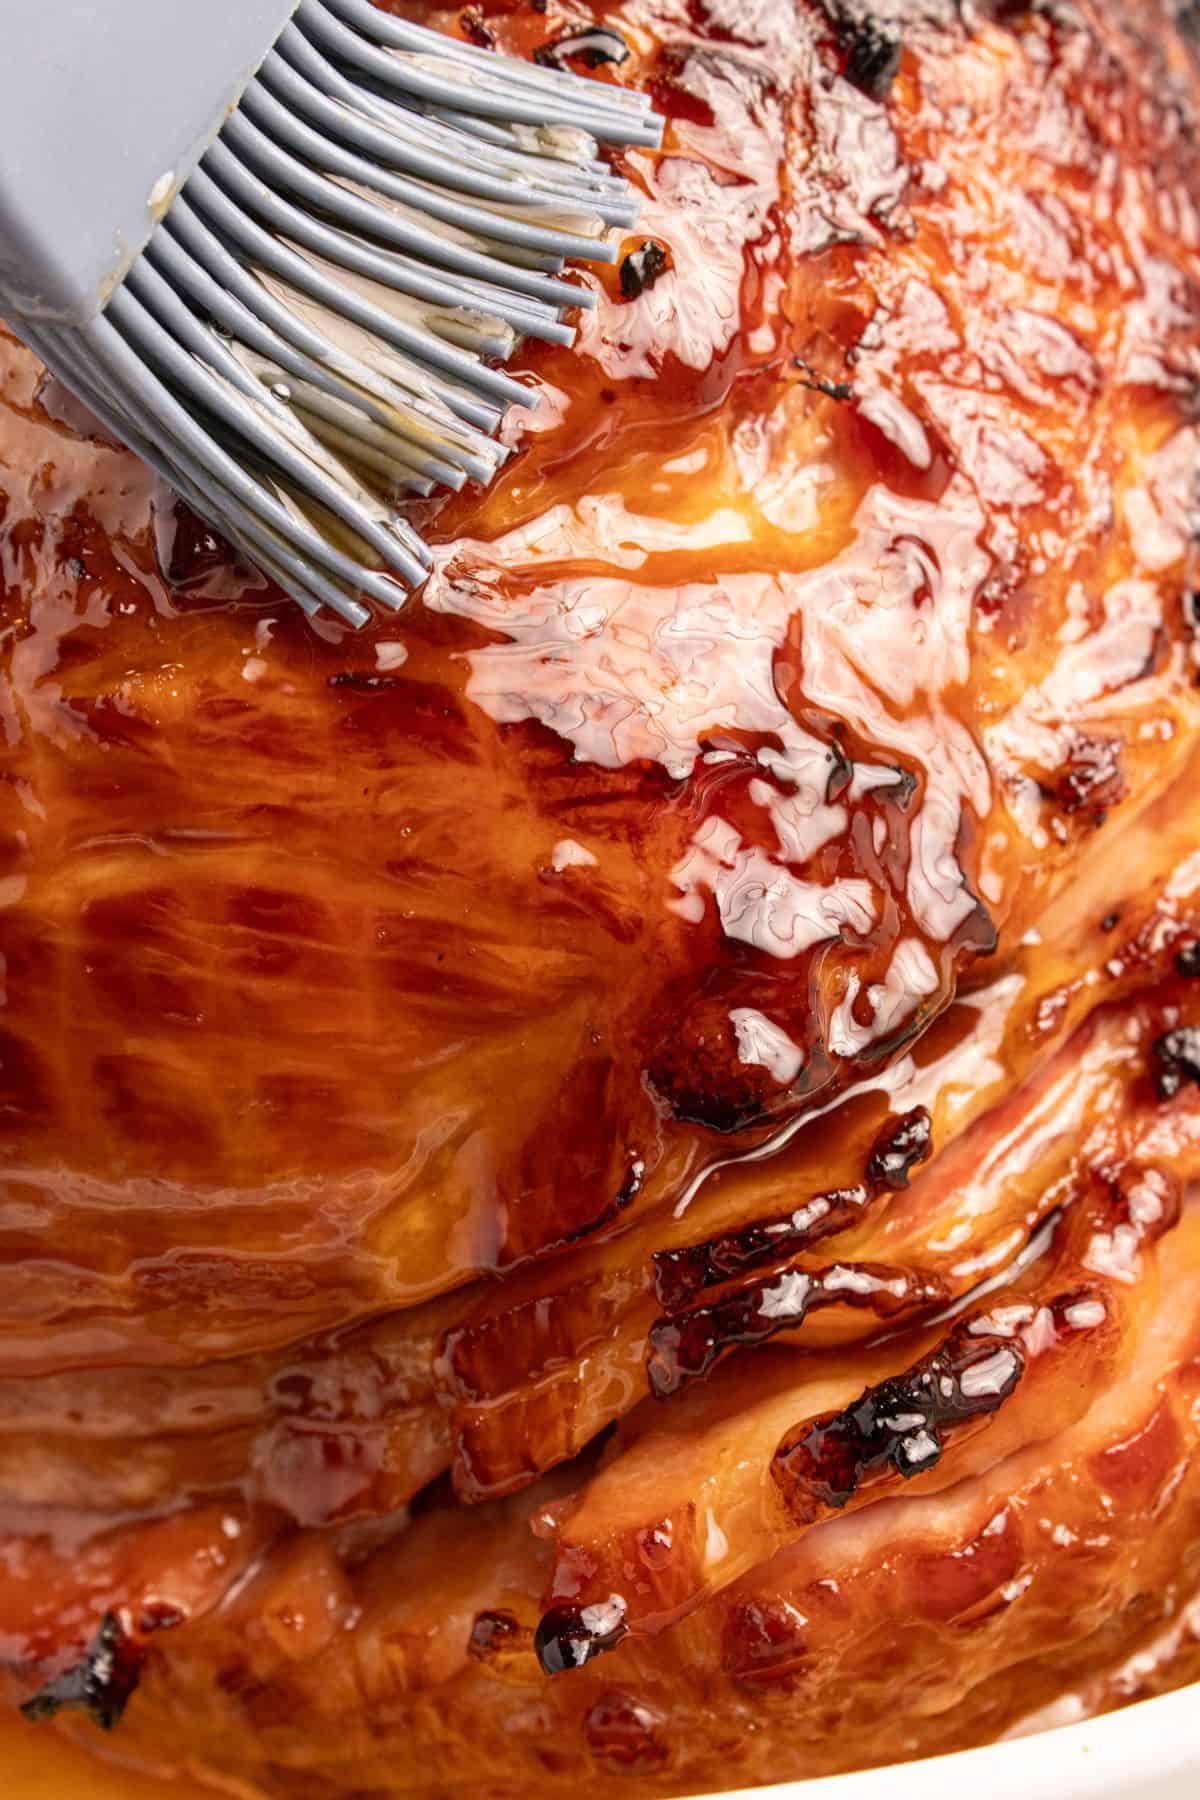
STEP FIVE: Brush the glaze over the ham during the last 30 to 45 minutes of cooking. Apply 2 to 3 coats, brushing the ham every 10 to 15 minutes.
Recipe tips
- If using a spiral ham, just baste the glaze right on top of the ham. If you’re using a regular ham that’s unsliced, score the surface at the top in a crisscross pattern first so the glaze can really sink into the ham instead of sliding off.
- Keep the heat at medium. This temperature allows the ingredients to melt together so the glaze can form a smooth sheen without burning the sugar.
- Overly thick glaze can be thinned with a splash of orange juice. If the glaze reduces too much and isn’t easy to spread, add the liquid very slowly until you reach the right consistency.
- Let the glaze cool for a few minutes. This will allow the glaze to properly set and thicken up further before you apply it to the ham.
- Wait until the last 30-45 minutes of baking to apply the glaze. I want to give the glaze enough time to caramelize on the outside of the ham without burning.
- Reapply the glaze every 10-15 minutes. This will really build the flavor in the final stretch of cooking.
Variations
- Try using pineapple juice instead of orange juice. This will turn out a little sweeter, but the acidity from the pineapple keeps the glaze balanced.
- Use maple sugar, honey, maple syrup, or coconut sugar. All of these are great replacements for brown sugar that add both sweetness and depth.
- Swap the orange juice for root beer. I tested this version before I settled on orange juice, and it’s still really good. The spices in root beer taste like they were made for ham. I just don’t always have root beer in the house around during the holidays, so orange juice is my go-to.
- Add some warmth with ground cloves. Around the holidays, I like making this variation by sprinkling in a small pinch while the glaze simmers.
- Use mustard to give the glaze a little extra kick. A small amount of Dijon mustard adds another layer of flavor and depth.
- For an even more caramelized top, broil the ham for the last 3 to 5 minutes of baking. Keep a close eye on it because sugar can go from golden to burnt very quickly.
What to serve with this 3-ingredient brown sugar ham glaze
My easy ham glaze is, of course, perfect to use with my spiral ham recipe, but it’s also amazing with my pineapple glazed ham and even my ham shank recipe!
As for the best sides to round out a holiday table, my family always begs me to make my easy sweet potato casserole, green bean casserole with canned green beans, and cornbread stuffing!
3-ingredient ham glaze FAQs
Can I make this brown sugar glaze for ham ahead of time?
My 3-ingredient brown sugar ham glaze will stay fresh in the refrigerator for up to 5 days, so you can absolutely make it ahead of time! Before using, I recommend letting it sit at room temperature for about half an hour to help loosen up, then make sure to give it a stir before brushing it over the ham.
What if my ham glaze isn’t getting thick enough?
Keep in mind that the glaze will thicken as it cools. If you’ve simmered and cooled the glaze and it still seems too thin, I’d recommend whisking in a teaspoon of cornstarch mixed with water to help thicken it up.
When is the best time to brush the glaze onto the ham?
I wait until the last 30-45 minutes of cooking time to brush the glaze onto the ham. This gives the glaze time to soak into the ham and caramelize without burning. I reapply every 10-15 minutes after that to really build up the flavor and get that signature shine!
What do I do if my ham glaze burns?
If the glaze starts to burn in the pan, I’ll transfer the non-burnt glaze to a clean pan or just start over. The key is constant stirring and keeping the heat on medium to prevent the glaze from burning.
How to store leftover glazed ham
I store fully cooled leftover glazed ham in an airtight container in the refrigerator for up to 5 days, or 3-5 days if the glaze is already brushed over the ham. I like to brush a little extra glaze over the ham before closing the lid to help keep it moist and flavorful.
More easy holiday recipes
- Fruit salad with Cool Whip
- Pineapple dump cake
- Pineapple stuffing
- Sweet potato cornbread recipe
- Maple glazed carrots
- Crockpot scalloped potatoes recipe
Easy 3-Ingredient Ham Glaze (10 Minutes)
Equipment
- whisk or spoon
- basting or pastry brush
Ingredients
- 1/2 cup unsalted butter, one stick
- 1/4 cup brown sugar
- 2 tablespoons orange juice
Instructions
- Combine the butter, brown sugar, and orange juice in a medium saucepan.
- Put the saucepan over medium heat and keep stirring until the butter melts, the brown sugar dissolves fully, and the glaze looks smooth and glossy, about 5 minutes.
- Let the glaze simmer, and once it starts to bubble, remove it from the heat.
- Let the glaze cool for a few minutes. It will thicken as it sits.
- Brush the glaze over the ham during the last 30–45 minutes of cooking. Apply 2–3 coats, brushing every 10–15 minutes.
Notes
Nutrition
This nutrition information is based on the exact products I used in this recipe. Brands and sizes of products could alter exact nutrition and should always be calculated independently.
Like this? Leave a comment below!









I didn’t realize how easy this could be and tasty!
Super easy, right? I’m so glad you loved it, Lisa.